Chalkboard signs have so many uses whether you're planning a wedding, baby shower, or just wanting to make something for your home. The problem is that not everyone can create perfect hand lettered works of art! With the tips in today's post however, you'll be able to easily create a chalkboard masterpiece for your home or event and all of your friends will think you're a pro!
The sign I'm sharing with you today is for my baby shower next week which I'm SO EXCITED about! The theme is a french market, so I needed a beautiful sign for the little market that will be set up at the shower. To create this chalkboard sign, I used a framed chalkboard that my sister in law gave me, but found a similar one here.
WHAT YOU'LL NEED:
1. Chalkboard sign.
2. Chalkboard marker(s). Get more than one if your sign is really large or all of your letters are filled!
3. White chalk.
4. Paper.
5. Printer.
6. Double sided tape if your sign is larger than a standard sheet of paper.
7. Scissors.


DIRECTIONS:
1. Create your graphic using Adobe Illustrator, Microsoft Word, or whatever software you have access to. There are also a lot of free printables on Pinterest!
2. Print your artwork on regular paper.
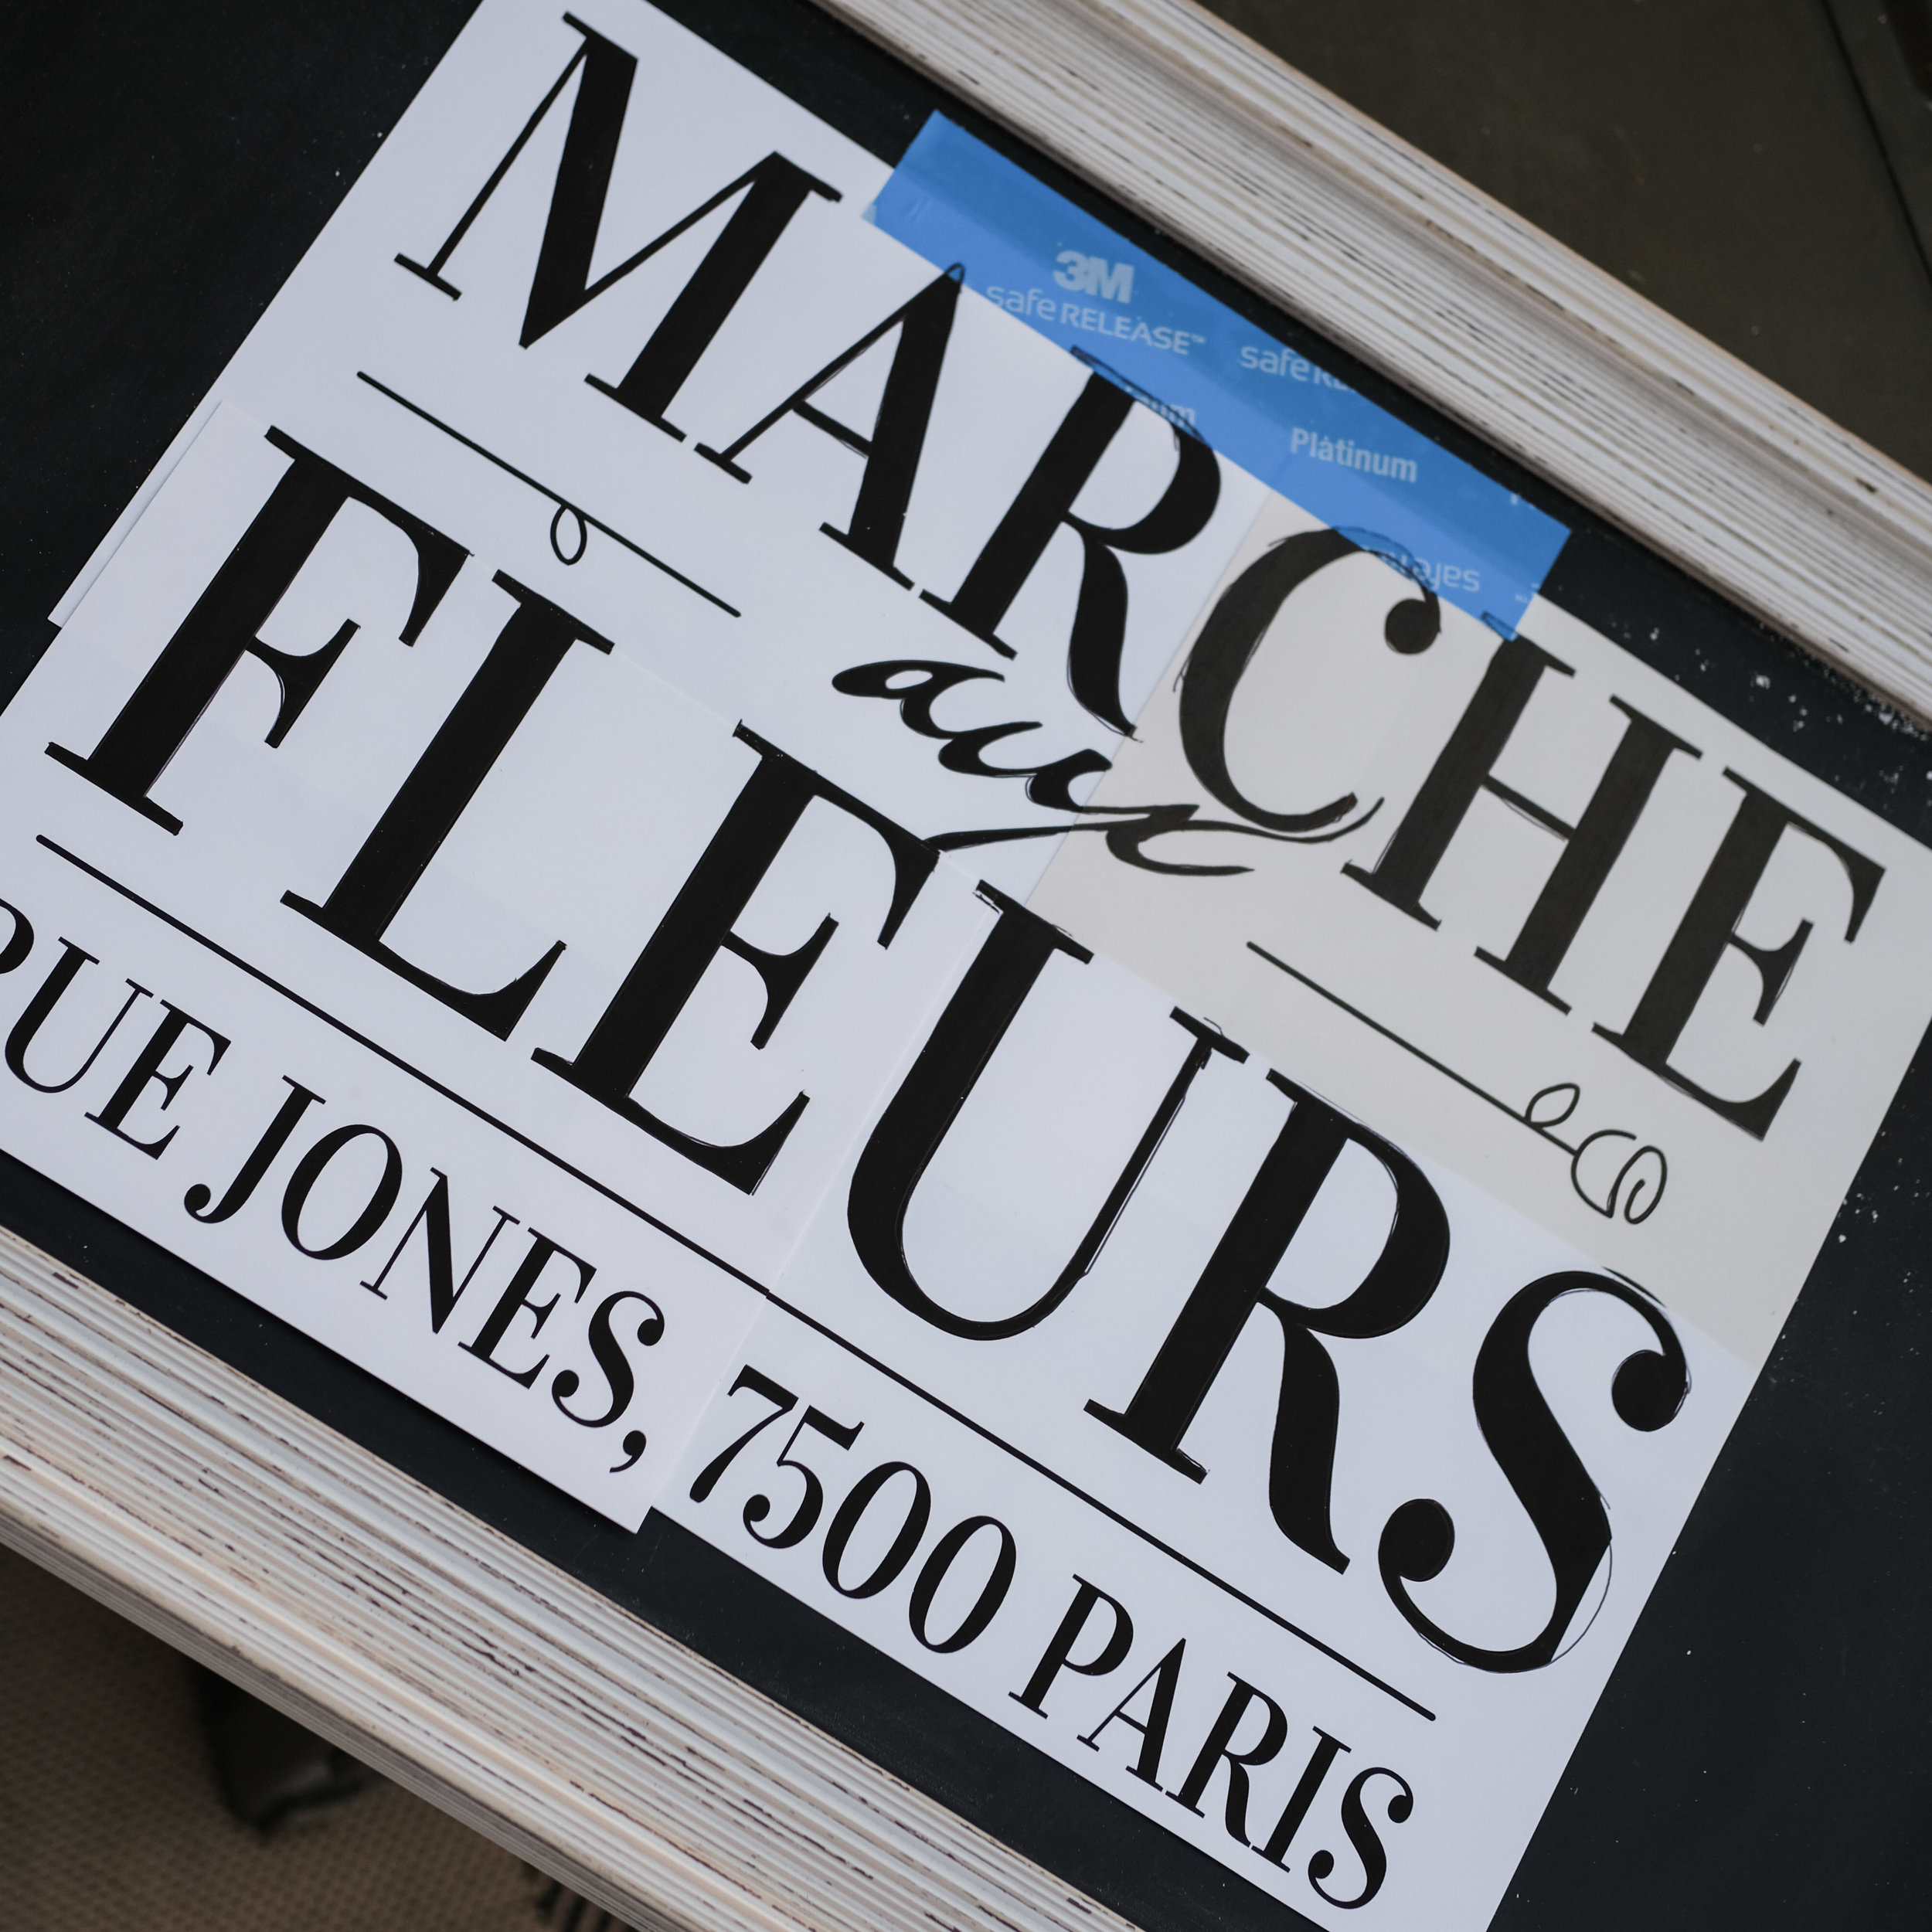
3. If the artwork is larger than a standard sheet of paper, print out each section of the sign, trim the edges, line up the text and use double sided tape to put all of the pieces together.
4. On the back side of the paper, trace the outline of all the letters with white chalk. If you can't see through the paper, you can just put chalk over the entire back side of the paper.
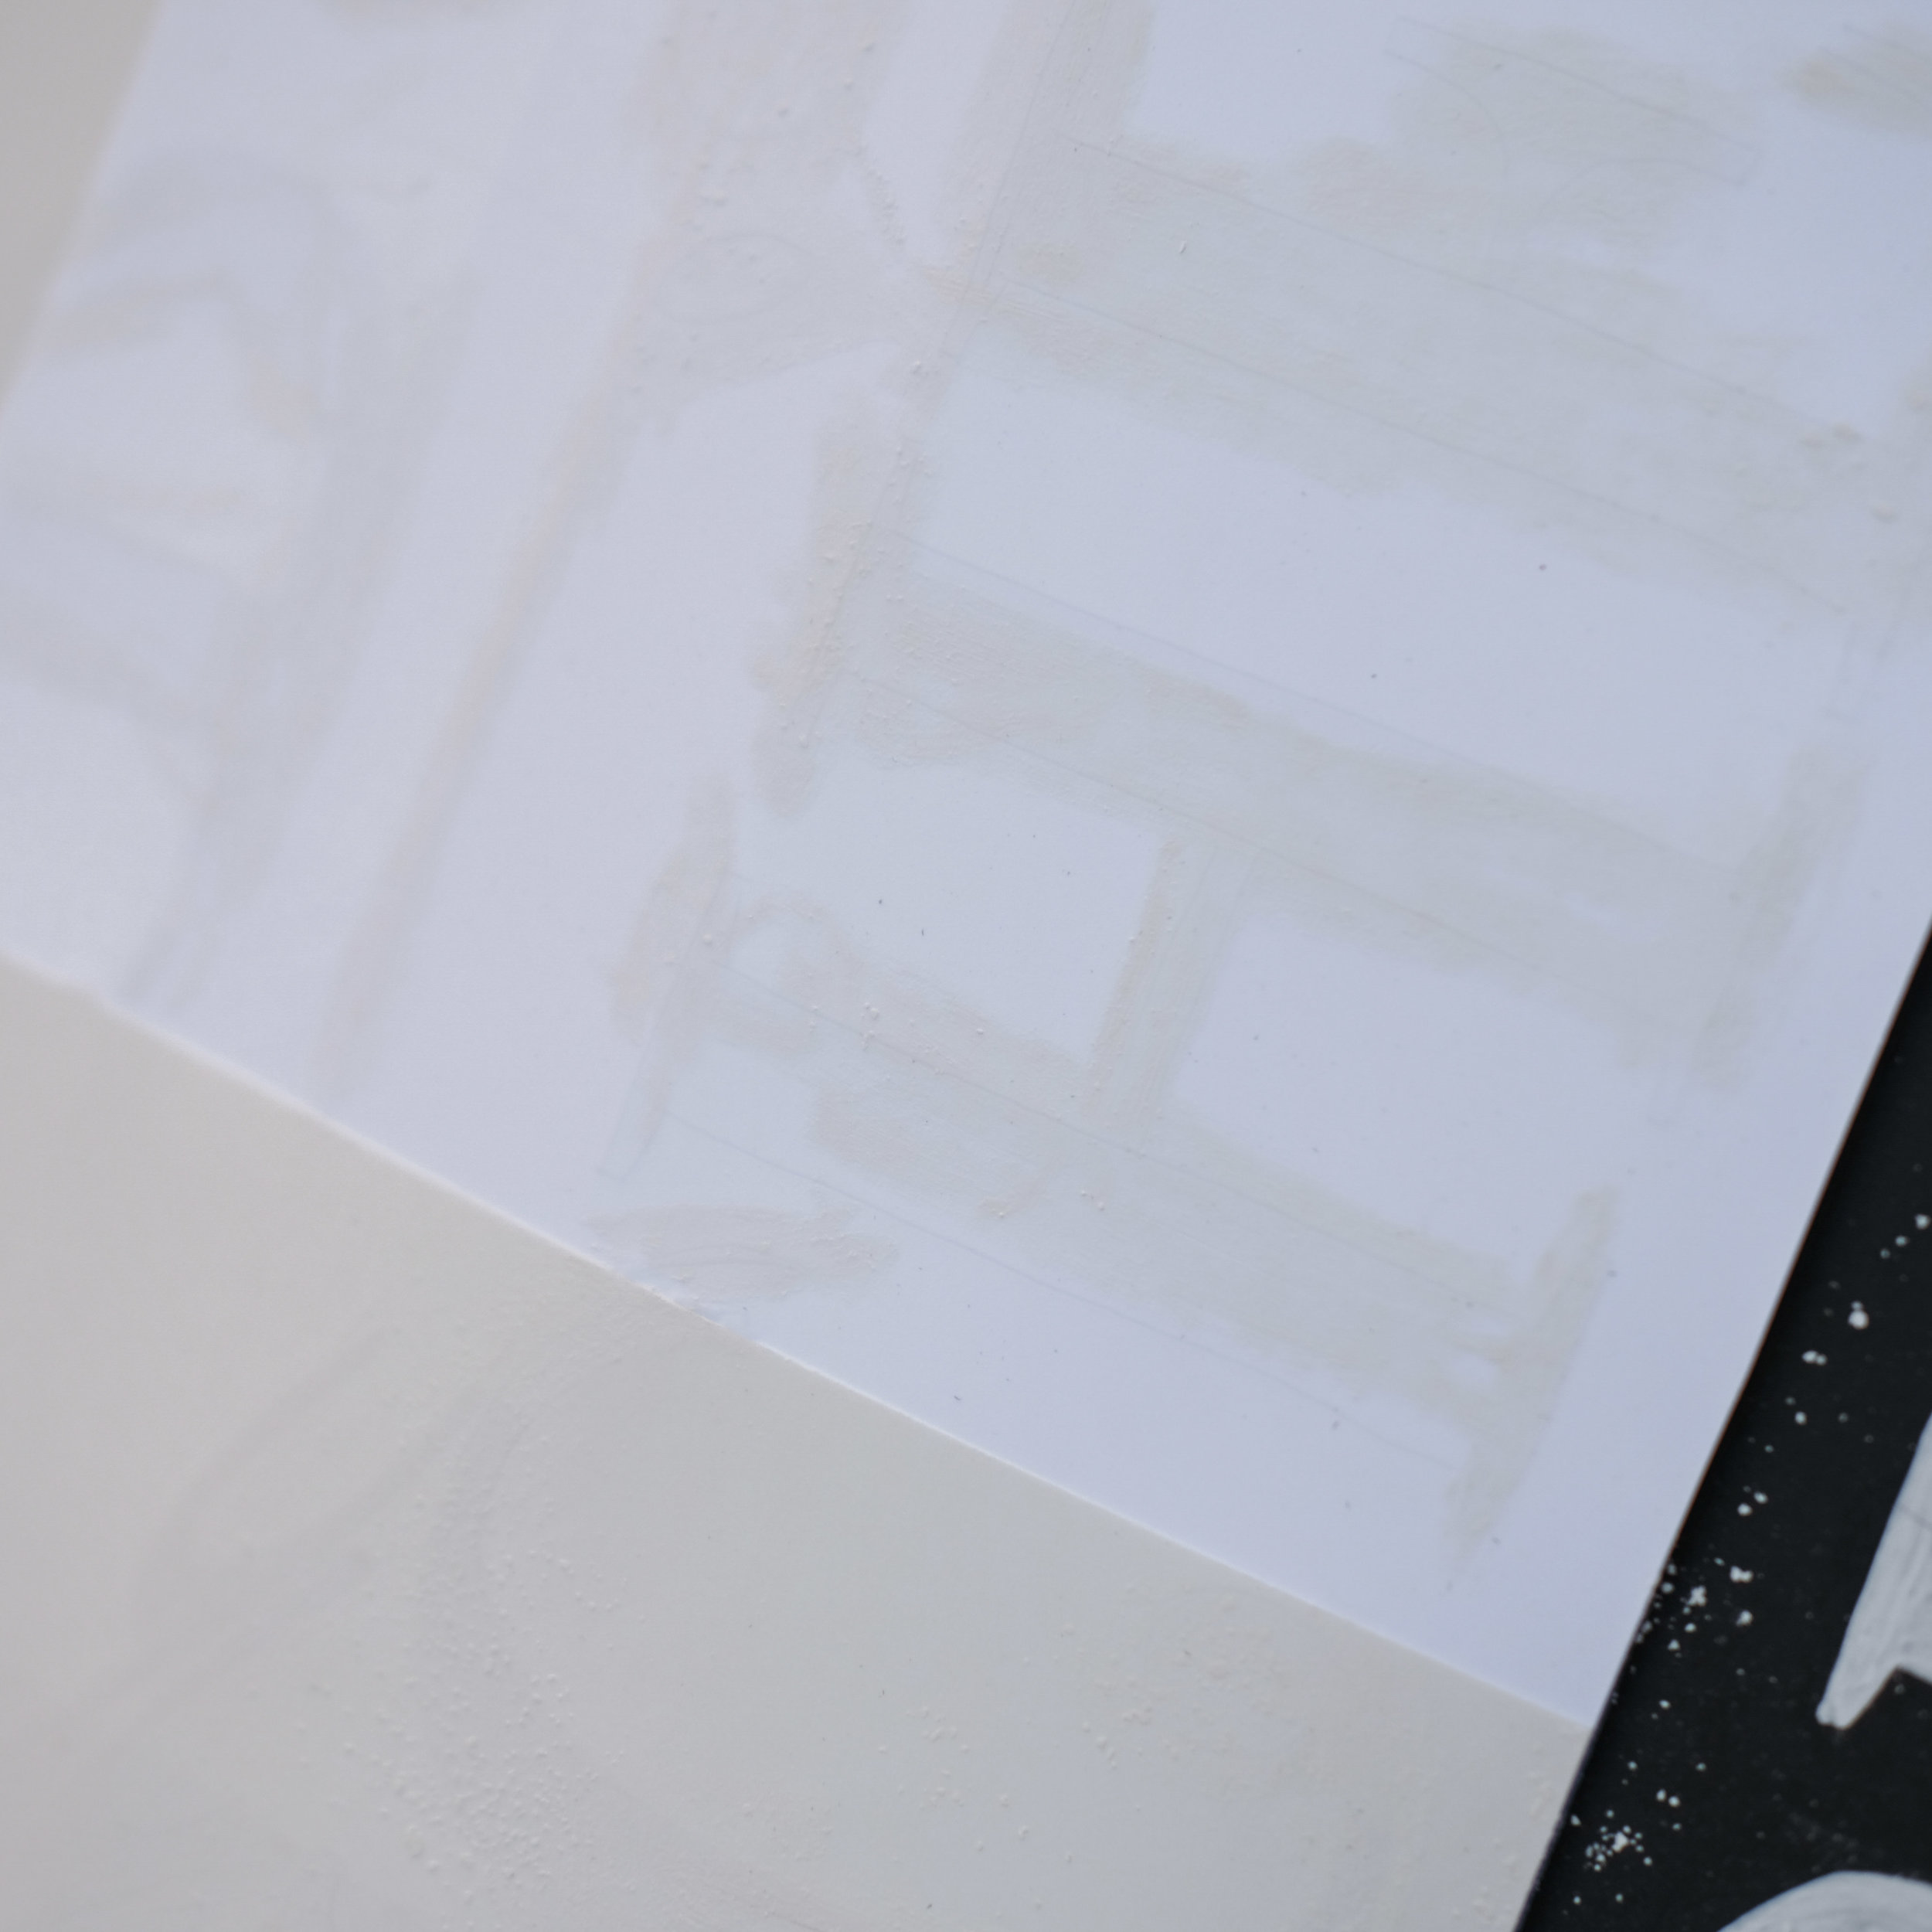
5. Adhere your artwork (chalk side down) onto the chalkboard sign with a piece of tape.
6. Using a sharp pencil (or pen), trace your design. Press down firmly so that the chalk transfers onto the chalkboard. I do one line at a time so that my hand doesn't rub the chalk off as I trace each letter with the chalk pen.
7. After transferring your design onto the chalkboard, it's time to fill the letters with your chalk marker! I do this from left to right so that my hand doesn't rub off any of the transferred chalk. If you do it this way, wait a few minutes in between each letter so that it doesn't smudge.
8. Trace the entire design with your chalk marker, let it dry and you're done! On this particular piece, I added some chalk dust by shaking the excess dust off the back of a piece of paper I scribbled on.

I'd love to see what you create! If you post your DIY on Instagram, tag me or #MAMJdiy! So excited to see what you come up with and I can't wait to share the rest of my baby shower with you soon!
Xo,
Haley