• MAIN //
  • HOME DECOR //
  • AMAZON //
  • TIKTOK //
  • SHOP MY INSTAGRAM //
  • ABOUT //
Menu

Me and Mr. Jones

Street Address
City, State, Zip
Phone Number
A FASHION & LIFESTYLE BLOG

Your Custom Text Here

Me and Mr. Jones

  • MAIN //
  • HOME DECOR //
  • AMAZON //
  • TIKTOK //
  • SHOP MY INSTAGRAM //
  • ABOUT //

BLACK AND WHITE ABSTRACT ART DIY //

August 27, 2021 Haley Jones
Modern living room design by Me & Mr. Jones.  Loloi Playa rug, Noir boomerang chairs, Crate & Barrel Wells sofa, Crate & Barrel sphere planter, arc lamp, and DIY abstract art.

In our formal living room there is so much wall space so we needed something that was really large. The only problem was that all of the abstract art I was finding was WAY out of our budget. When I stumbled on Josh Young Design House Instagram, I was enamored. But again, we couldn’t afford it. My mom who is an incredible artist was in town and encouraged me to try and create one of my own in colors and tones that fit our home. It turned out even better than I expected and cost under $200 to make. In today’s post I’m sharing all of the supplies I used and some tips if you’re wanting to give DIY abstract art a shot!

IY black and white abstract art by Me & Mr. Jones.
IY black and white abstract art by Me & Mr. Jones.5.jpg
IY black and white abstract art by Me & Mr. Jones.
Modern living room design by Me & Mr. Jones.  Loloi Playa rug, Noir boomerang chairs, Crate & Barrel Wells sofa, Crate & Barrel sphere planter, arc lamp, and DIY abstract art.
Abstract art diy.  Me & Mr. Jones home decor blog.

WHAT YOU’LL NEED //

  1. White paint

  2. Black paint

  3. Raw Sienna paint

  4. Mixing bucket

  5. Heavy Gel Medium (glossy)

  6. 3” paint brush

  7. Chalkboard markers

  8. Oil Pastel (optional)

  9. Art sponges

  10. Painting Knives

  11. Paintbrush Set

  12. 1” Paintbrush

  13. Canvas (I used 30x48)

TIPS TO CREATE YOUR OWN ABSTRACT ART //

The first thing I did with both canvases was to paint the entire surface including the sides. I used a 3” paint brush and just tried to get it really smooth. After that dried, I added layers of texture. This takes the most time and patience as it takes each layer about a day to dry! For the texture, I mixed black paint with a gel medium that has a glossy finish so the texture stood out more. I dipped the sponge into the mixture and just blotted onto the canvas. I did this with the larger sponge first.

For the second layer of texture, I added some swashes just using a smaller sponge. I would press a big glob of paint down and gently slide the sponge over. For the third layer of texture, I used the same mixture but added some raw sienna paint. During dry times I put the gel/paint mixture in an empty pickle jar that had been washed out and left it in the refrigerator so it didn’t dry out.

After all of the texturing was complete, it was time to add some small squiggles, lines, letters, etc. I wanted this painting to have meaning so it has hidden numbers and letters. There are 3’s for our wedding date that look like hearts, there are continuous cursive L’s for my mom, H’s for me, etc. I didn’t want to look super obvious that it was letters connected together so I practiced a lot on the paper I placed over my craft table. Most of the squiggles and letters were all done with the Chalkboard marker. To make it appear thicker, I put a paper towel over the marker for some of the loops. I also used the raw sienna paint to make some smaller loops as well.

For the large loops, I used 5 bottles of white paint. You have to have a really full bottle for it to squeeze out perfectly. I used small pieces of blue tape on each side of the canvas so that I could eyeball the spacing of the large loops and started with the loop in the center. After you put on the paint, use a large paintbrush to press the paint into the canvas. It adds so much texture and looks amazing!

After I was finished with the large loops, I hung my canvases on the wall but noticed a lot of the raw sienna got covered up. I used a small oil pastel to add in more raw sienna but this step isn’t necessary- just add more of your accent color in the beginning before painting the large loops!

Let me know if you have any questions, happy painting!

Xo,

Haley

YOU MIGHT ALSO LIKE //
DIY CHECKERBOARD PLANTER //

I’ve been going crazy over checkerboard home decor lately. It’s so fun and adds the perfect pop of pattern! I’ve found a few planters online with this motif but none large enough for our patio. This cement Target planter was on sale so I thought- I HAVE to try it! This project ended up being SO EASY other than the hiccup I had with the Cricut machine. New software updates helped, but keep reading to see how I made this checkerboard planter!

Read more →
DIY CHECKERBOARD ARTWORK //

Checkerboard home decor is all the rage right now and I LOVE it! I got this checkerboard rug and it completely transformed our living room. In today’s post I’m sharing how I made this simple checkerboard artwork. You could do this on a large canvas and it would be SO COOL!

Read more →
MAKE YOUR FAUX PLANTS LOOK EXPENSIVE WITH THIS EASY DIY

This DIY has been so popular on Tiktok and Instagram, I wanted to share it in more detail here! I added faux moss to several planters in our home and it makes the faux plants look SO MUCH BETTER! It gives them that Restoration Hardware feel without the price tag and the worry of having to spritz real moss every day. Keep reading to see how you can recreate this with your faux plants at home!

Read more →
MODERN SCONCES WITH PUCK LIGHTS //

I shared a puck light tutorial on Instagram and Tiktok, but figured I should also share here! These sconces are meant to be hard-wired but since I really only needed them to be for looks, I decided to mount them to the wall without hard-wiring and use puck lights that come with a remote. I didn’t cut the wires in case we want to have these wired in another room in our house down the road. I also used the adhesive that the puck lights came with to attach them to the sconce instead of gluing them for the same reason. Here are all of the links for this project:

SCONCES // PUCK LIGHTS // BENCH // HORSE PHOTO // BATTERIES // BATTERY CHARGER //

Read more →
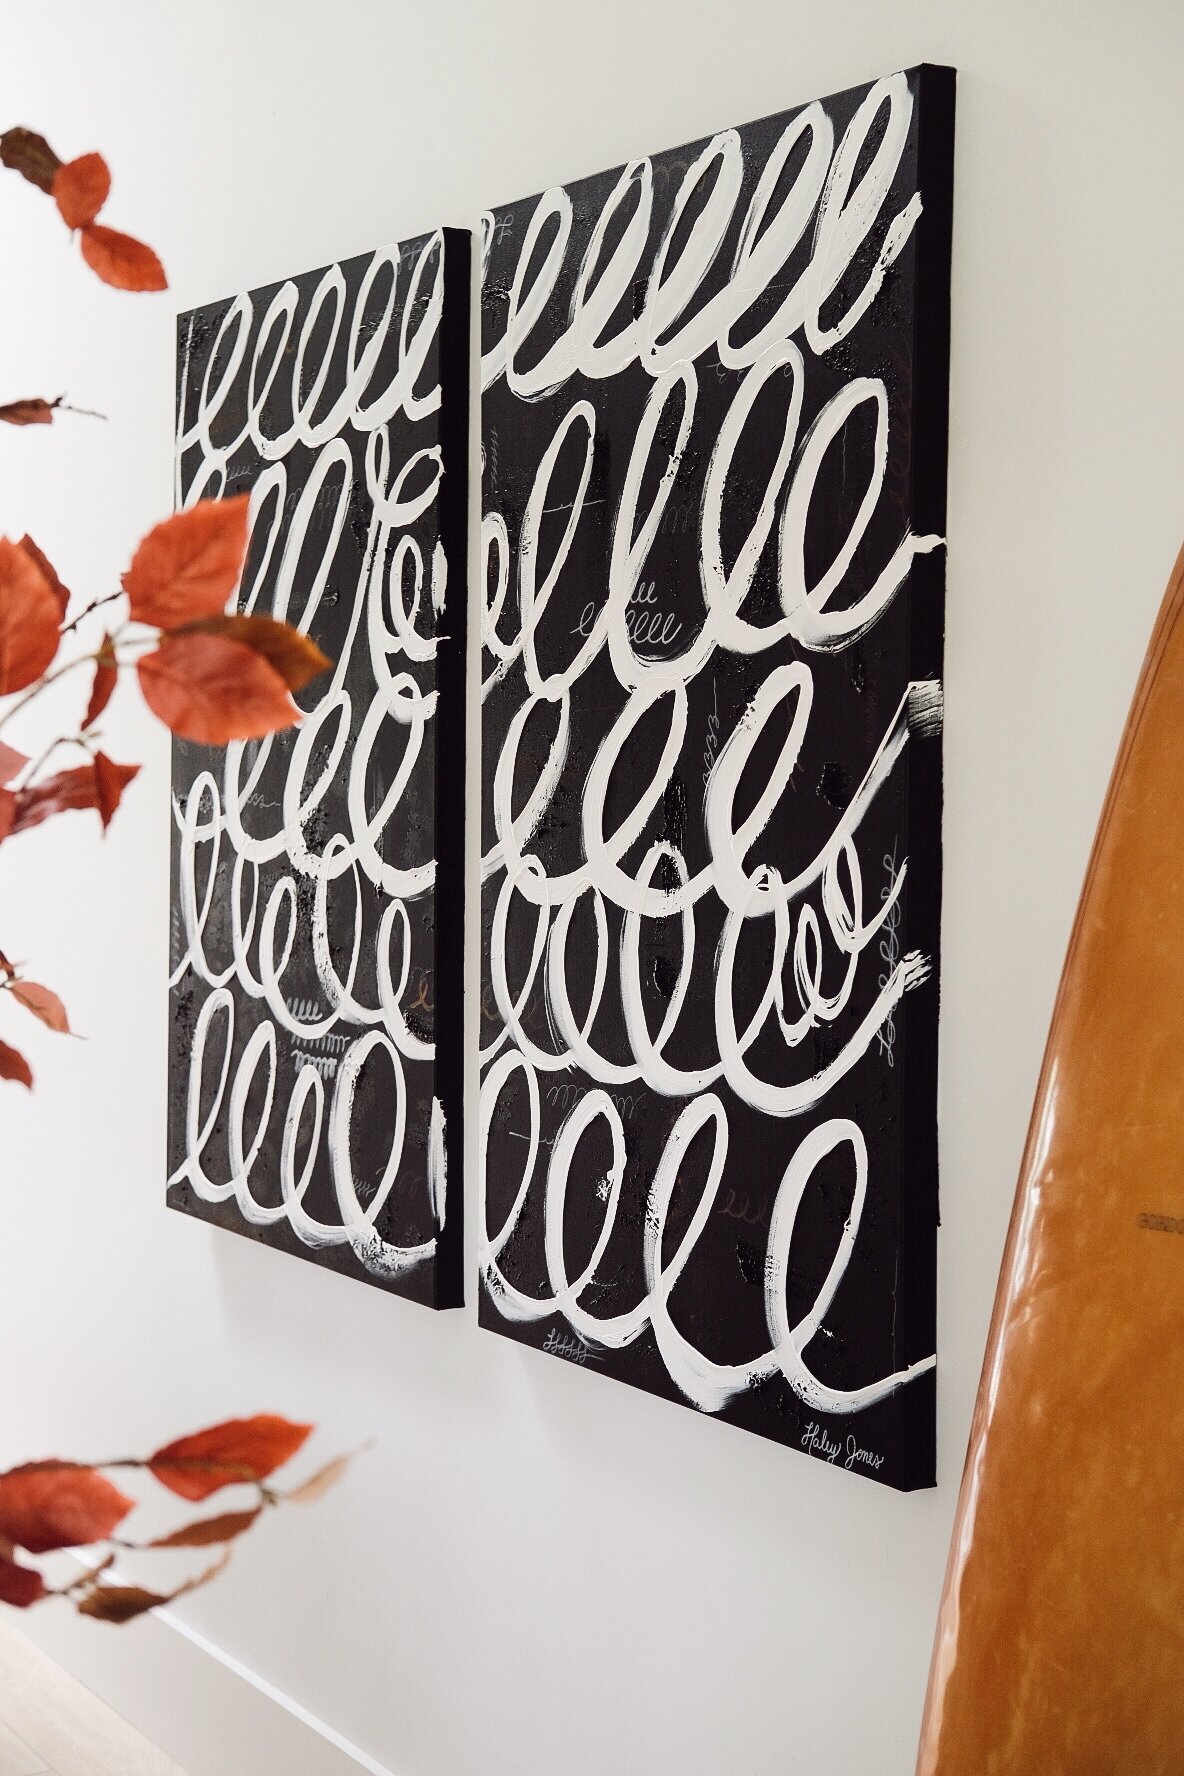
BLACK AND WHITE ABSTRACT ART DIY //

In our formal living room there is so much wall space so we needed something that was really large. The only problem was that all of the abstract art I was finding was WAY out of our budget. When I stumbled on Josh Young Design House Instagram, I was enamored. But again, we couldn’t afford it. My mom who is an incredible artist was in town and encouraged me to try and create one of my own in colors and tones that fit our home. It turned out even better than I expected and cost under $200 to make. In today’s post I’m sharing all of the supplies I used and some tips if you’re wanting to give DIY abstract art a shot!
Read more →
DIY ABSTRACT ART INSPIRED BY ANDY BLANK //

I found this painting on Tiktok and knew I needed it in our home! The black version however was sold out, so I decided to make one of my own that was the perfect size for our modern home office. We just moved the Minsmere cabinet I painted black into the office for more storage and the only thing missing was some modern abstract artwork! In today’s post I’m sharing how I created this painting and all of the supplies I used.

Read more →
THE BEST MATTE BLACK SPRAY PAINT AND PAINT(S) //

After this reel went viral, I’ve had so many questions about my favorite black spray paint. I have a couple! I’ve spray painted windows, beds, fabric, you name it so I’d say I’ve done my research. I also have a few favorite black paints for furniture as well and I’m sharing all of them in today’s post.

Read more →
HOW TO PAINT FURNITURE MATTE BLACK //

We had these nightstands for years, but when we moved to Florida last year and started on our modern remodel, they just didn’t fit in. To bring them up to date without splurging on a new set of nightstands, I simply painted them matte black and gold! In today’s post I’m sharing my secrets to painting furniture matte black with finishes that will last.

Read more →
DIY DESK FOR A SMALL SPACE OFFICE //

ince I started working from home I’ve never really had a space of my own. I’d spend hours sitting on the sofa working on my computer and I always felt so unmotivated and way too cozy! So a few months ago I set out to find a desk that would work in our guest bedroom. I wanted to DIY something so it wouldn’t be too expensive and the perfect size. Back in March I was actually having a really bad day and decided to go thrifting to boost my mood and I found the perfect console to use as a desk!

Read more →
STYLISH SOLUTIONS FOR AWKWARD ENTRYWAY SPACES

One of the design challenges I faced when moving into our new home was the awkward entryway space. It’s a skinny wall between the hallway and Skyler’s office, so you can’t have a large piece of furniture like a console. We also keep our keys in a bowl in the entryway so that we always know where they are, but we needed something that was high enough that Jett couldn’t reach them. We had a piece of furniture tall and skinny enough, but the problem was that Mr. Jones and I both hated it. I came up with a few ideas for this space, but ultimately decided to refinish the piece we already have to save money. In today’s post I’m sharing how I revamped this space spending very little money and some other ideas I had for an awkward entryway!

Read more →
In DIY
← ABSTRACT ART AND FRAME DIY //INFORMAL FORMAL LIVING ROOM TOUR // HOME SWEET RENO →
No results found

Keep Up With The Joneses

Sign up with your email address to receive news and updates!

Thank you!
Summary Block
This block is invalid. Please check the block settings and try again.
Featured
Aenean eu leo Quam
Aenean eu leo Quam

Quisque iaculis facilisis lacinia. Mauris euismod pellentesque tellus sit amet mollis.

Read more →

Powered by Squarespace