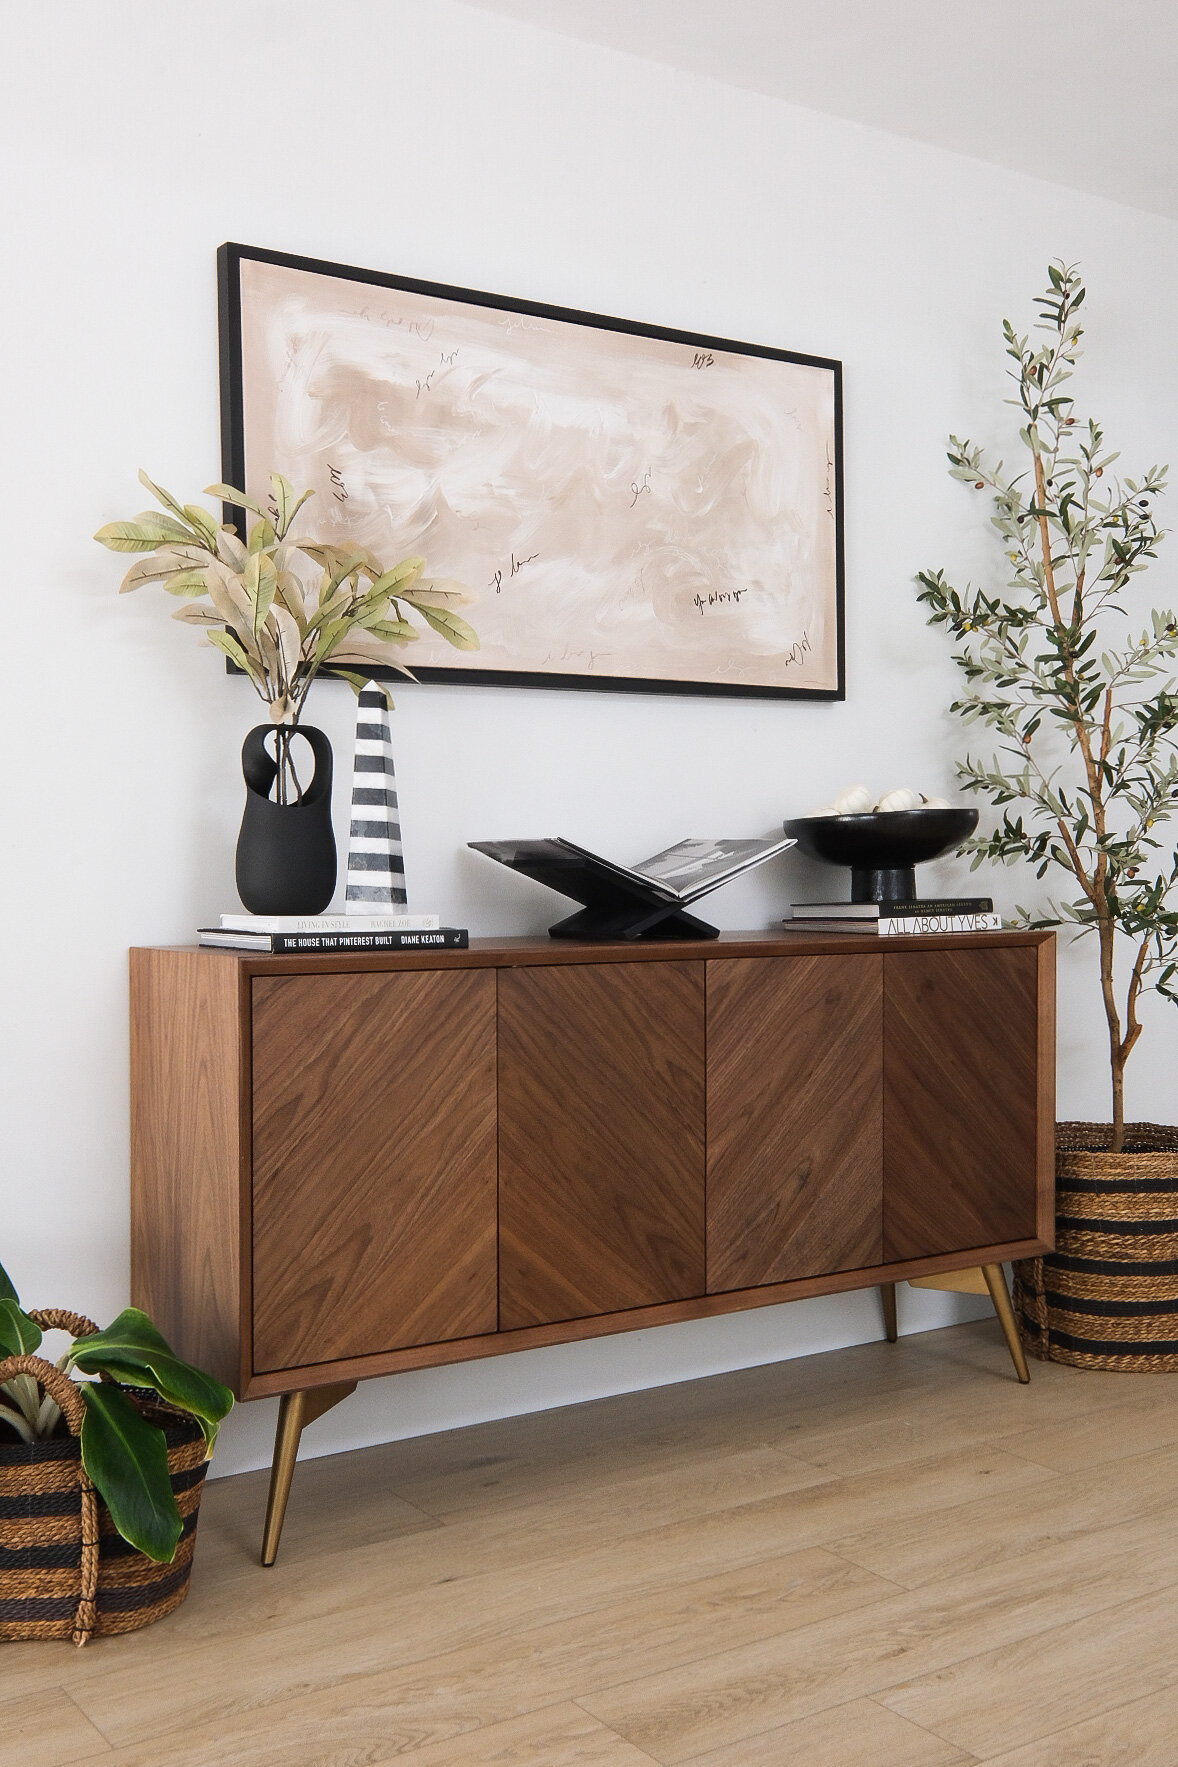
I’ve been having so much fun creating artwork for our home! You probably could tell if you’ve seen this and this, but in today’s post I’m sharing a piece that I made for our bedroom. I also made the frame and it was pretty simple. I used power tools but you don’t necessarily need them! Keep reading for some tips as well as a list of tools I used for both the painting and the frame.


PAINT (PARCHMENT, UNBLEACHED TITANIUM, AND WHITE)
For the painting, I didn’t really have a plan or inspiration. I did want the colors to be blended together on the first layer so I just squirted the 3 shades in different spots and then went over that with a 3” paintbrush. That perfectly blended the colors together! While that was still wet, I mixed the acrylic medium with white paint and made an inner layer.l I spread out the thickened paint and then kind of made an imperfect rectangle. While it was still wet, I used a 2” paintbrush to create waves . The acrylic medium mixed with paint dries in 24 hours or less.
For the script, I used markers I’ve had since college- ha! They are really cool markers that have a watercolor tip. I didn’t want the script to be too legible on purpose. I wrote things like, “ily,” “te amo,” je t’aime,” and “only you.” It’s going in our main bedroom over our new bed so I wanted it to have a romantic meaning behind it. I also added “103” for our wedding date, 10/3. You can kind of tell if you look at it really closely!
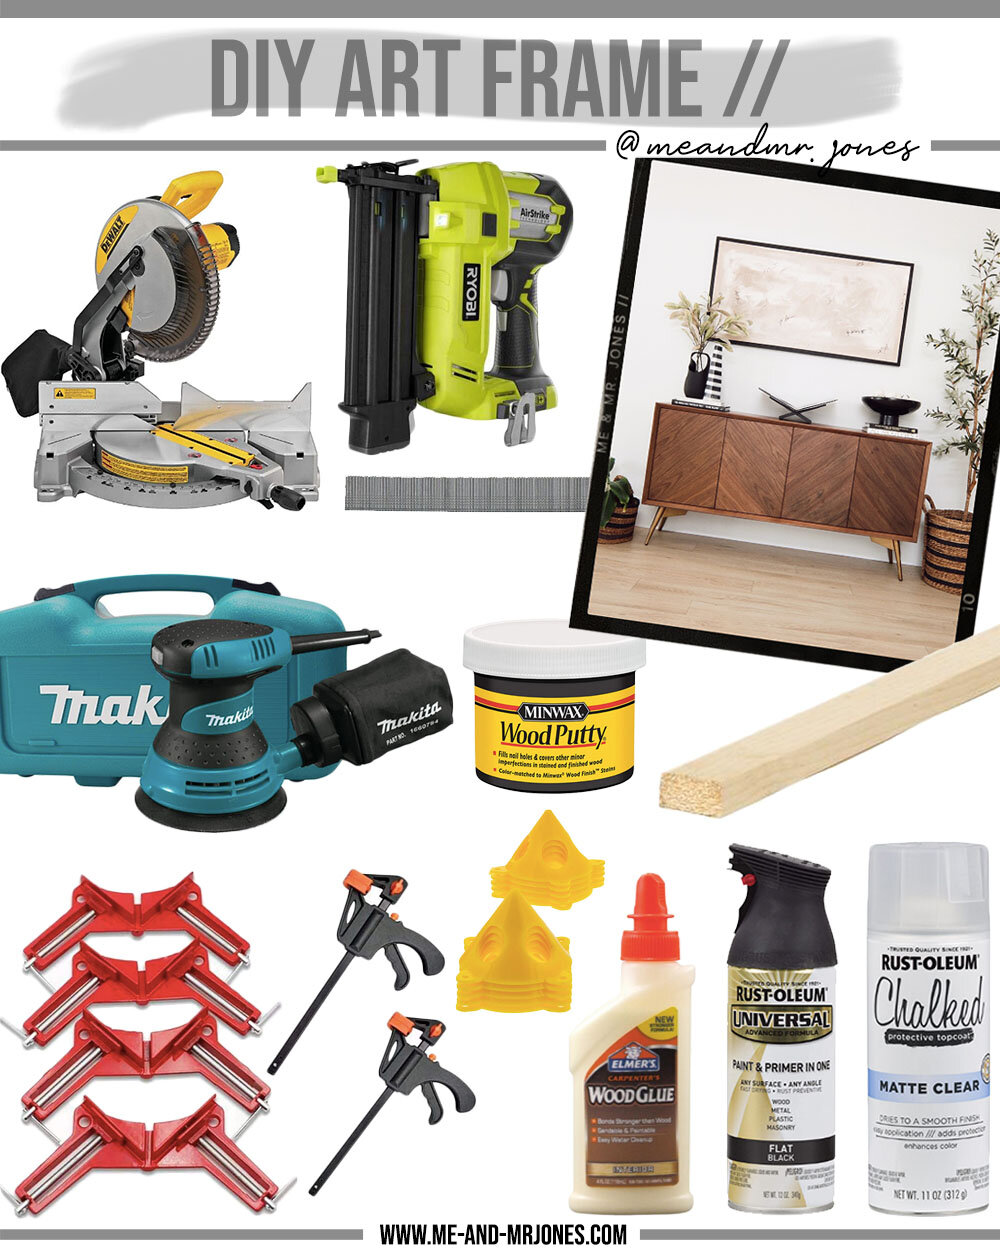
For the frame, I purchased (2) 1x2x8 boards from Home Depot. They were just $5 a piece. I measured each side of the canvas and added 1/4” to each measurement to make sure the frame fit snug around the canvas. I cut the (2) 48.25” pieces and (2) 24.25” pieces at the same time so they were the exact same length and cut them at a 45 degree angle so the edges were mitered like a professional frame.
After I had the pieces cut, I used wood glue on the joints and clamped them together with special corner clamps. After the clamps were in place, I used my nail gun to secure them. Next, I filled in the holes with wood putty. PRO TIP- this wood putty doesn’t actually dry and harden so you have to be careful when you apply it. You only want the putty to be in the holes and joints and not on your boards because it will make the paint look weird and have drying issues. I learned that the hard way! Using your finger with the putty would work best and make sure to wipe away any excess that’s not filling holes or gaps.
The next day after everything was dry, I used an orbital sander to make sure the joints were nice and even. You can use a regular sanding block for this but the orbital sander just made it faster! Make sure you wipe down the frame before painting. I use painter’s tripods for things like this so the piece doesn’t get stuck to my drop cloth. I used about 3 coats of matte black spray paint and one coat of matte clear coat.
The frame ended up fitting onto the canvas so well that I didn’t need to use anything to attach the two together! The only issue I ended up having was that the canvas isn’t exactly straight on the top and the bottom so there is a small gap. I thought about nailing the 2 together, but after hanging it on the wall you couldn’t really see it- hooray! Overall, it wasn’t the easiest project I’ve ever done but I think I’ll give it another go if I do another painting in the future.
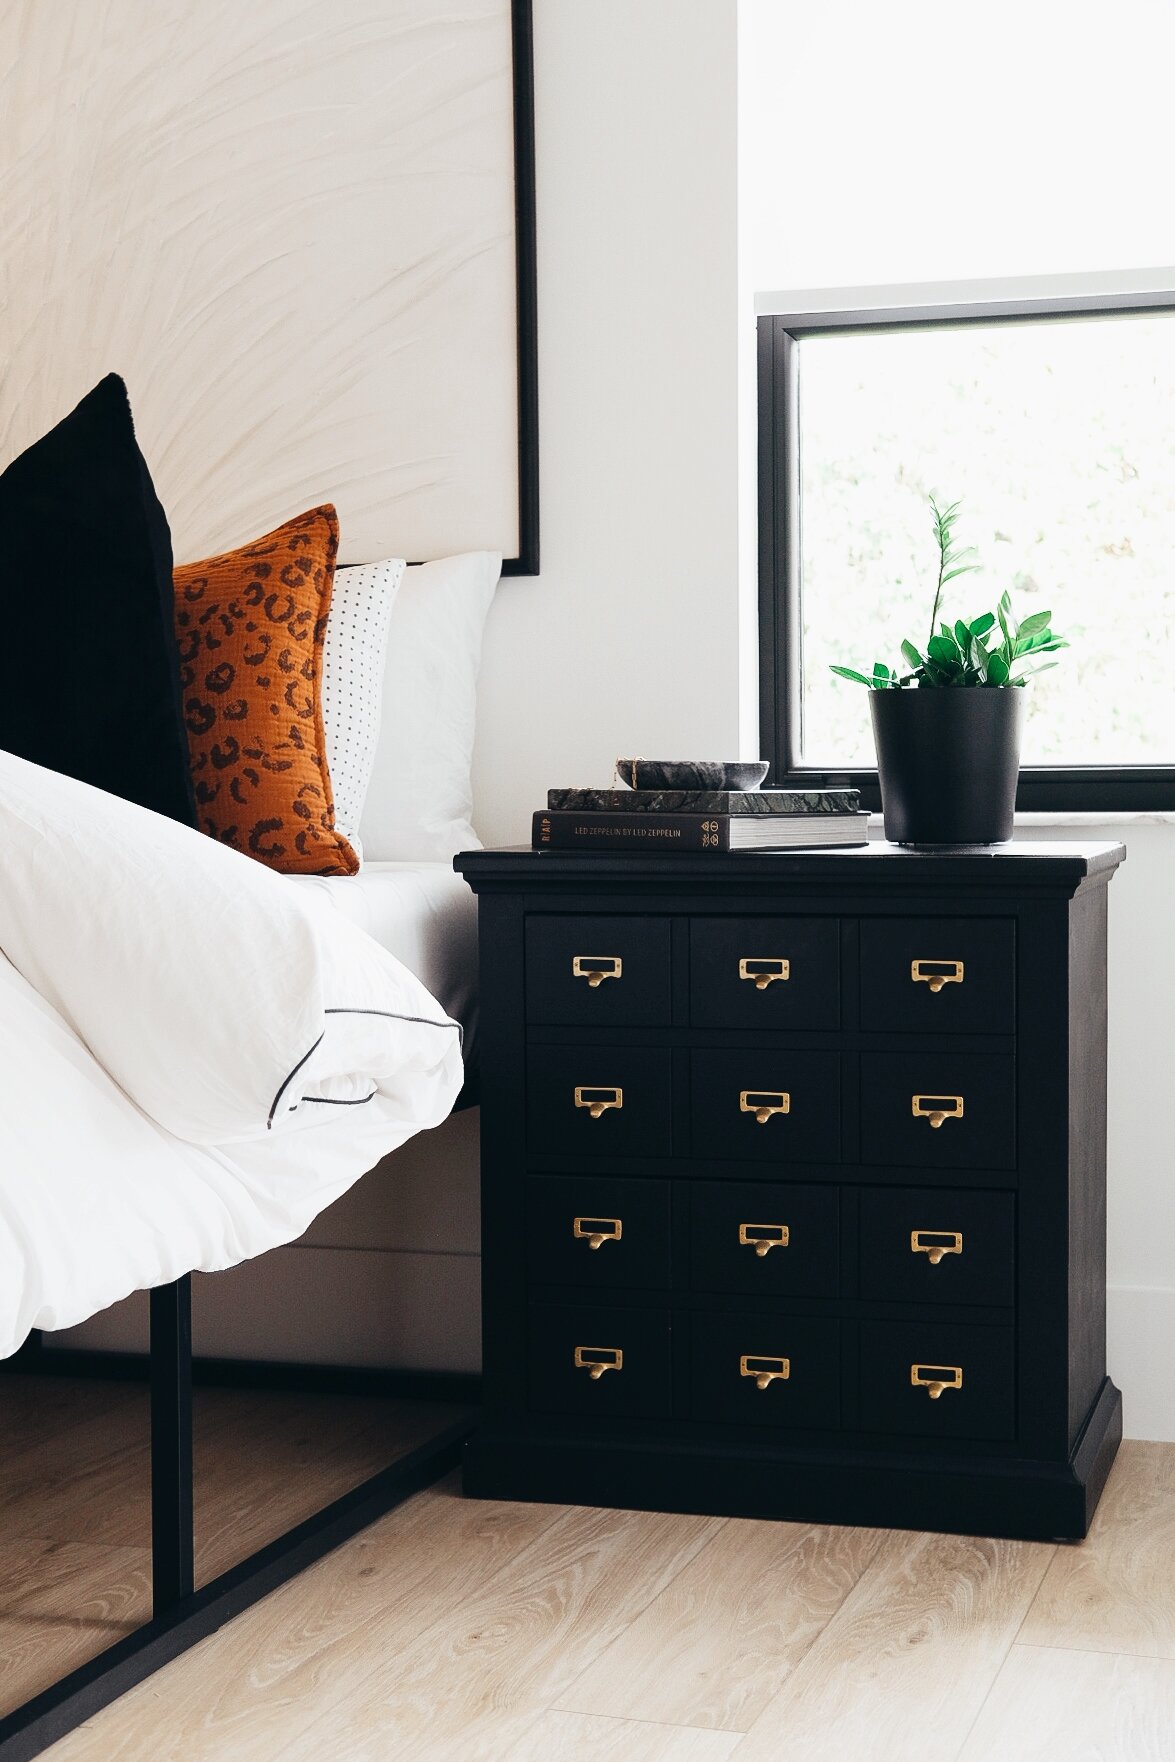
Our new bed is supposed to be delivered the first week of October, so make sure to check back to see this beauty hanging up in our bedroom!
Xo,
Haley