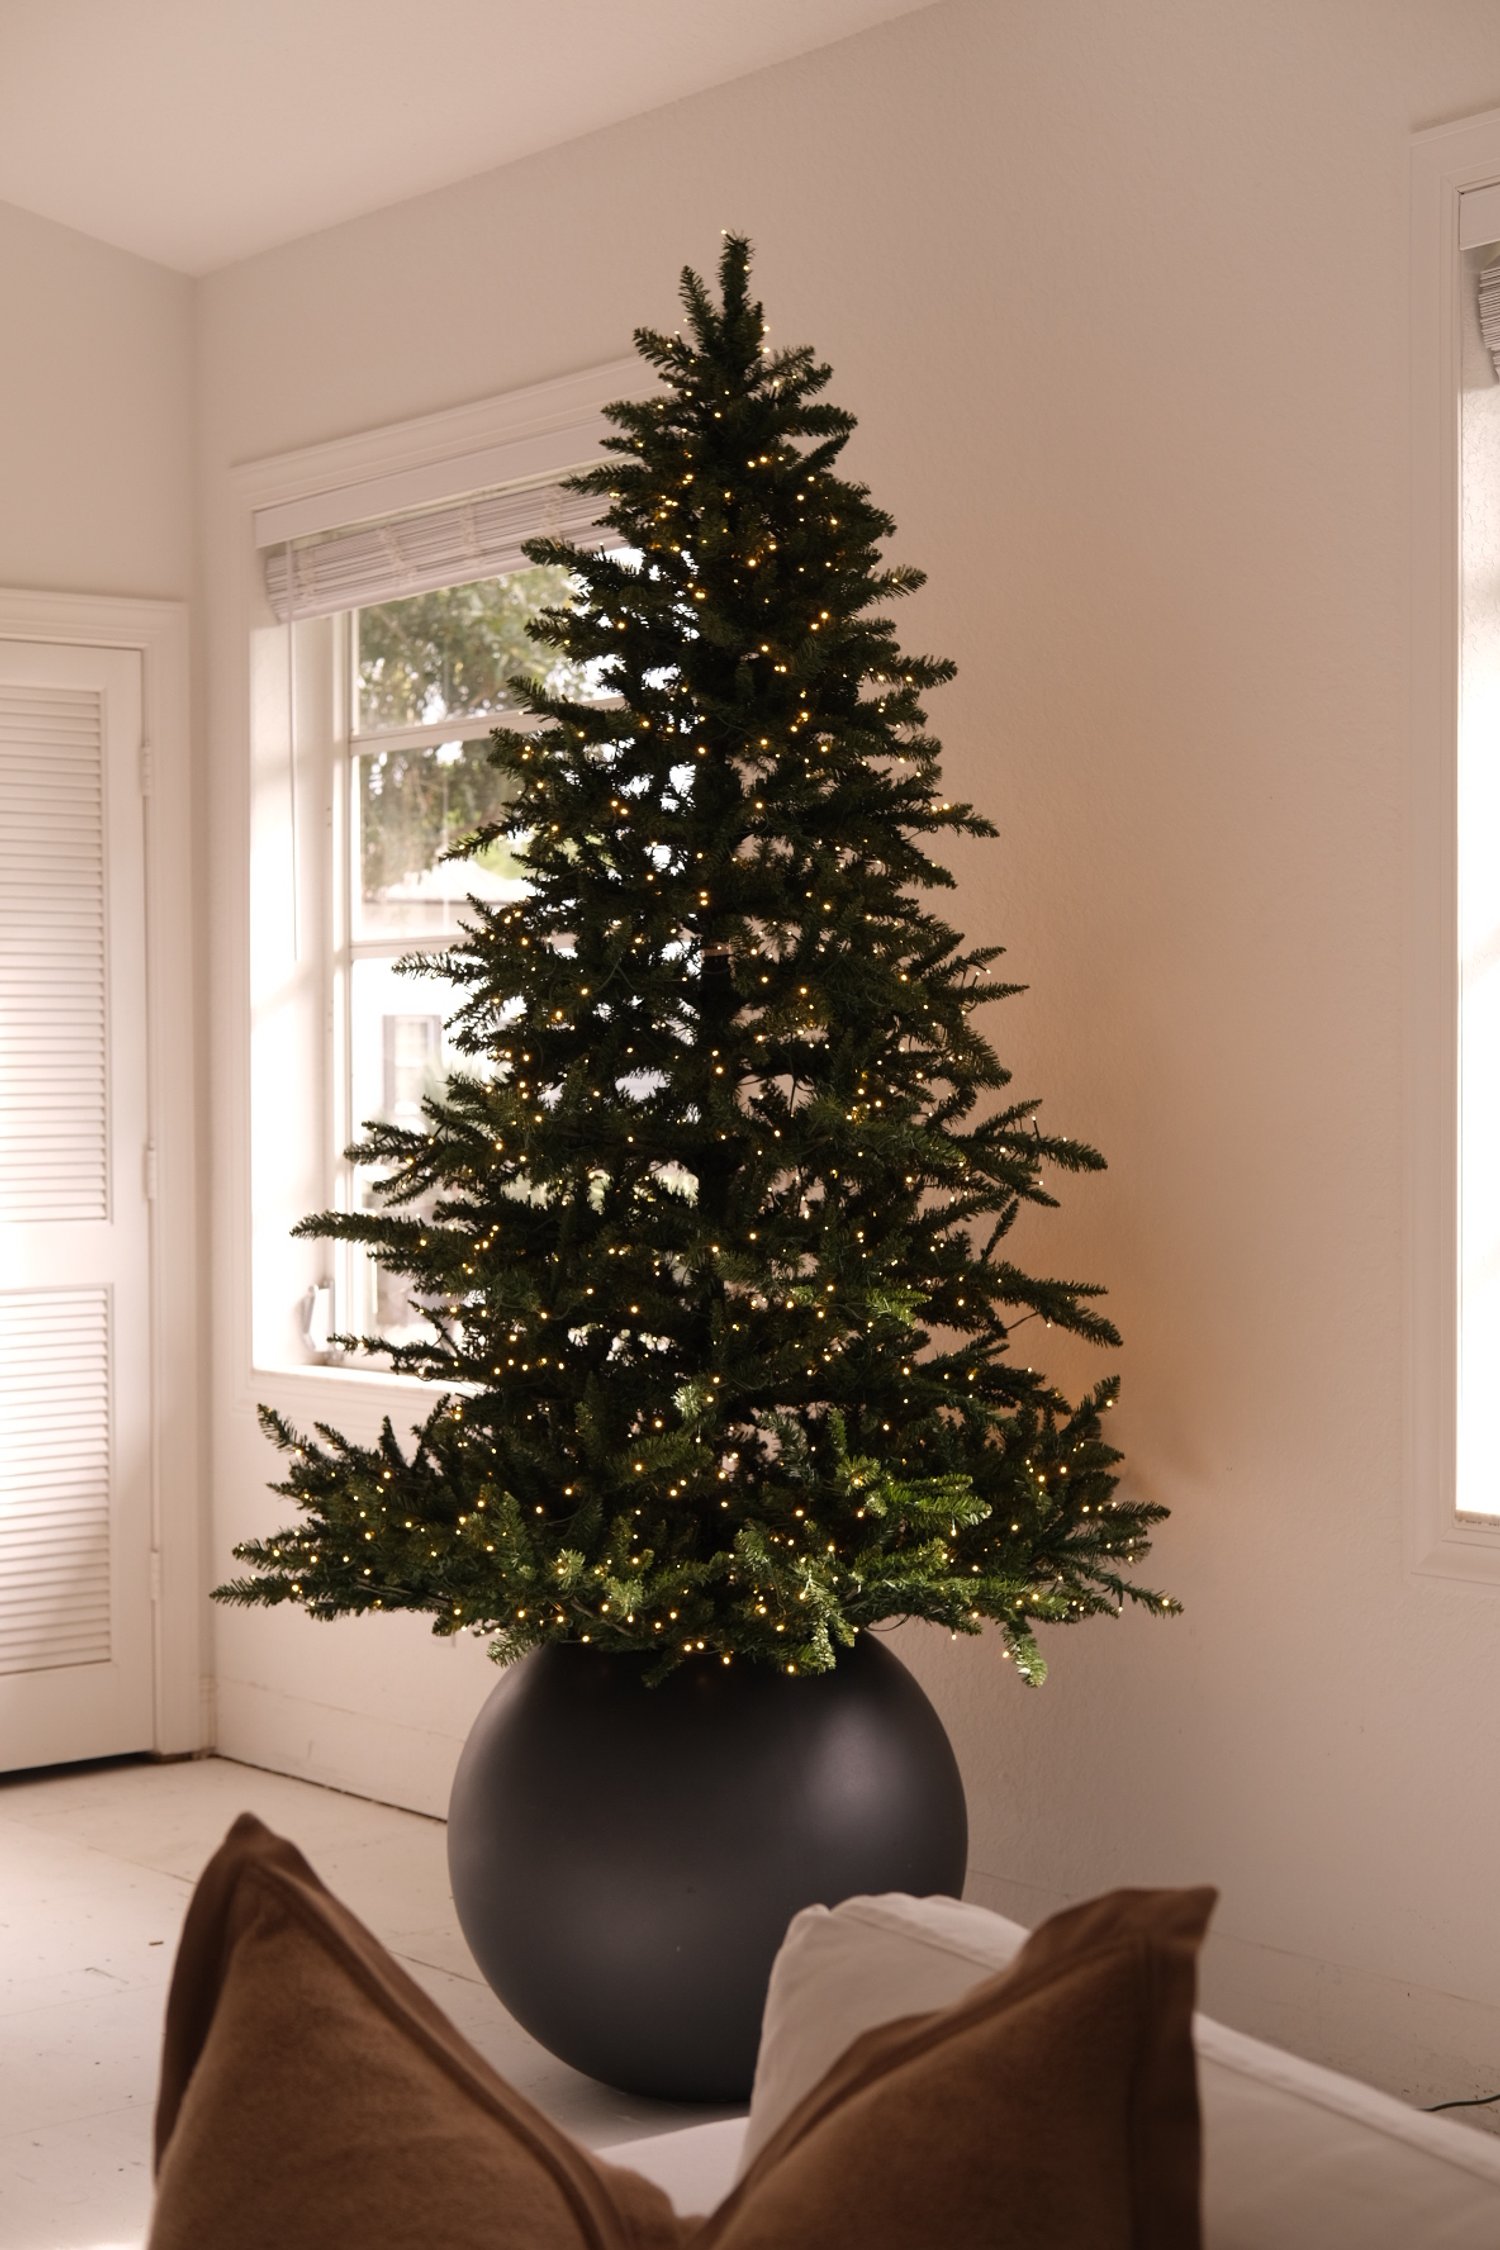
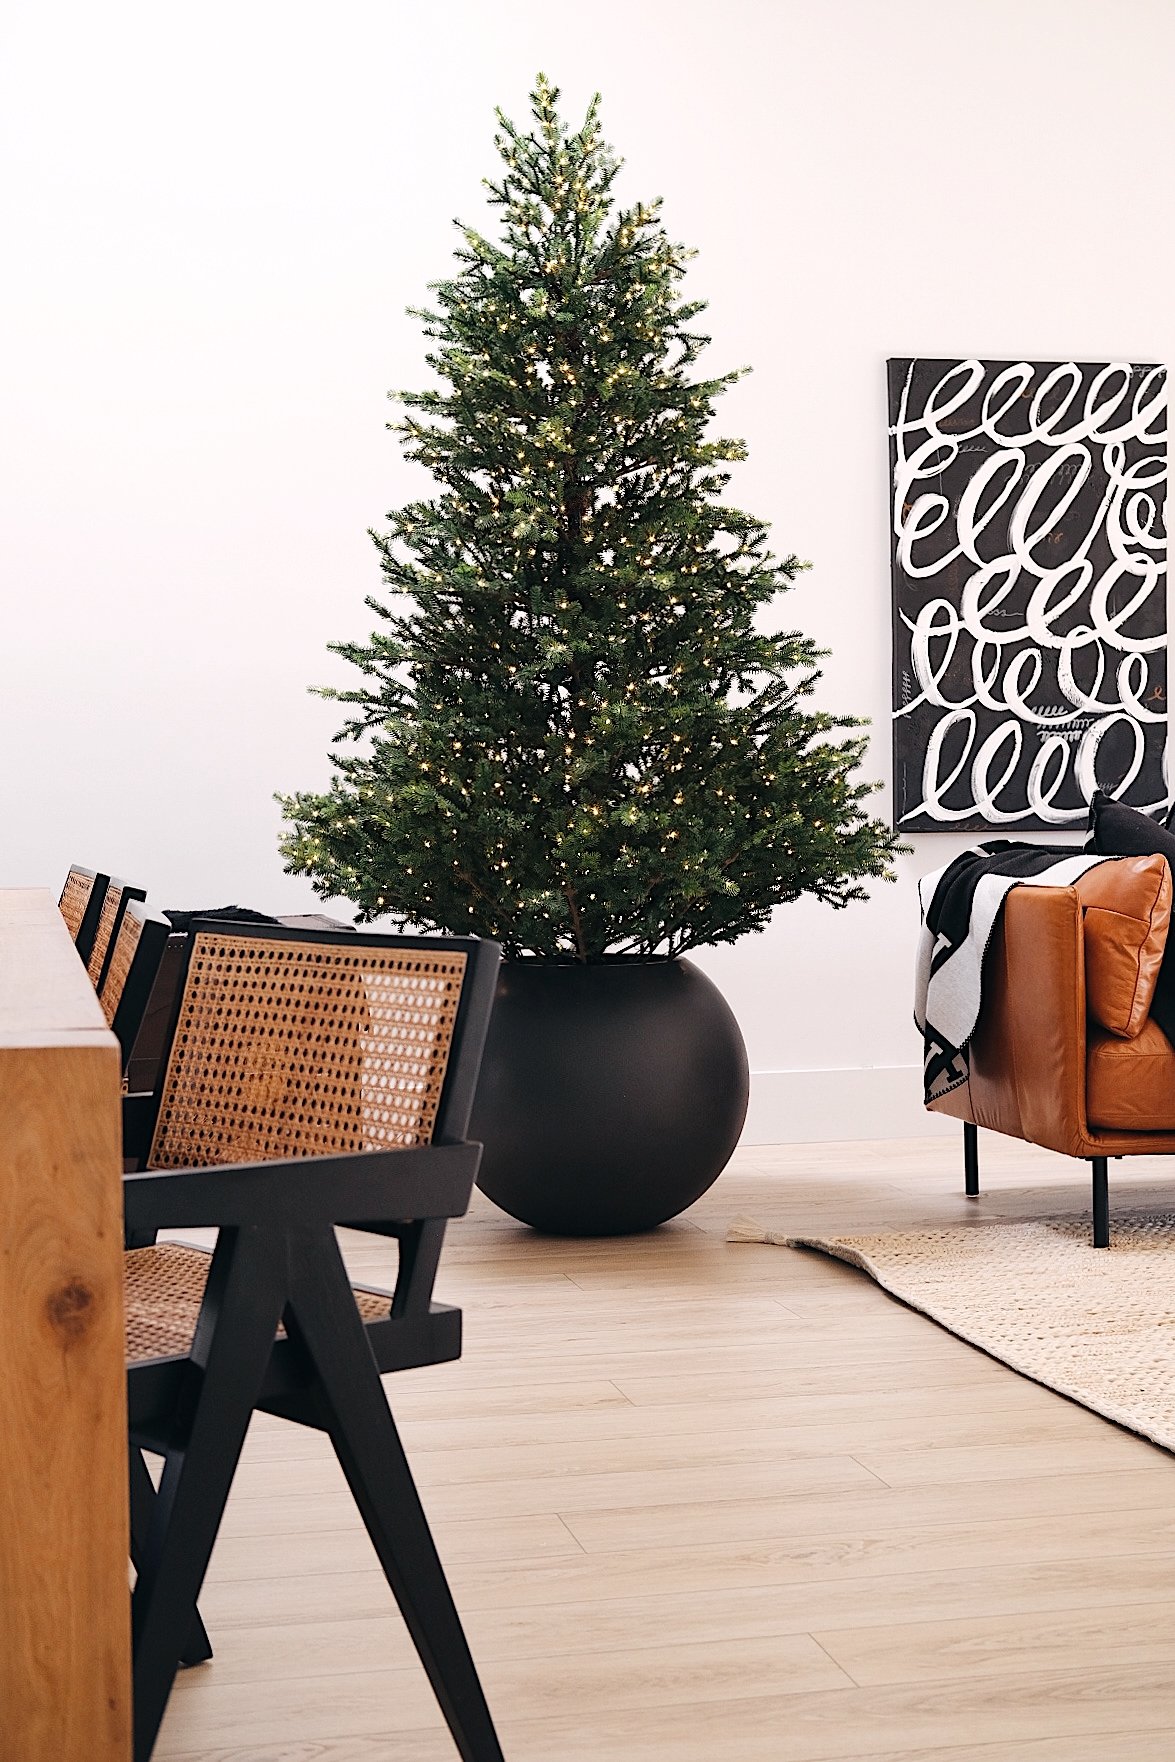
Last year Pottery Barn's plaid ornaments caught my eye and when I saw them again this season, I knew I had to DIY some! We have a small Christmas tree, so I wouldn't need to purchase that many but even at $5 on sale, the PB ornaments are a little out of my price range. I ended up making 10 ornaments for less than $15 with supplies left to make at least 6 more- major money saver! Keep reading for supplies and instructions for these DIY plaid ornaments!

The best part about these DIY plaid ornaments is that they aren't breakable! As long as they're stored properly, they should last for years to come. I plan on making more next year in a different plaid fabric!
WHAT YOU'LL NEED:
1. Plaid fabric. I got 1 yard.
3. Hot Glue Gun
4. Glue Sticks
5. Baker's twine or ribbon.
6. Scissors.

1. Cut the fabric before ripping the 1.5" fabric strips. You'll want each strip to be 1 yard long.
2. After cutting a small section, pull fabric in opposite directions to create a fabric strip with frayed edges.
3. Put a small piece of hot glue on the styrofoam ball.
4. Attach a fabric strip to the styrofoam ball. Make sure you attach the center of the fabric strip.
5. Tie the fabric strip on the other side. Make sure the fabric is tight and not folded under.
6. Tie the fabric strip one more time perpendicular to the first loop. Before tightening the knot, slip in another strip of fabric and make sure each side is long enough to cover the remainder of the styrofoam ball (approximately 8"). Tighten the knot over the extra fabric strip.
7. Use a small amount of hot glue to make sure that the fabric strips stay in place.
8. Trim the excess of the extra fabric strip so that they meet at the top of the ornament.
9. Repeat step 7 & 8 for the other side of the extra fabric piece.
10. Repeat step 7 for the third piece.
11. Repeat step 7 for the fourth piece.
12. Cut a 6" piece of baker's twine and tie in a knot.
13. Adhere the baker's twine knot to the top of the ornament with hot glue. The knot should go right in between each end of the extra fabric piece.
14. Bring one of the remaining long pieces through the loop.
15. Tie tightly.
16. Tie once again, making sure the knots are tight.
17. Trim the ends so they are even.
18. Hang on the tree and enjoy!
I can't wait to see your plaid ornaments- if you post a photo on Instagram make sure you tag #MAMJdiy!
Have the best day!
Haley