
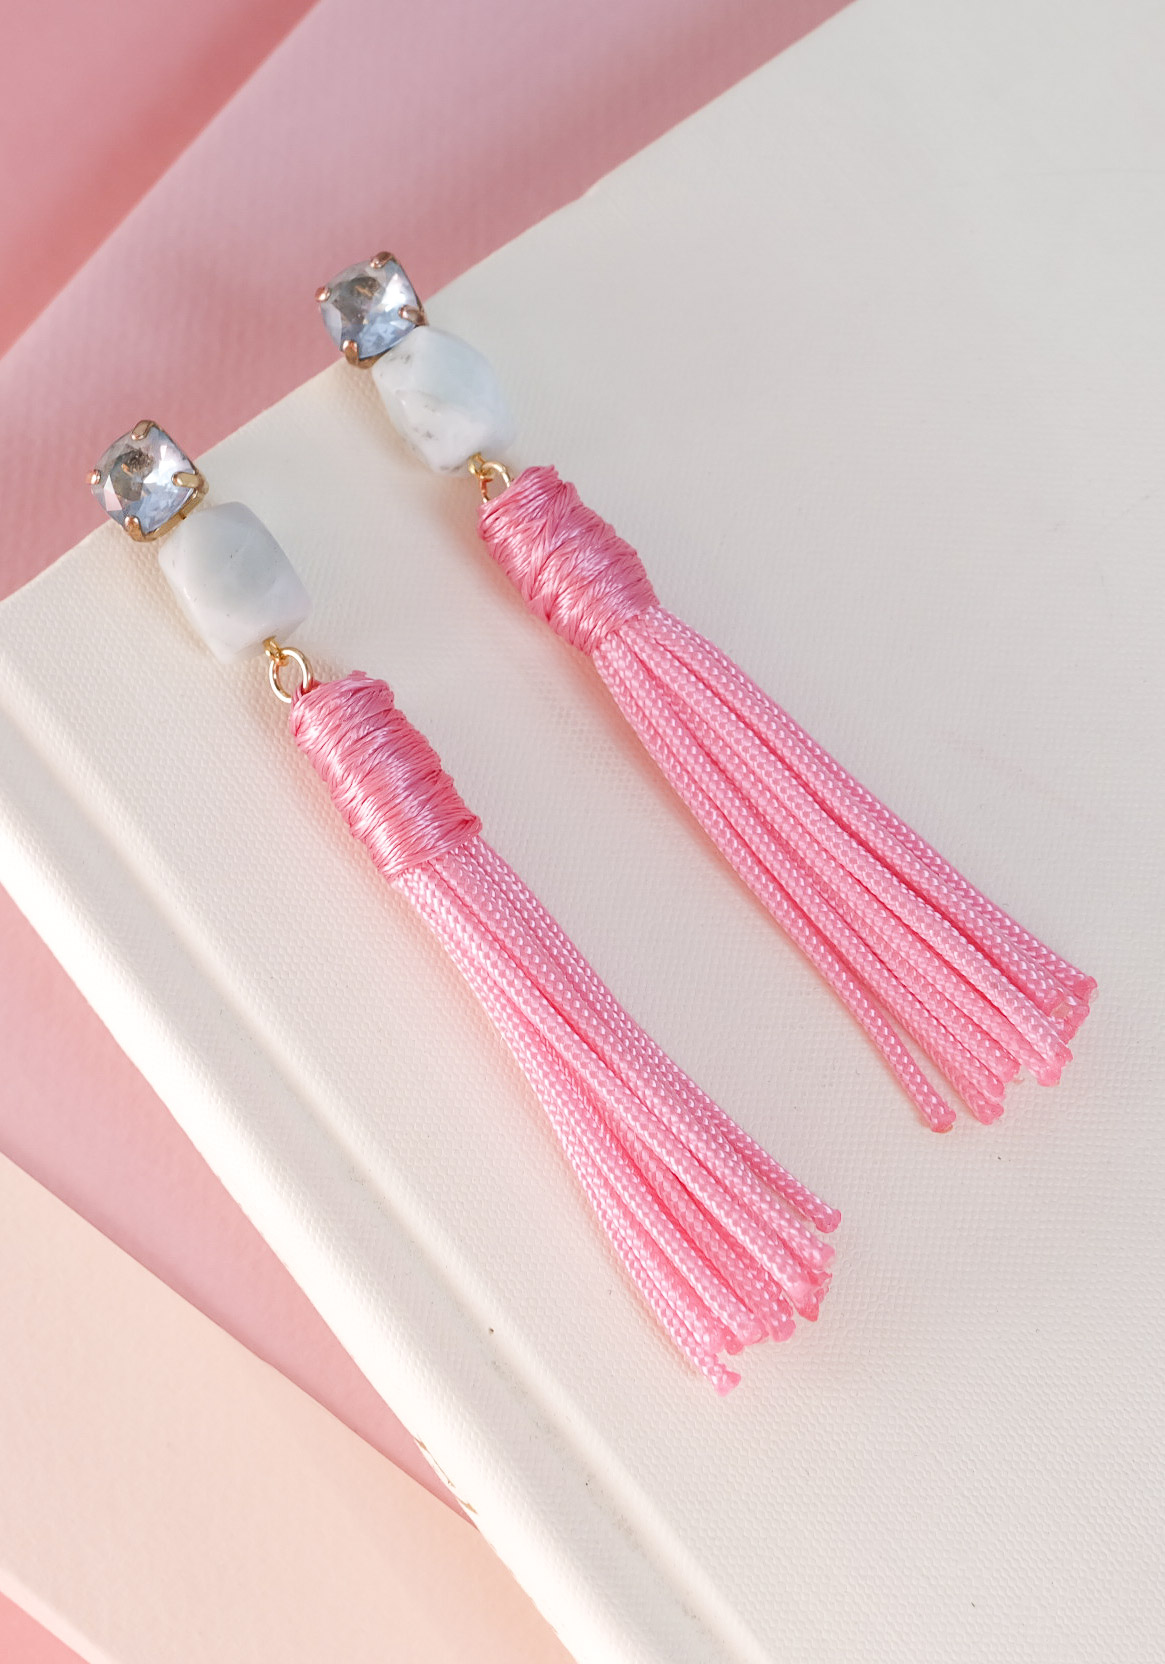
Statement earrings were huge for summer and it looks like they'll be sticking around for fall- whoohoo! I'm excited because they can instantly elevate any outfit, they're perfect for the holiday season, and can easily update your fall wardrobe! If you're still on the fence because of the price tag or concerned about them weighing your earlobes down, then this inexpensive DIY is for you! Keep reading to see how I created these Baublebar inspired tassel statement earrings for under $20!

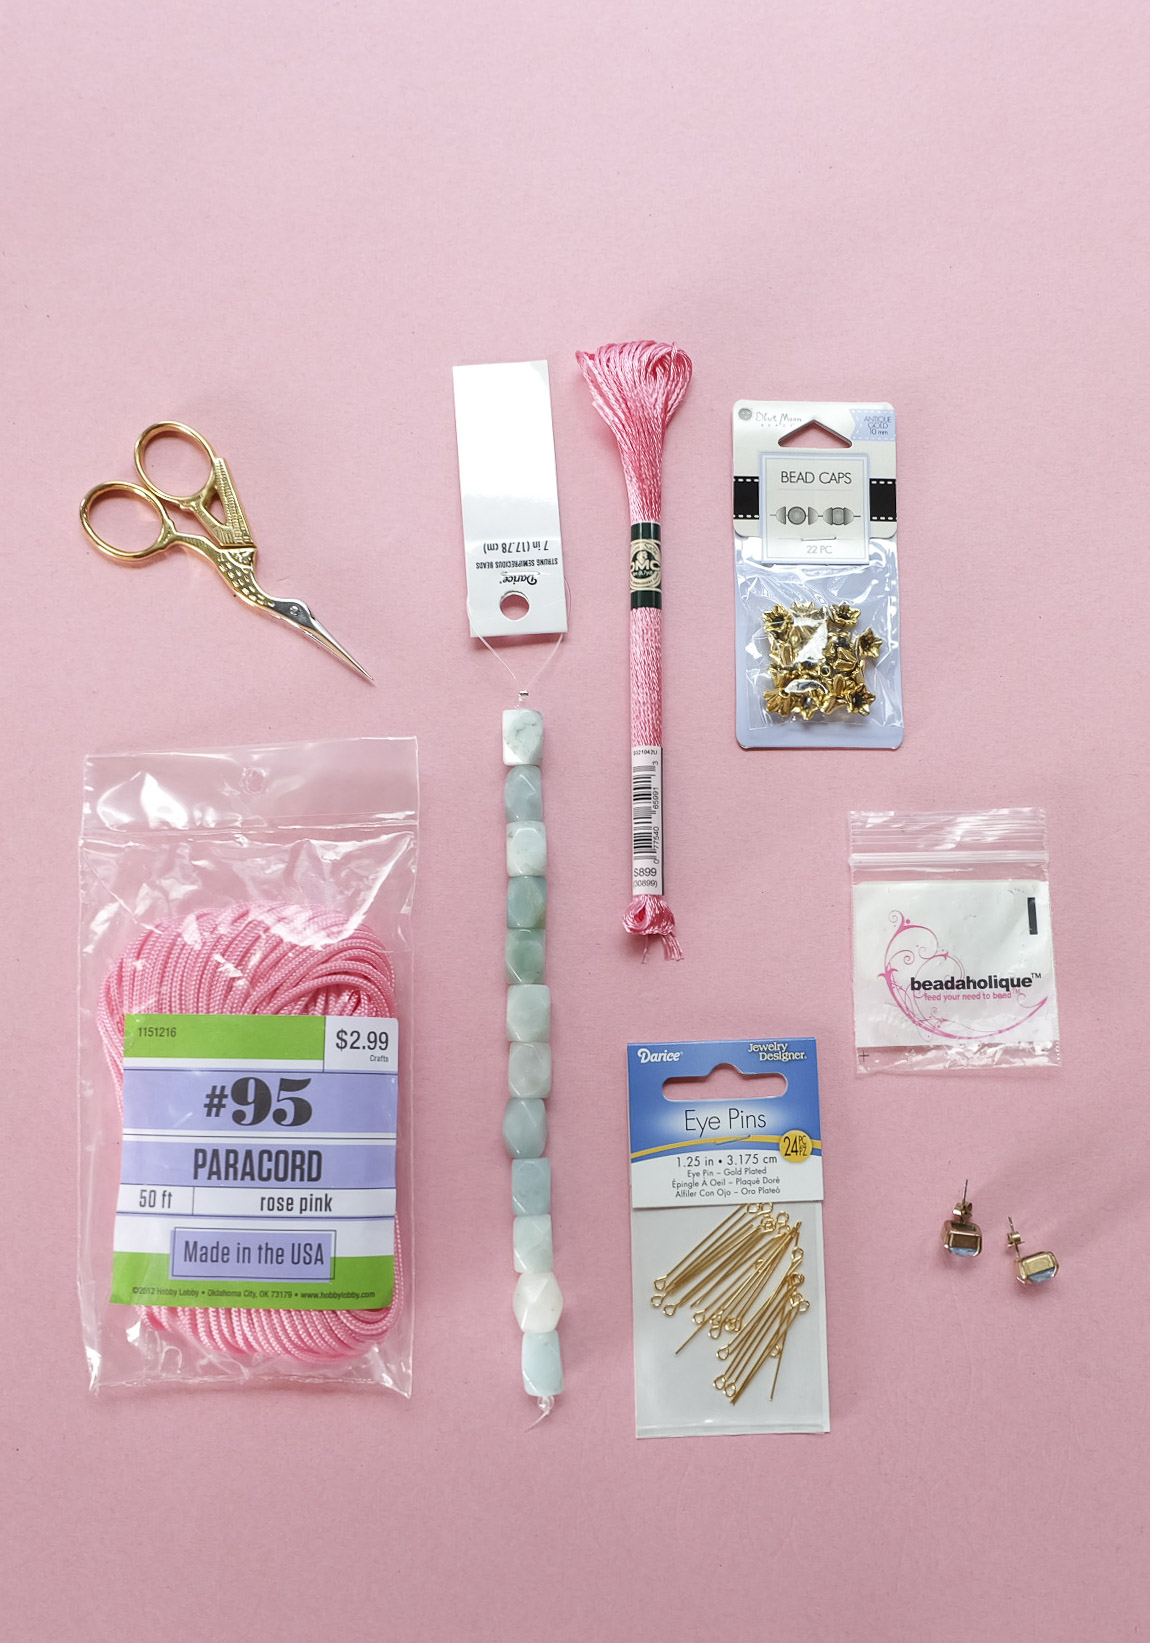
WHAT YOU'LL NEED:
- #95 Paracord. I used the rose pink color.
- 10mm Stones. The ones I used were called amazonite.
- 6mm Jump Rings. I had leftovers fom this project.
- 1"-1.25" Gold Eye Pins
- Satin Floss in a similar color to your Paracord. I used DMC S899.
- Small hot glue gun
- Embroidery scissors
- Small needle nose pliers
- Lighter or matches
- Stud earrings. I used a pair I already own and don't bother my sensitive ears. This is the best part because now you have two earrings in one!

DIRECTIONS:
- Cut Paracord into 3" pieces. I used 16 pieces for each earring.
- Using a lighter or match, melt the ends of each piece. Gently wave the flame over the end and when you see it starting to melt, move the flame away. Wait a couple of seconds and squeeze the ends with your fingers so that all of the fibers are stuck together and will not fray.
- Cut a 1.5' piece of satin floss and tie it around two 3" Paracord pieces.
- Knot two more 3" Paracord pieces around the ones in the previous step. Cut a 6" piece of satin floss and string it through one jump ring.
- Place the satin floss over the top of the 4 Paracord pieces. Make sure the jump ring is at the top and level with the top of the Paracord pieces.
- Secure the satin floss with the jump ring with the satin floss tied around the Paracord pieces. Add a small dot of hot glue to secure the knot.
- Using a small amount of hot glue for each piece, glue the remaining 3" Paracord pieces together to form the tassel.
- Cut a 3' piece of satin floss and hot glue the end 1/2" down from the top of the tassel.
- Tightly wrap the satin floss around the Paracord tassel. I wrapped the satin floss to the top of the tassel and back down to make sure there weren't any open spots. When you're finished wrapping, secure the end piece with a small dot of hot glue.
- Using the tip of the embroidery scissors, push the tail of the satin floss underneath the tightly wrapped pieces.
- Put one 10mm stone on each gold eye pin. Using the small needle nose pliers, bend the straight end of the eye pin over. Make sure that the loop is large enough that the back of your stud earrings will fit through it! Add your stud earrings to the top loop on the eye pin and ta-da! You're done- now go enjoy your fabulous new earrings!

I'm so happy you stopped by the blog today and I hope you enjoyed this DIY! Have a great day!
