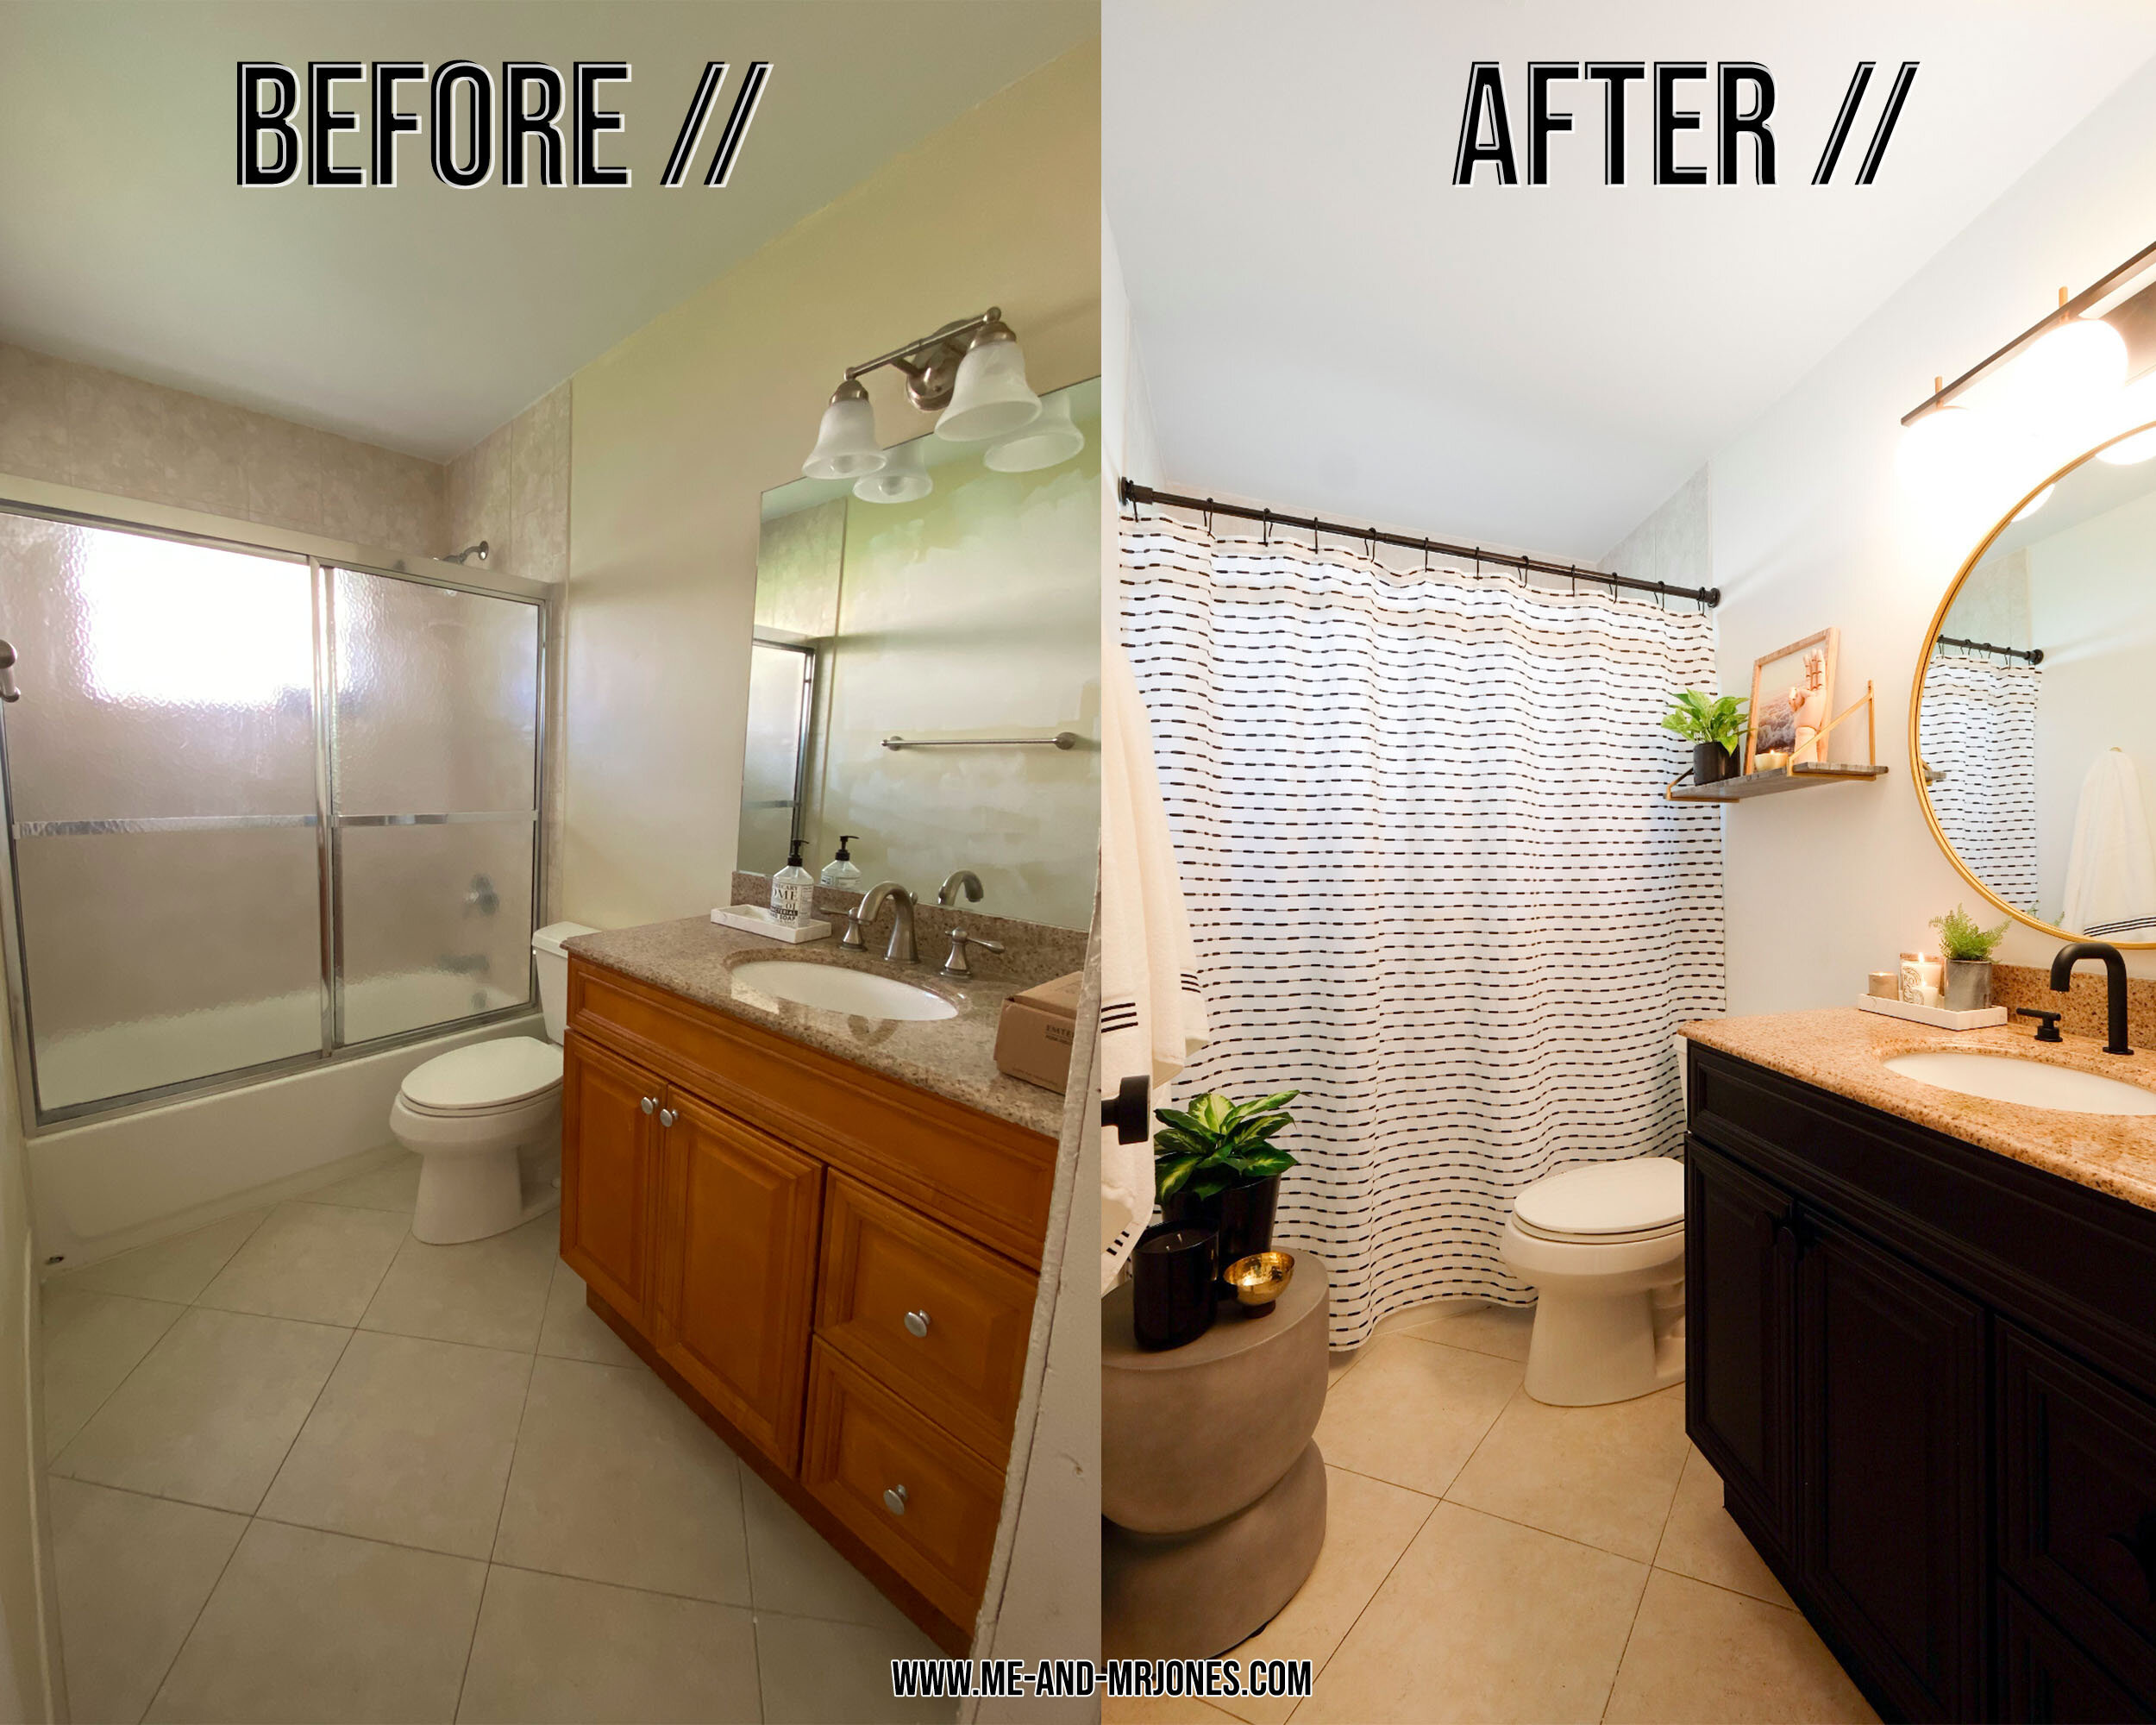
Our guest bathroom needs to be completely gutted, but with the rest of the house being remodeled at the moment, it’s been put on the back burner. We were expecting several guests in October, so it got me motivated to refresh this space as much as I could without breaking the bank. I found affordable options on Amazon for the bathroom accessories, mirror, light, and faucet, and sourced a lot of other inexpensive finds! Keep reading for all of the details on how we painted the vanity, etc!

THE VIBE //
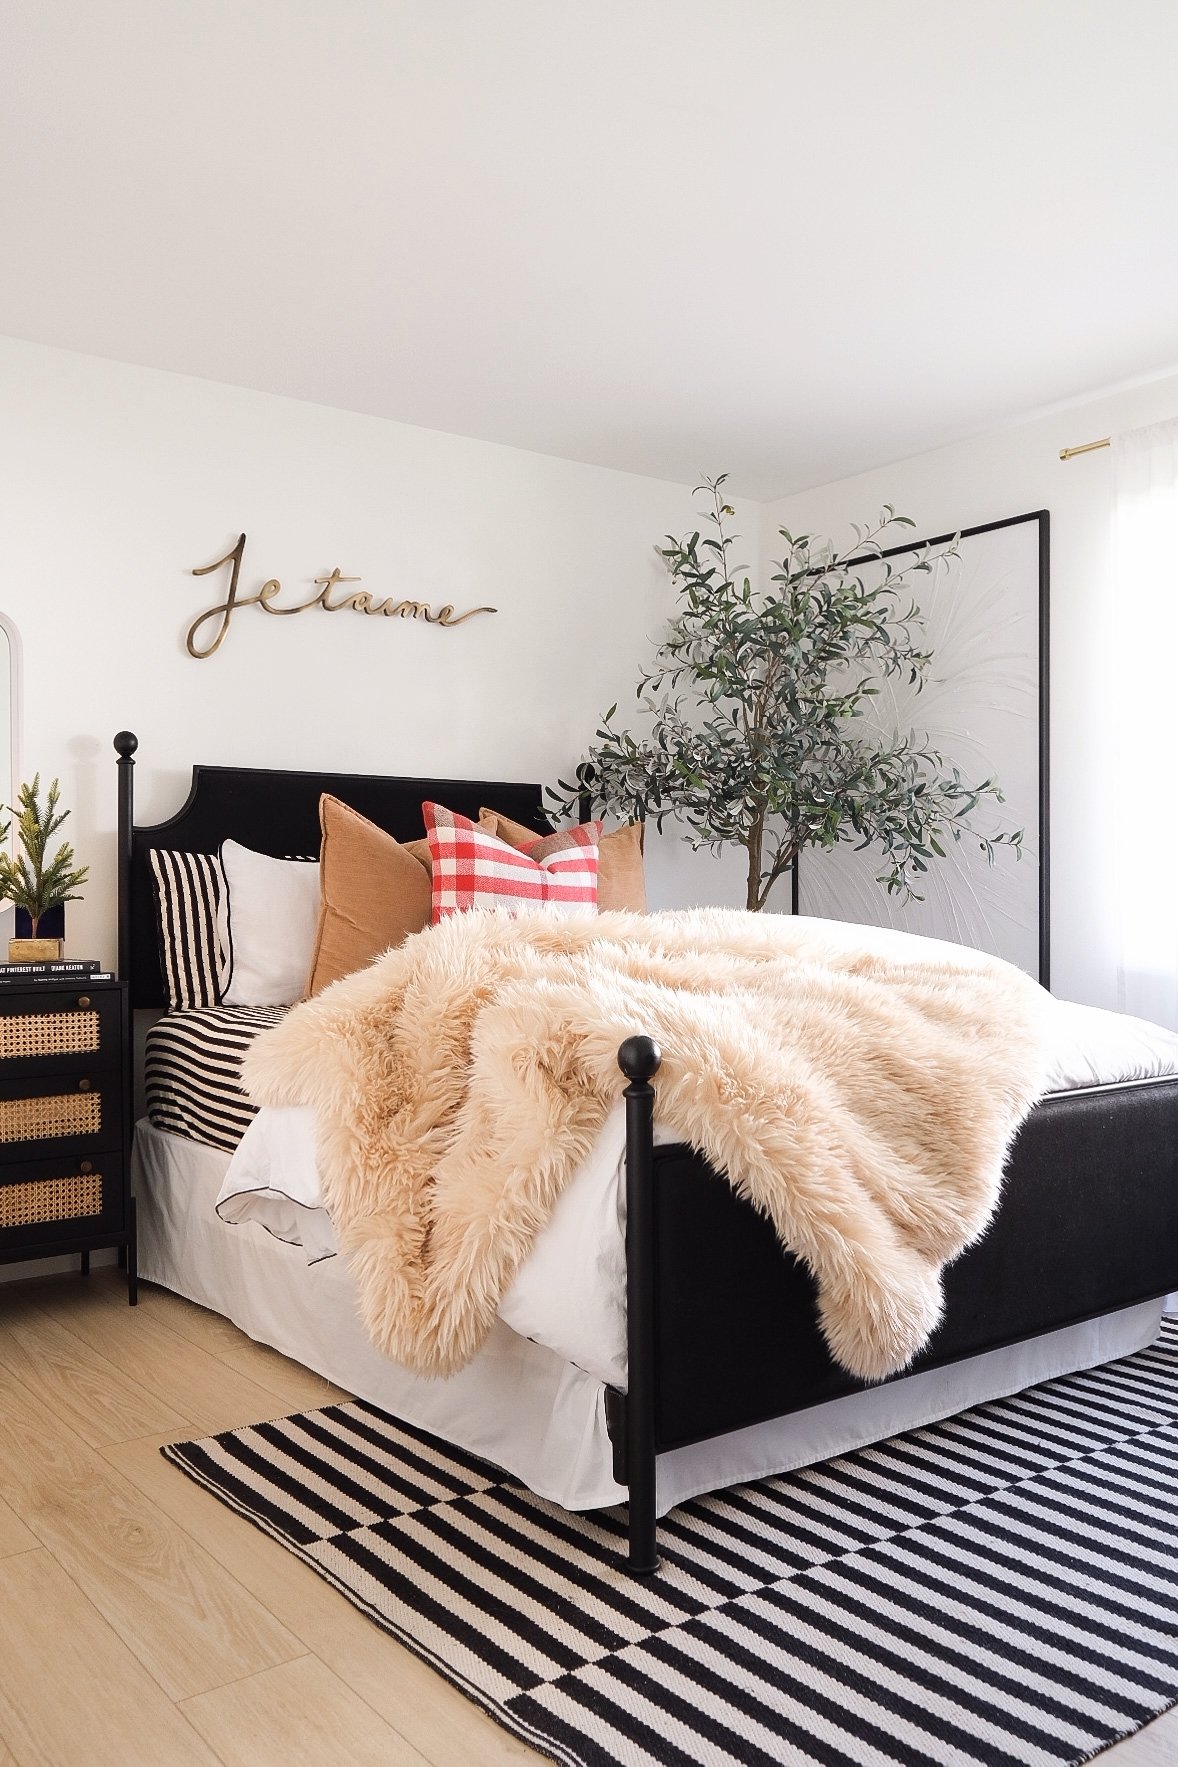
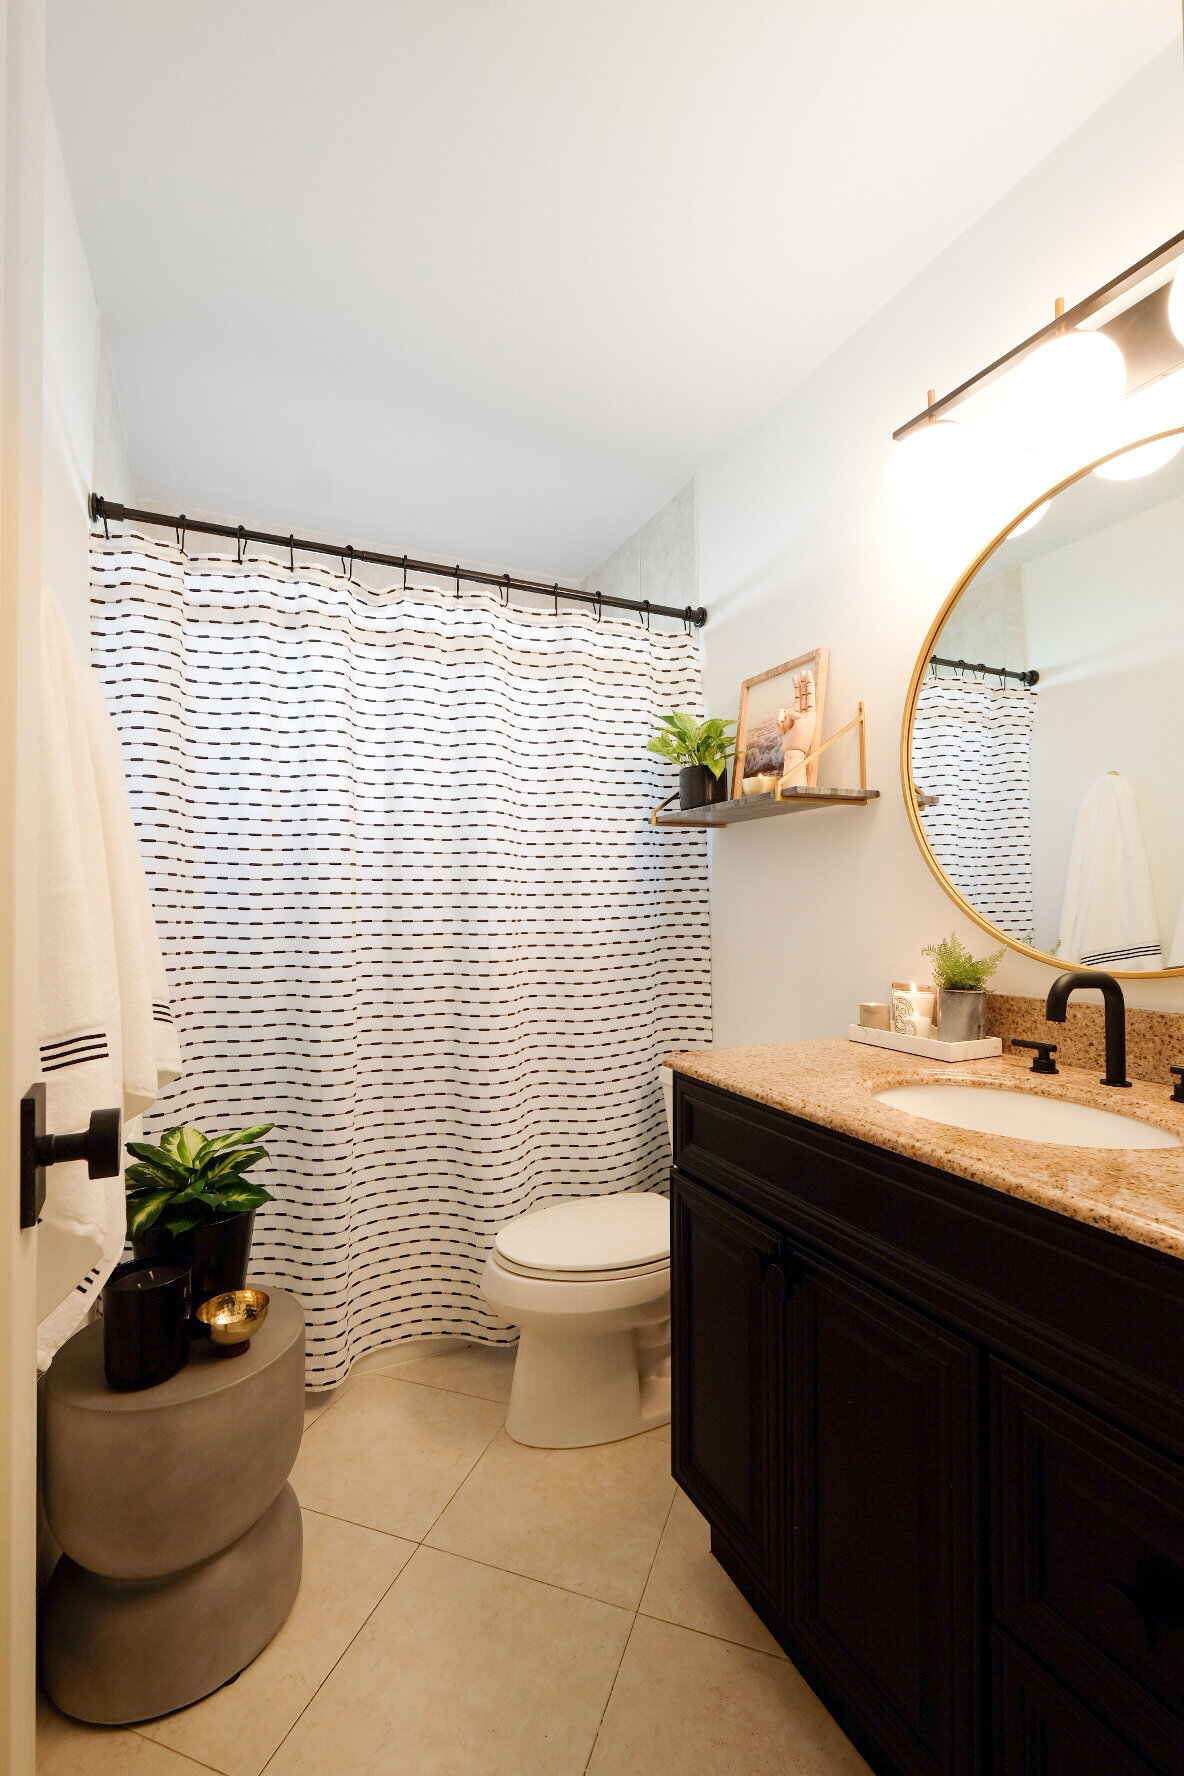
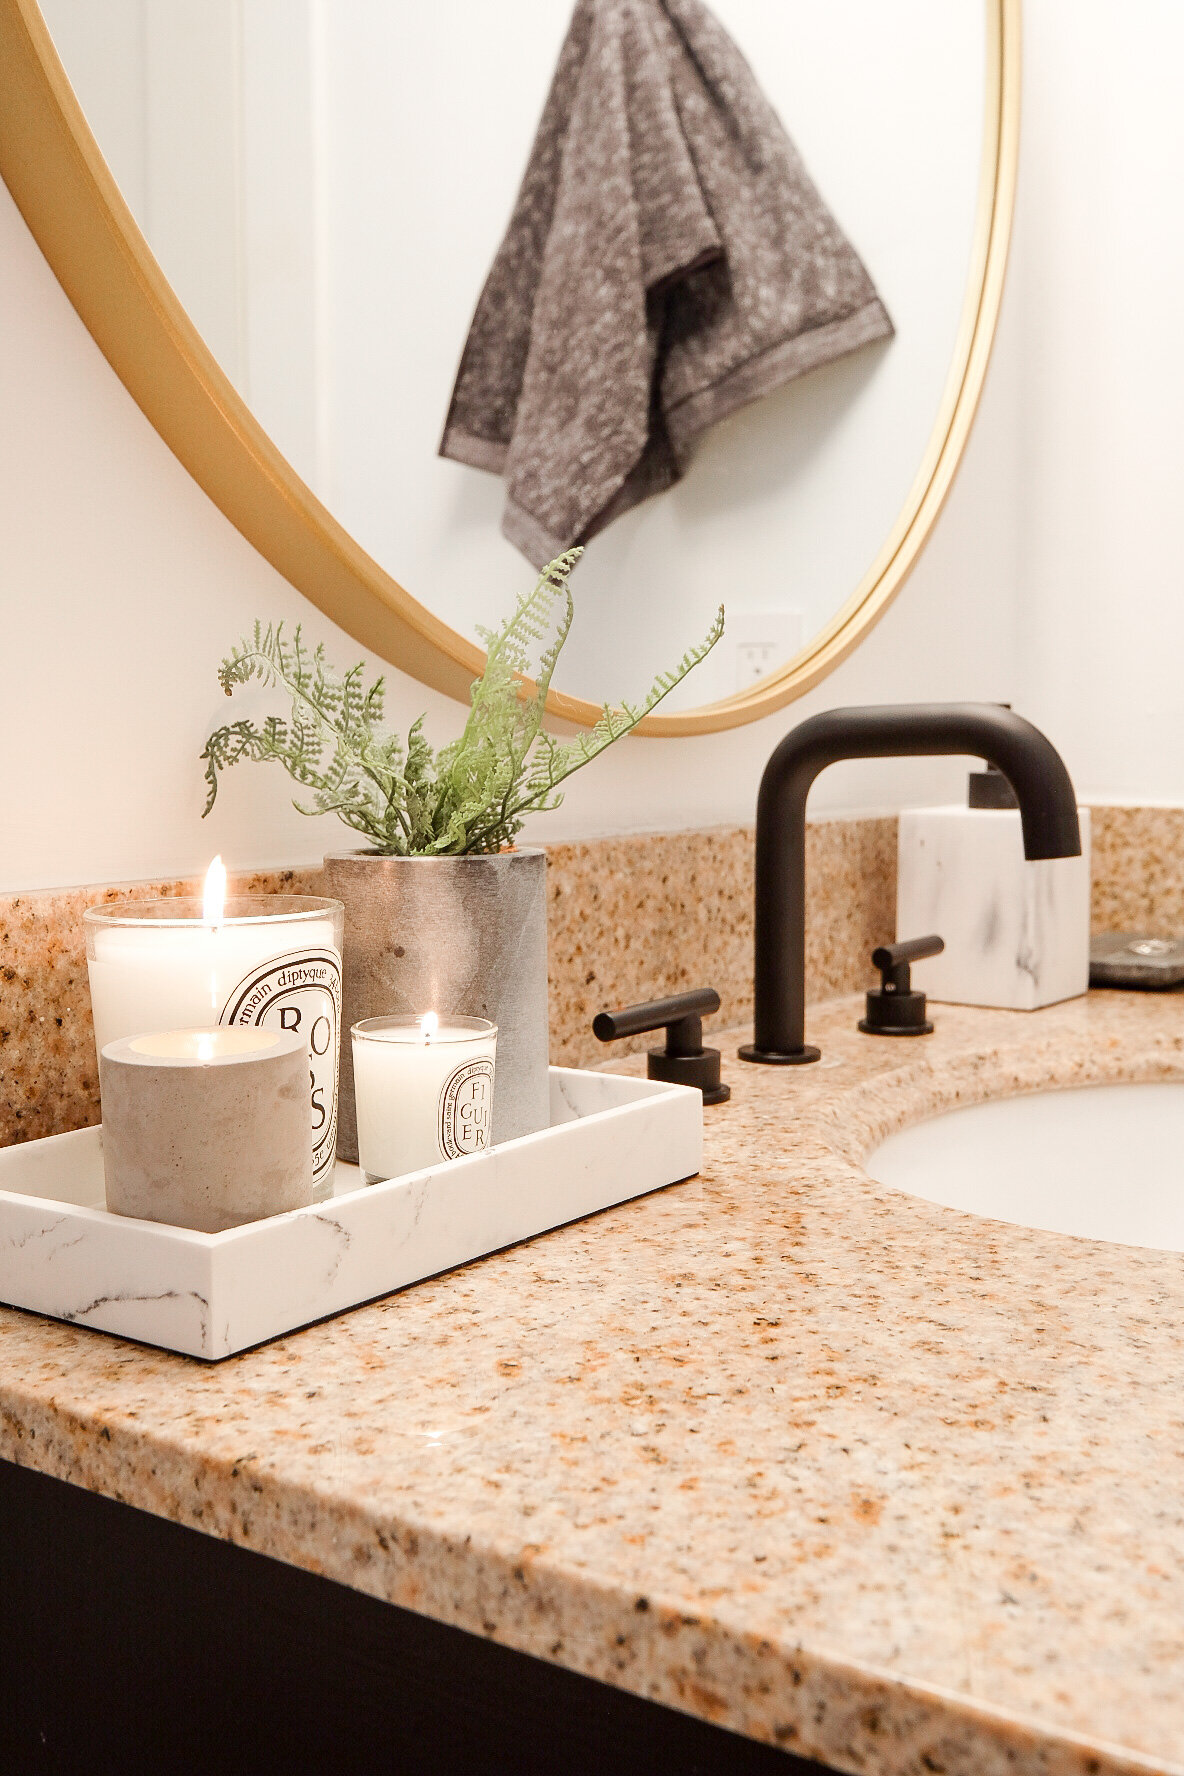
I wanted this bathroom to match the rest of the house as best it could without completely gutting it. Of course I would love a new vanity, pretty tile, and new bathtub (the one in there now grosses me out so bad lol). However, that just isn’t happening right but that doesn’t mean I couldn’t transform it anyway! I picked the light fixture first and just prayed that the mirror would match. I spray painted the mounting brackets of this marble shelf to match the gold since they were rustic before. The shower curtain was PERFECT to coverup the sliding glass door. We’d taken one of those off in our Laguna Beach condo and it was a disaster (the tub had been refinished AROUND the glass), so we just covered it up for now.
DEMO //
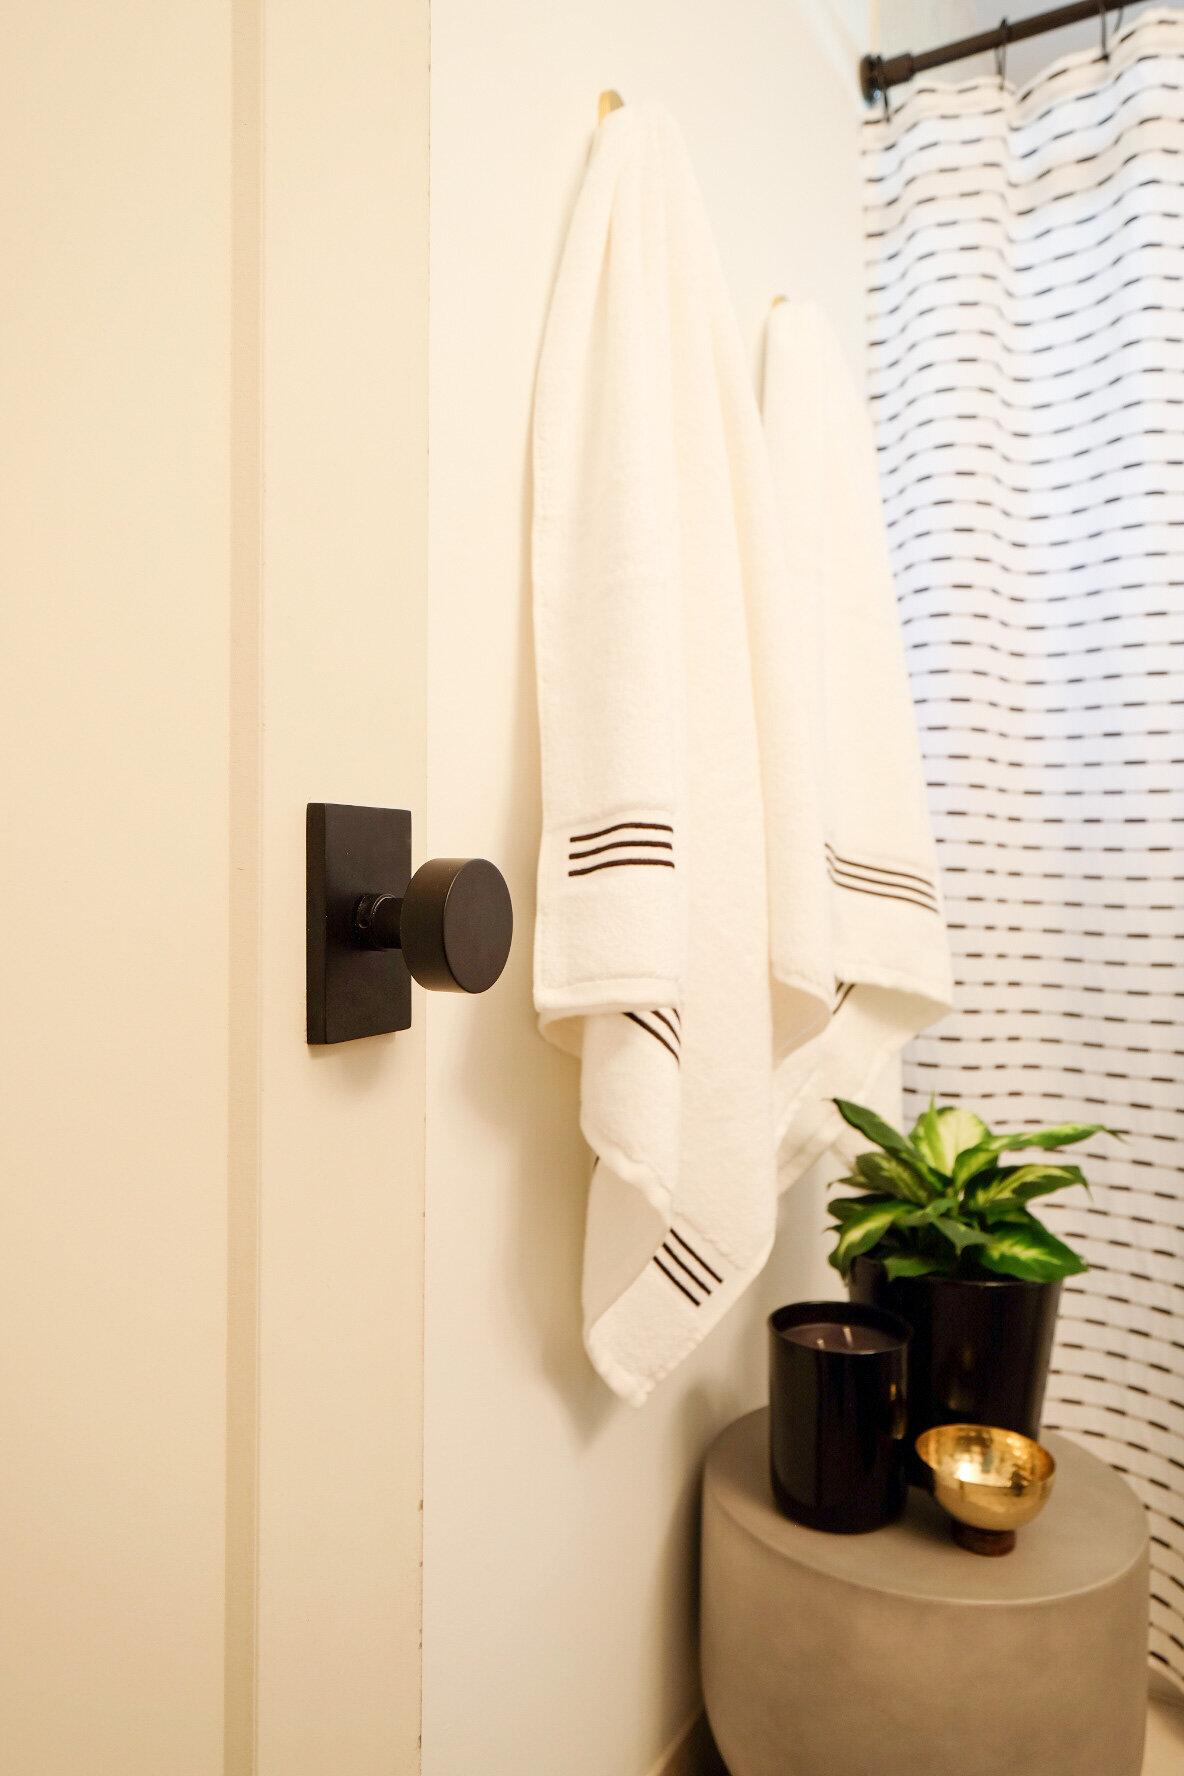
The main thing that I demo’d was the medicine cabinet. You can’t really see it in the before photo, it’s where the towel is hanging now. It didn’t really serve a purpose and it was chipped, so it needed to go. It was surprisingly easy to take out (it only had 4 screws!), but it did take awhile to patch. I got a small piece of drywall at Lowe’s for $5 and had to mount that into the wall perfectly. I made a template of the cutout with a piece of paper and it worked perfectly!
HOW I PAINTED THE VANITY //
This has been my number one asked question. I definitely winged this one and it turned out in my favor- thank goodness! I ended up lightly sanding everything first and my mom brushed/rolled the vanity with the black chalkboard paint. It’s really thick and goes on a dark blue, but after 3 coats it looks amazing and matte black. For the cabinet doors, I completely disassembled them to get a nicer finish and used spray paint. I started to paint them with a roller and I just got impatient and thought, well if it doesn’t work I can paint over it! It ended up working SO WELL!! They look so smooth and professionally done! After that, I coated both with 2 coats of this matte top coat. I used this on our nightstands and cannot recommend it more. Our nightstands are easy to clean and they haven’t chipped!

The paint color is Sherwin Williams Extra White in flat (ceiling and walls). The doors will be painted the same color and the matte black door knobs is Emtek! If you have any questions, leave them in the comments below! You can also shop everything from this room below.
Xo,
Haley
MIRROR //
FAUCET //
VANITY PULLS //
BLACK PAINT //
HAND TOWEL //
MATTE BLACK BATHROOM ACCESSORIES //
TOWELS //
SIMILAR CONCRETE ACCENT TABLE //
BLACK CANDLE //
SIMILAR MARBLE SOAP DISPENSER //
MARBLE SHELF //
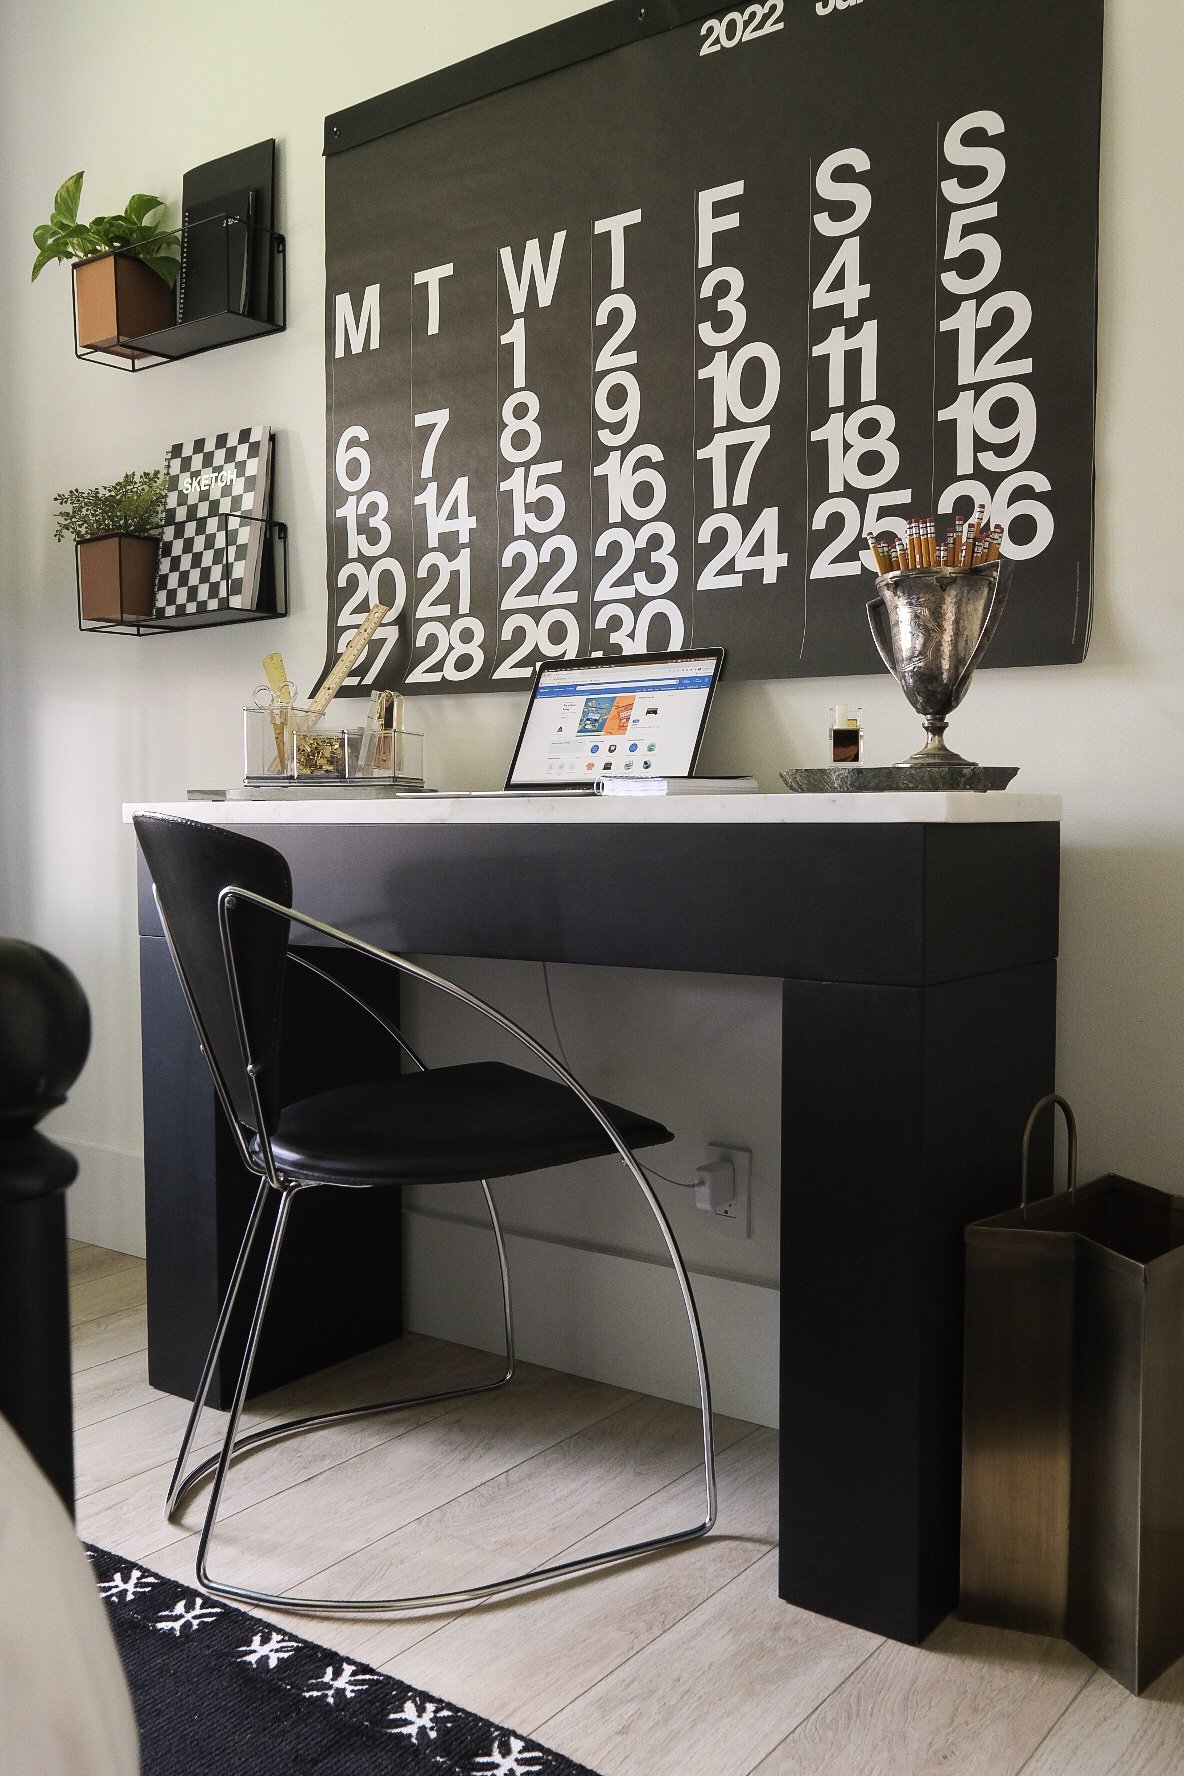
POTHOS PLANT //