Even before we found out the gender of baby Jones, I knew I wanted an all white nursery. That included the glider- crazy, I know! The only way that was possible was to find a slip covered glider small enough to fit into Jett’s room. We couldn’t find exactly what we wanted, so I decided to DIY a glider and have a custom slip cover made. It turned out to be the perfect chair, keep reading for details on the covers and how I put it all together!


The chair we ended up going with is from Ikea. It’s called the Jennylund chair and you can purchase various slip covers separately. We decided to forgo the Ikea slip covers because the fabric of the ottoman cover wasn’t the same as the fabric of the chair cover and they didn’t look good together. Luckily I found a company called Comfort Works that customizes slip covers for all kinds of Ikea furniture & they had just what I wanted!
Comfort Works was so great to work with. They sent fabric samples that were so helpful. Each sample has a durability rating on the back as well as washing instructions so you can make the best choice for you and your home. We went with the Panama Cotton in Gaia White because its machine washable- perfect for a nursery! You can also customize the slip cover and get it with or without pleats. We went without pleats so that the cover wouldn’t need to be ironed or steamed after washing.
The ottoman cover from Comfort Works is also amazing! Both the chair and ottoman covers were so easy to put on and wash really well. The ottoman has really nice handles that allow you to lift the top and access the storage part of the ottoman. I love both so much!
After we got the covers for the chair and ottoman, it was time to attach the glider piece to the chair. I used this site as a guide, but took some photos of each step in case any of you want to tackle the same project. I got the wood for the project at Home Depot and used this exact swivel rock base!

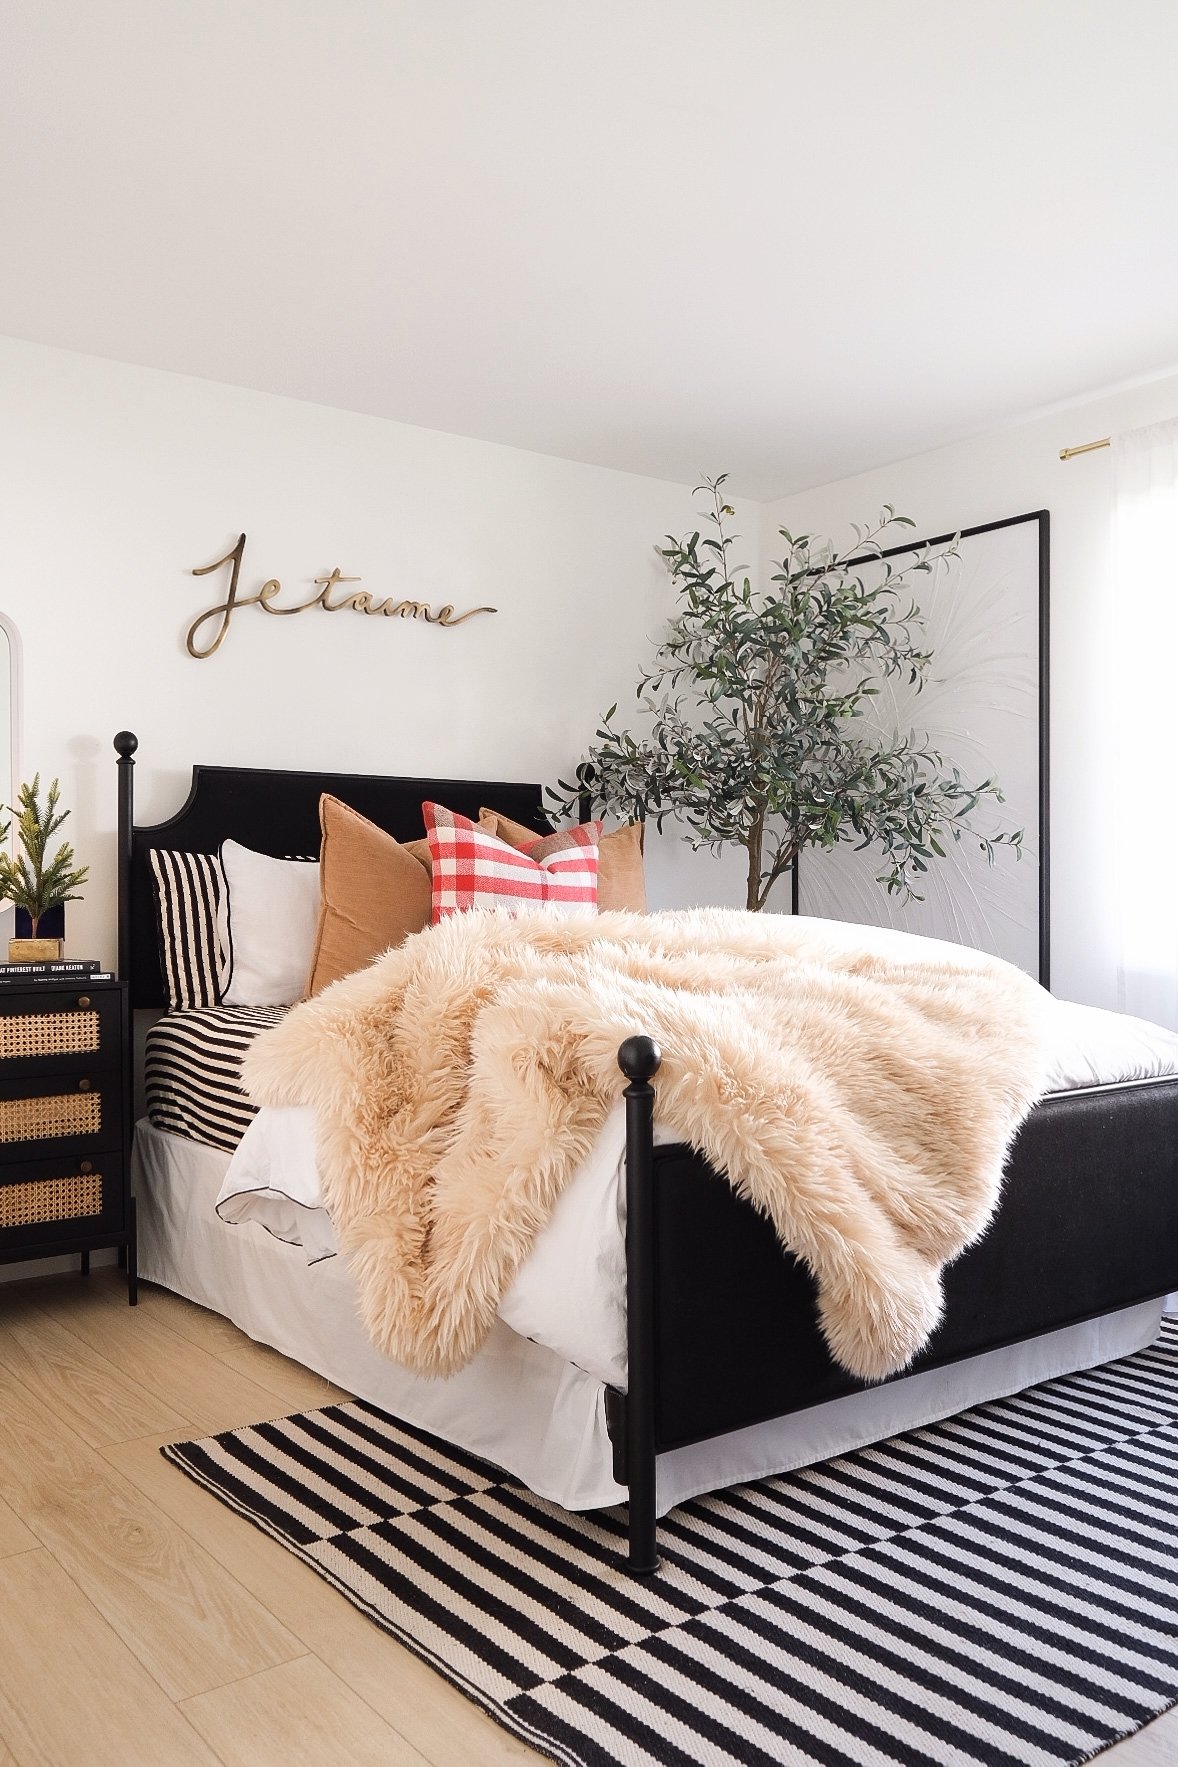
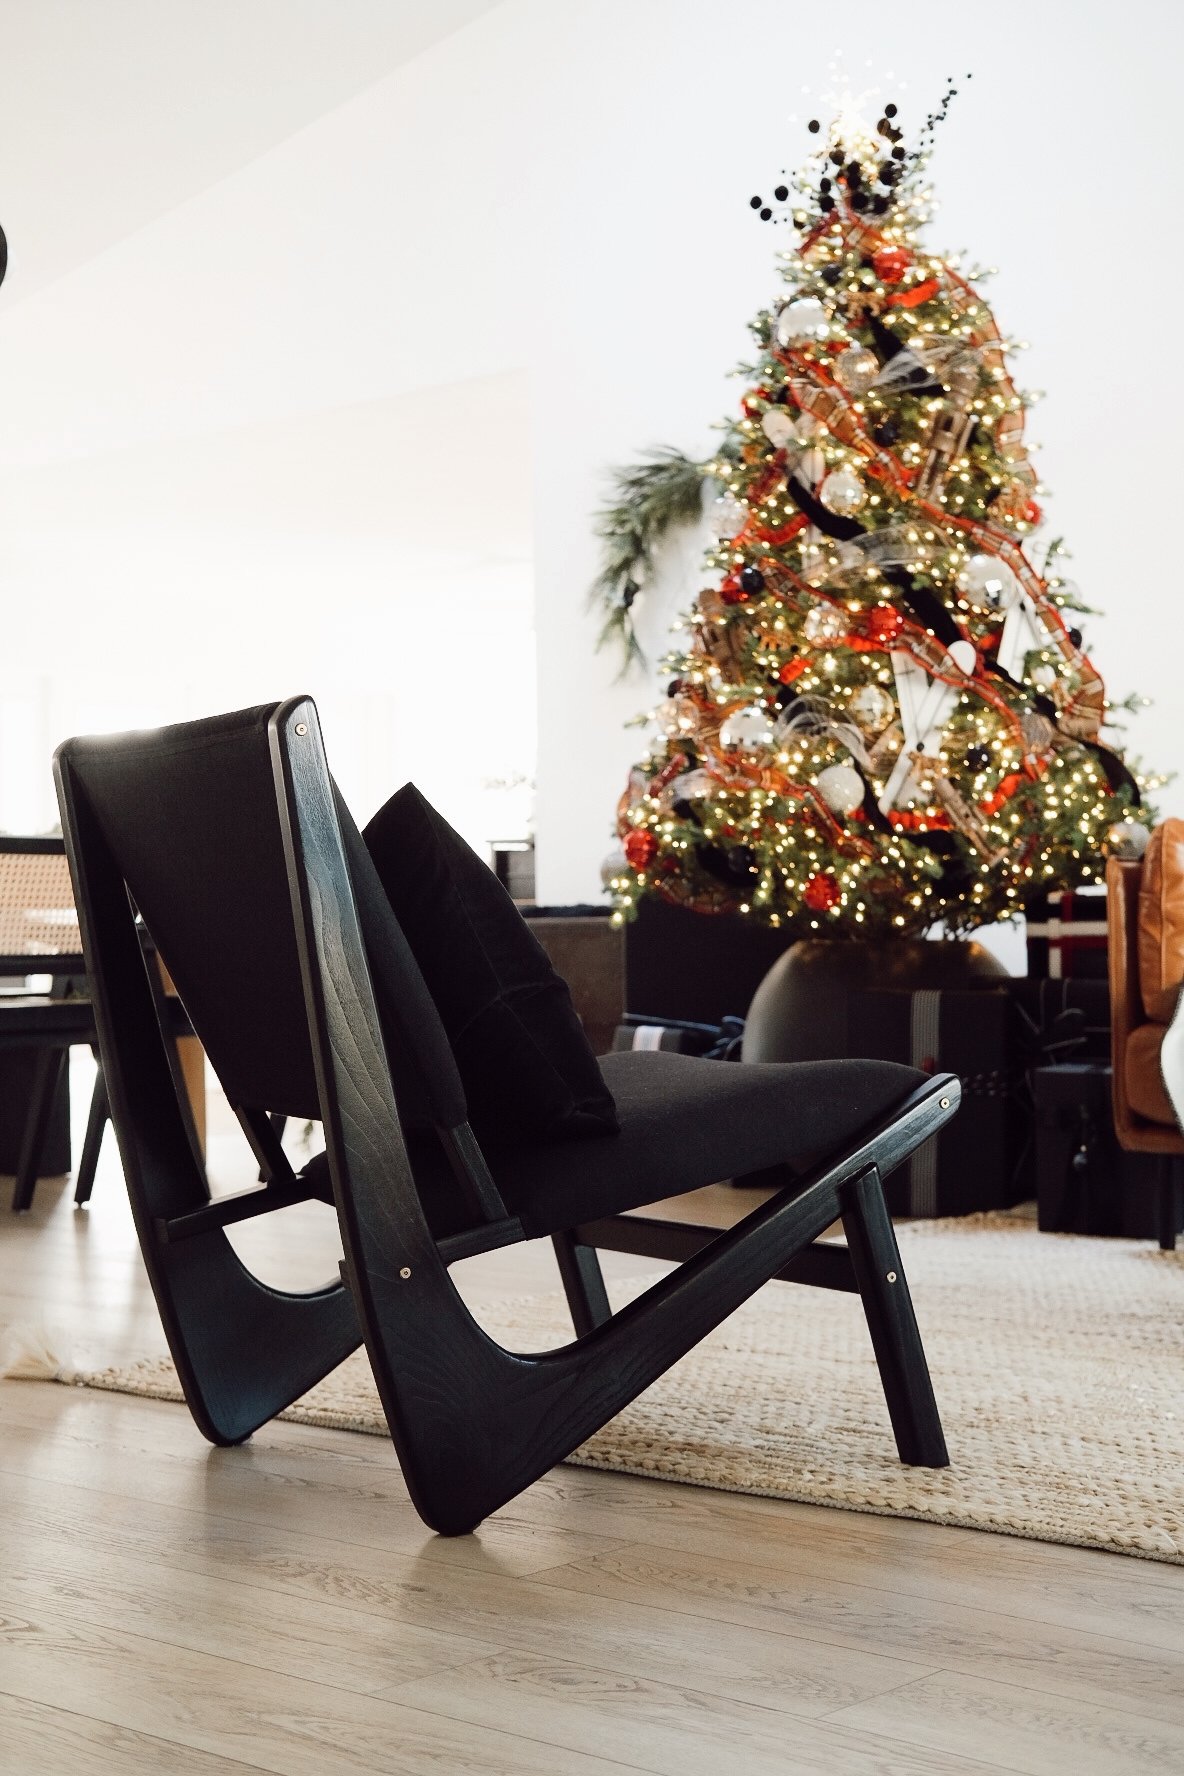
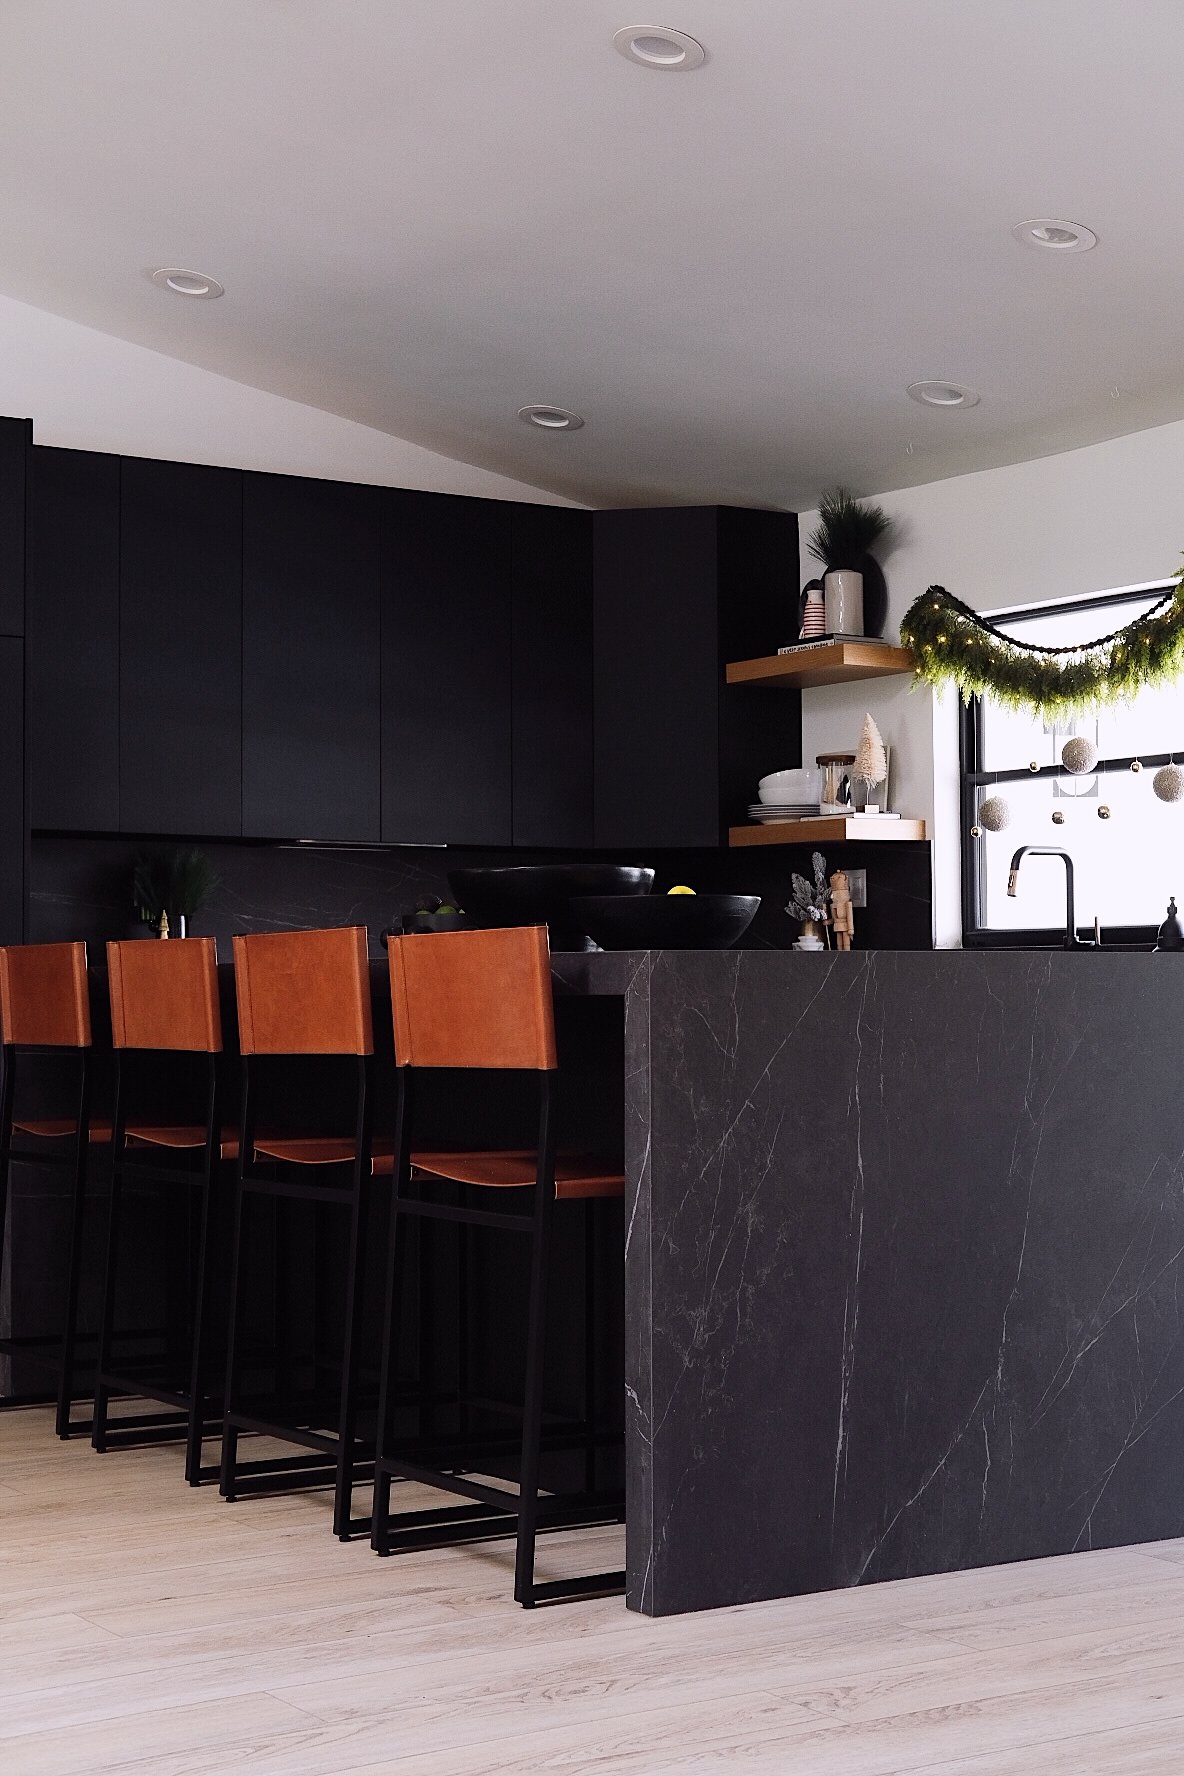
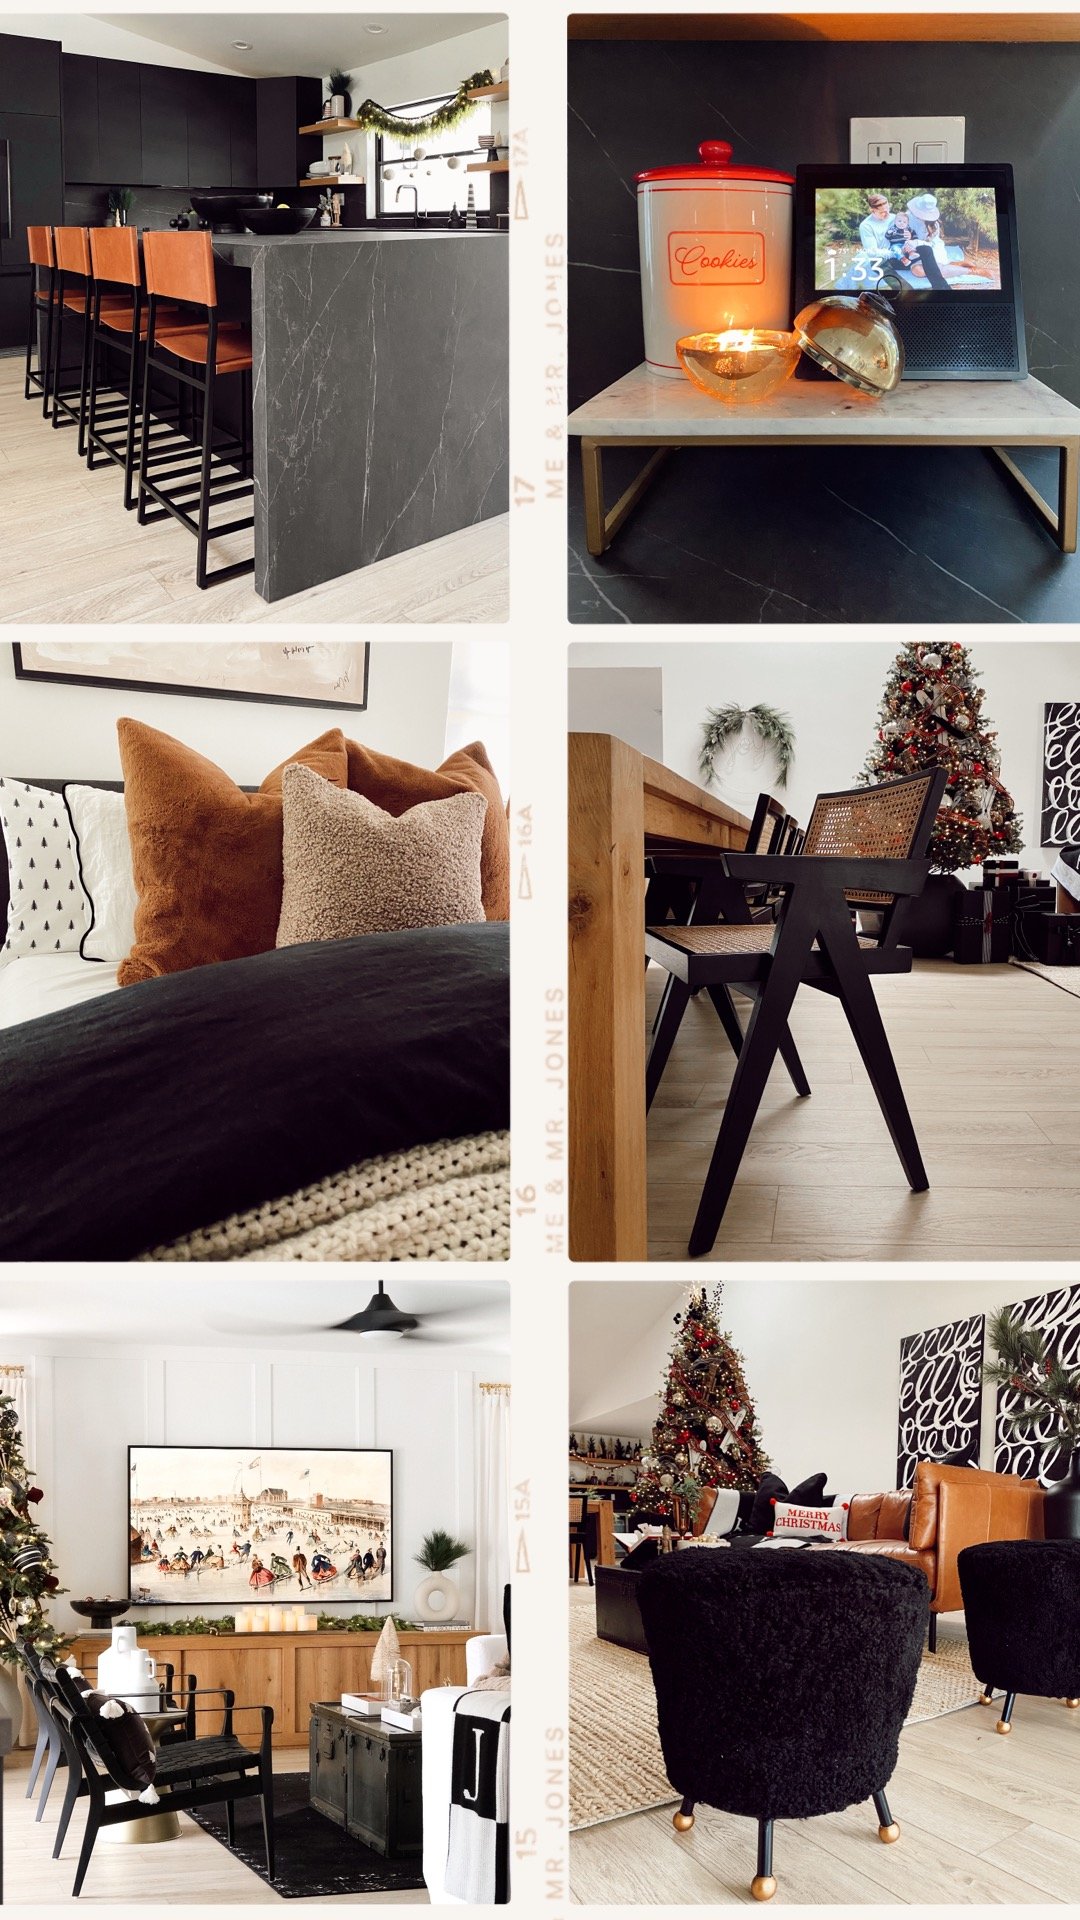
I hope you enjoyed this behind the scenes look into our nursery! If you'd like to check out the whole room, it's in this post here. More home decor ideas below!
Xo,
Haley
Thank you Comfort Works for partnering with me on this post!