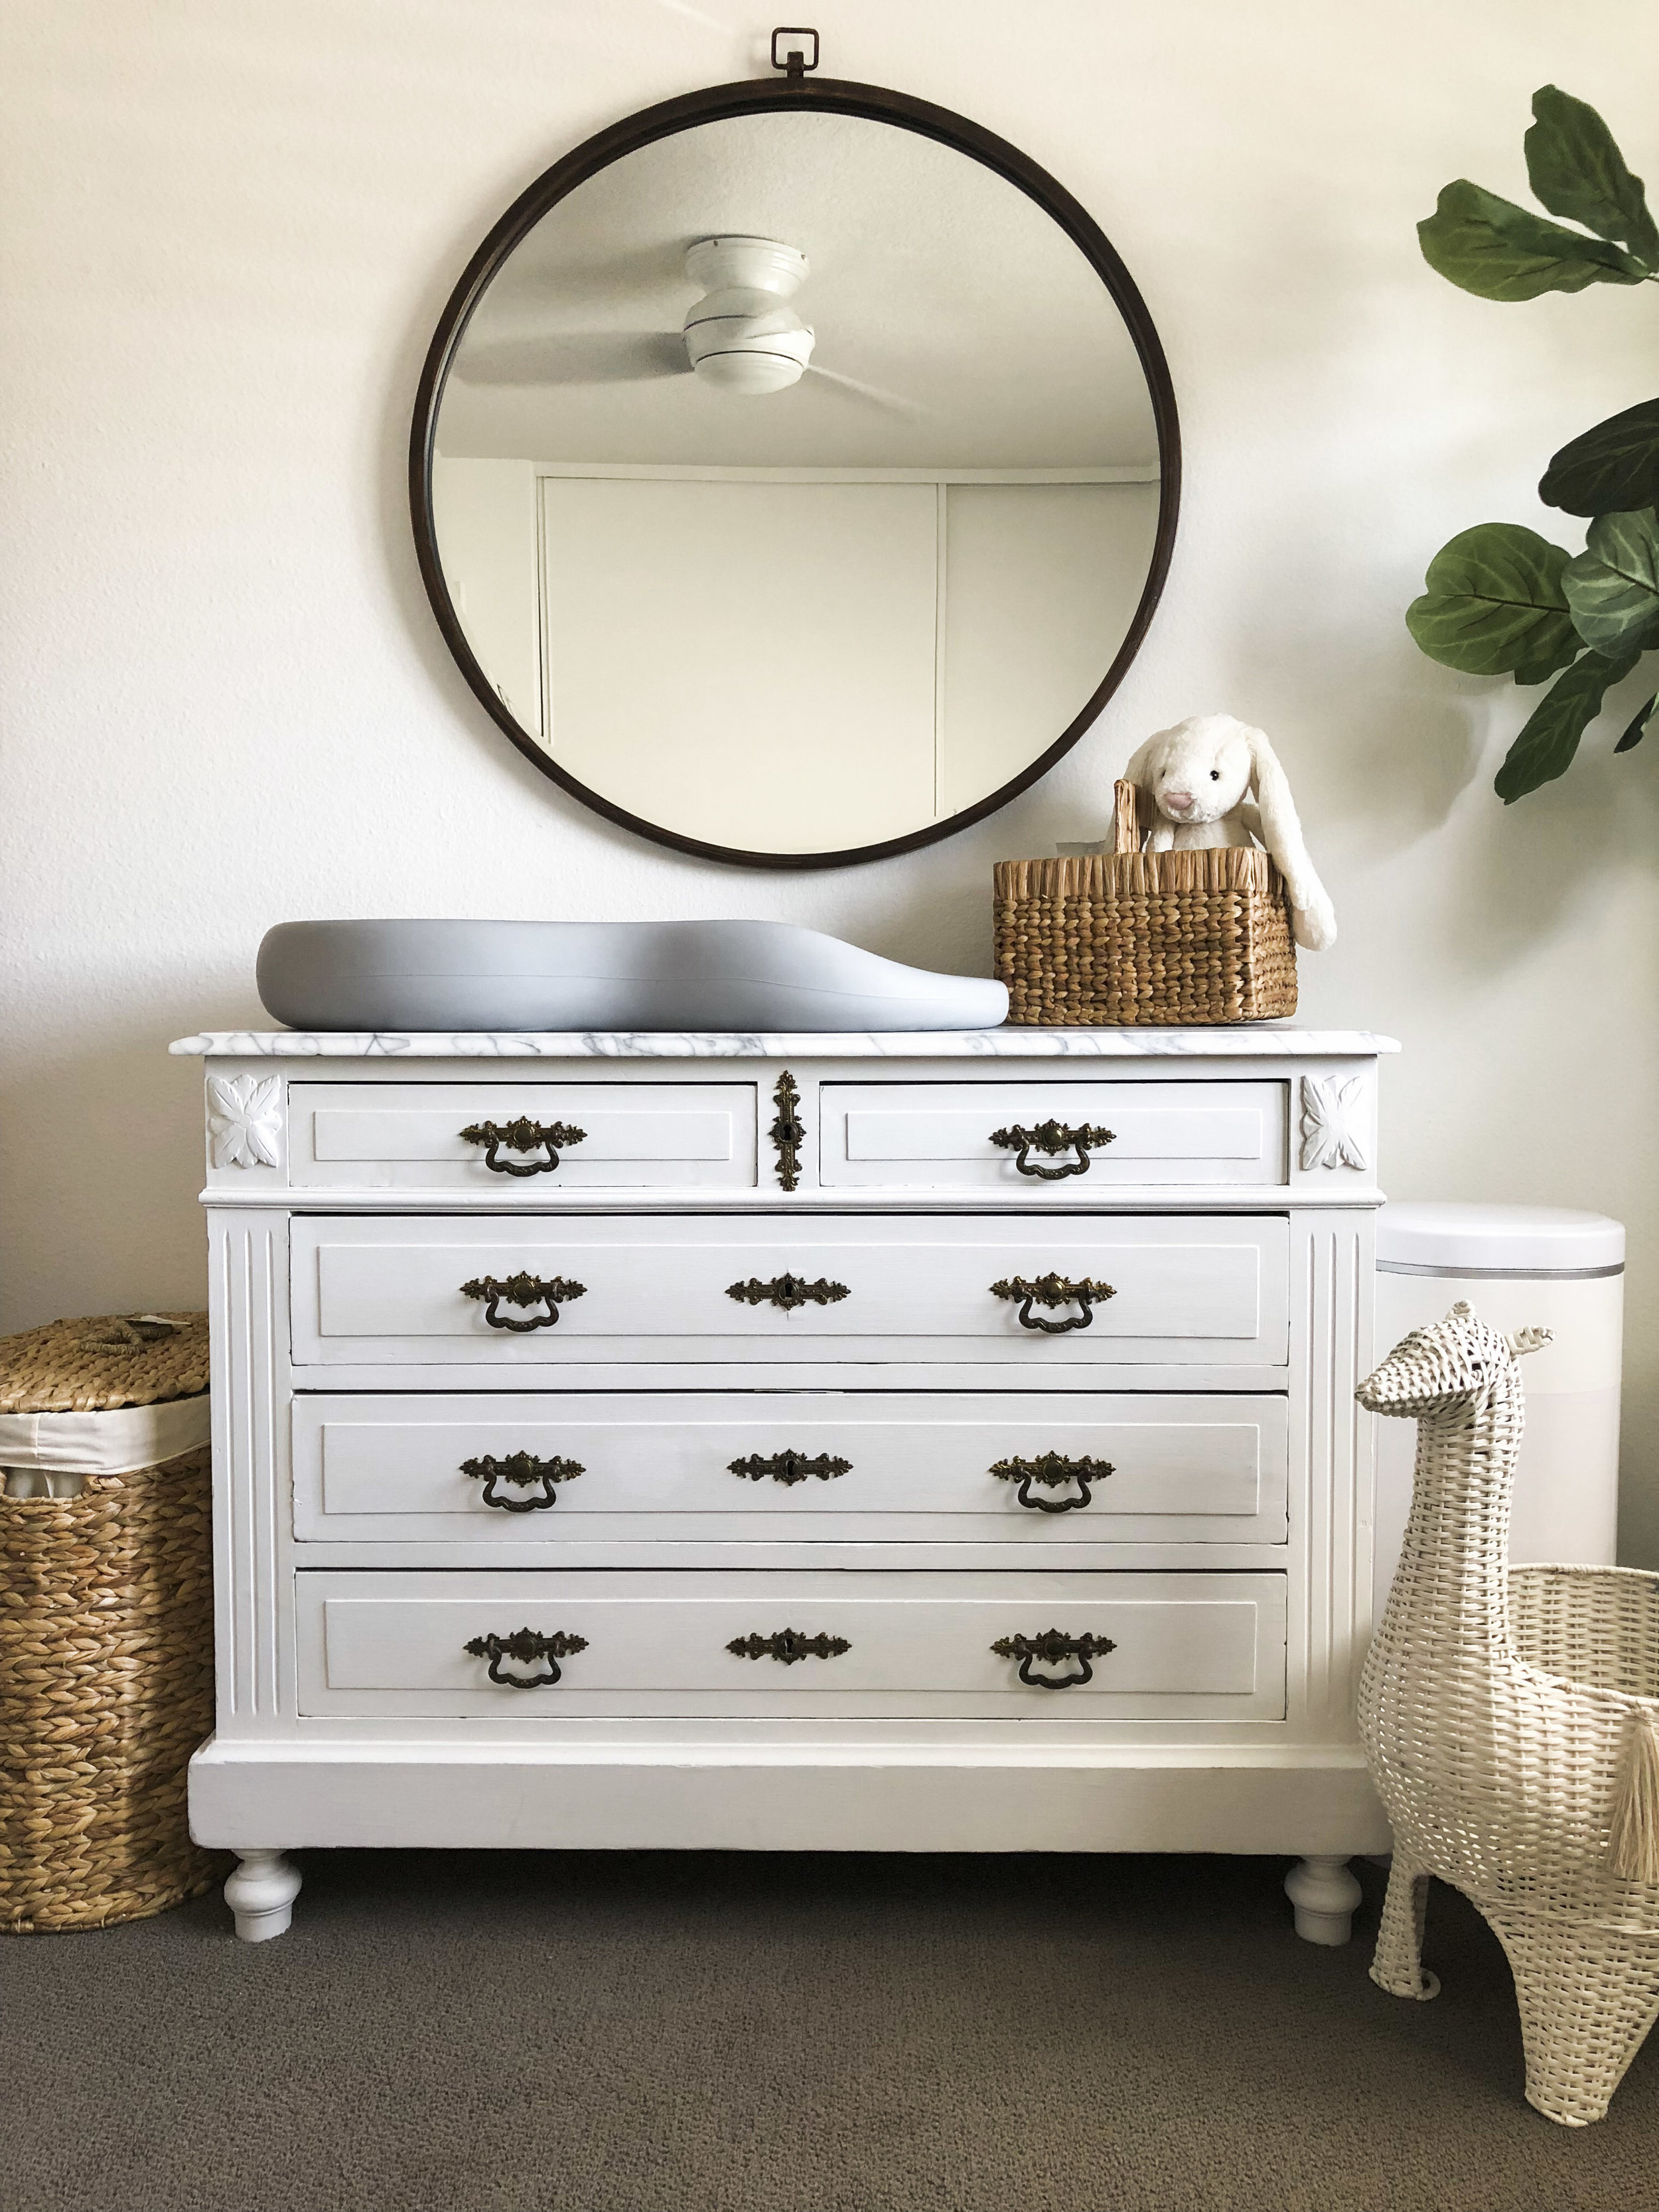
When it comes to baby J’s nursery, we knew we wanted everything to be neutral or white. We found a gorgeous white crib, but were struggling to find a changing table that we both liked and that fit into our budget. That’s when I decided to look on Facebook marketplace for a used or vintage piece that I could paint to go with our neutral theme nursery. Keep reading for how I refinished this antique dresser with a GORGEOUS marble top that makes the most amazing changing table!


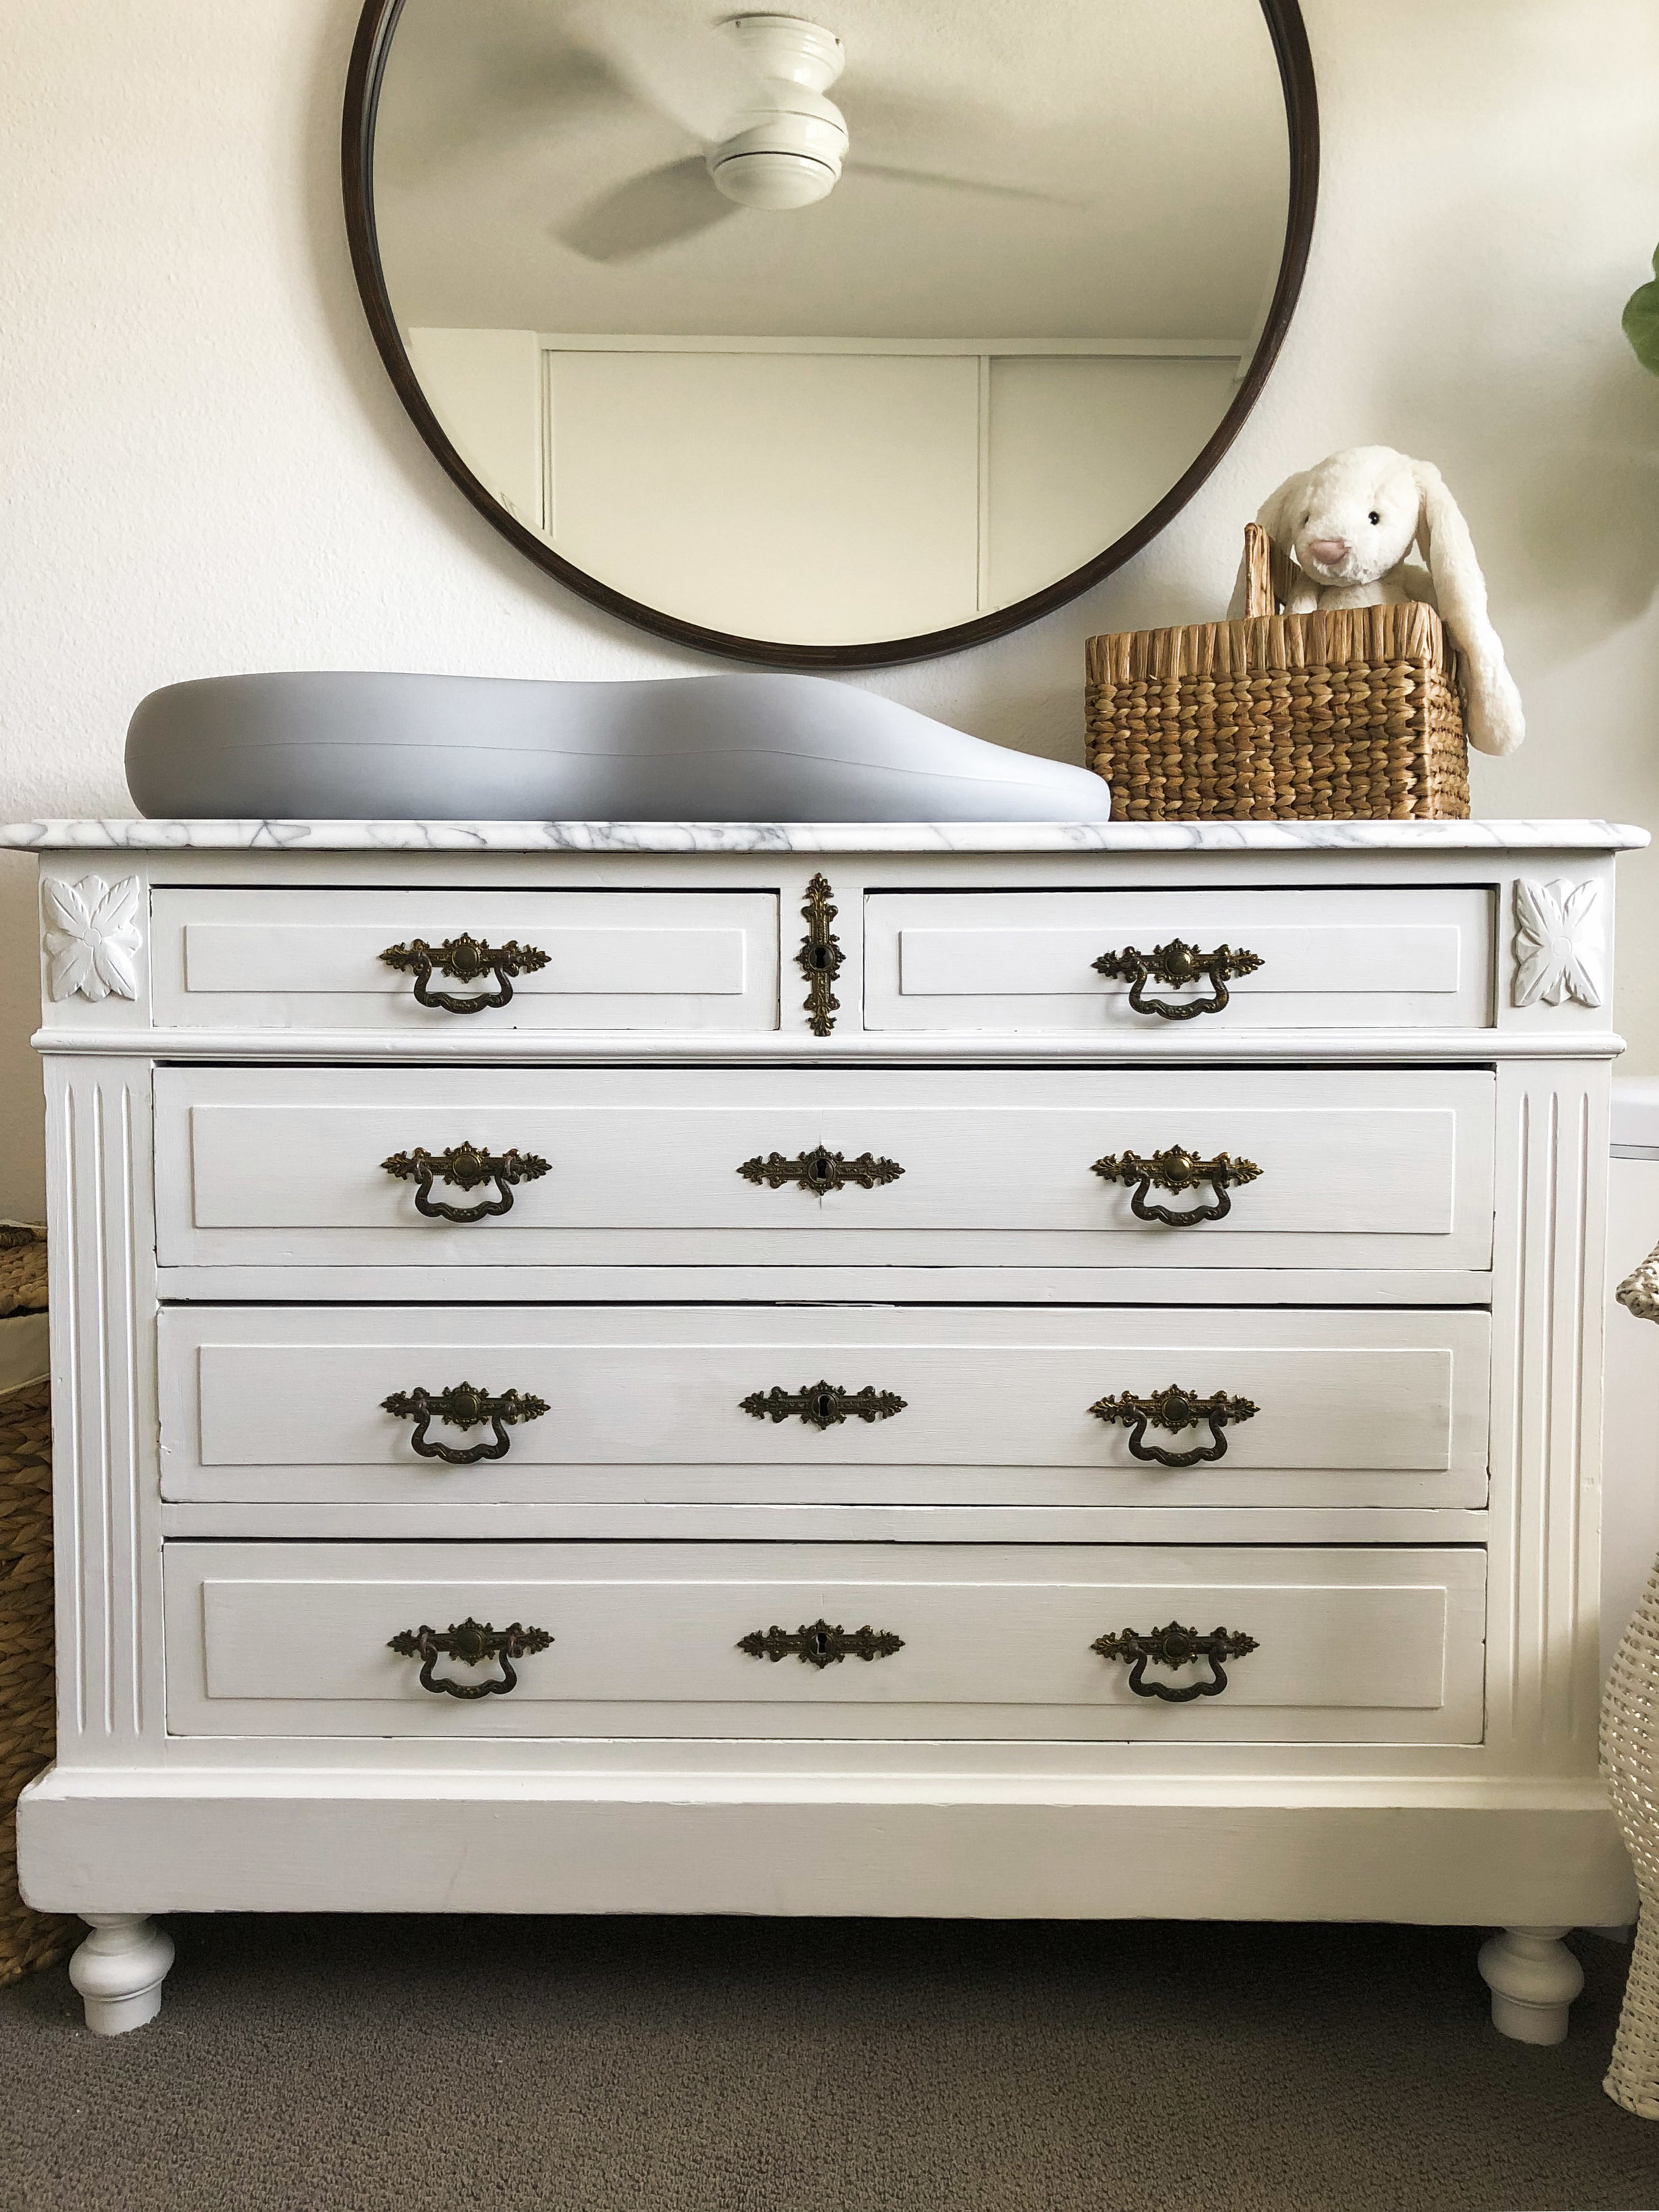


We only paid $165 for this dresser so after seeing that the marble top was in pretty rough shape, I still wanted it. I knew that there were ways of refinishing and resealing marble so I just decided to take a chance and research it on google after we picked up the dresser! The babies room has a weird layout as well, so we couldn’t really fit a double dresser and the width of a single dresser would be kind of small. The size of this antique piece was absolutely perfect! I was determined to make it work.
I decided to paint this dresser white (shocker!) because our walls are a bright white (Sherwin Williams High Reflective White) and I love Rustoleum chalked paint. I used it on the dresser in this post and it held up really well and the poly that goes with it is way easier to apply (and significantly cheaper) than my other favorite- Annie Sloan chalk paint. You don’t have to sand or prime whatever you’re painting but unfortunately that wasn’t the case with this dresser.
After painting the first coat (with hubbies help!) I immediately realized that the white was yellowing. It wasn’t that bad but I feared as time passed, it could get worse. So, I researched some solutions and decided to prime it a couple of times with Bulls Eye Shellac before painting it with chalked paint again. By we I mean my husband- thanks babe! This did the trick and after two more coats of white chalked paint and 2 coats of shellac, it was perfect!
Next, it was time to tackle the stained marble top. Thankfully, the two pieces aren't connected! That made it MUCH easier to sand down the top on the patio. I wore a mask while doing this so I didn't inhale anything as well. Finishing the top was quite simple, despite me being worried to death I was going to ruin it. I used 2 different sanding grits. I started with 80 grit and sanded down the entire surface 2 different times. I wiped away the dust with a shop towel as I went as well. I repeated this step with 120 grit and 240 grit. After sanding it down, the stains were almost completely GONE! To seal the newly sanded marble, I used Dupont Stonetech Bulletproof sealer twice. That's it! It was amazingly simple and I'm thrilled with how it turned out!
I hope you enjoyed this little sneak peak of Baby J's nursery- I can't wait to share the rest!
Xo,
Haley