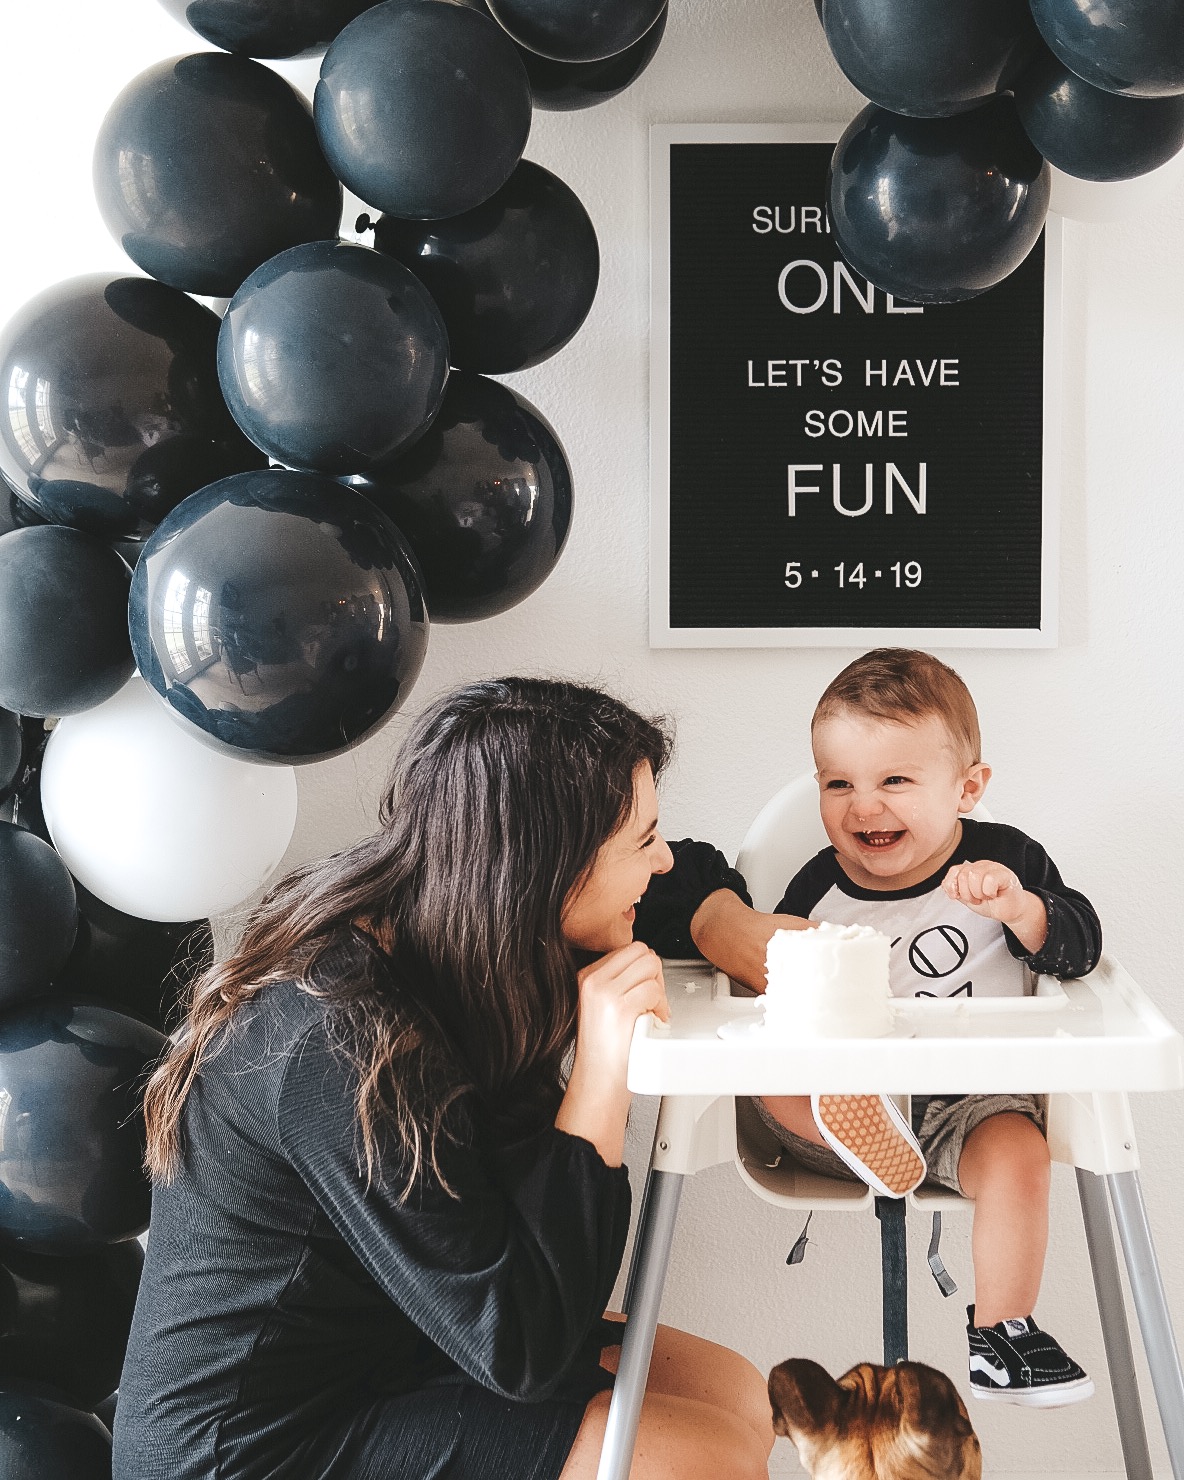
Yesterday we had Jett’s first birthday party at our house and I got SO many questions about the balloon arch I did! I got some great tips from y’all on Instagram too- THANK YOU! In today’s post I’m sharing some of those tips, everything I used for the arch, and some pointers to make your next party a success!

WHAT YOU’LL NEED:
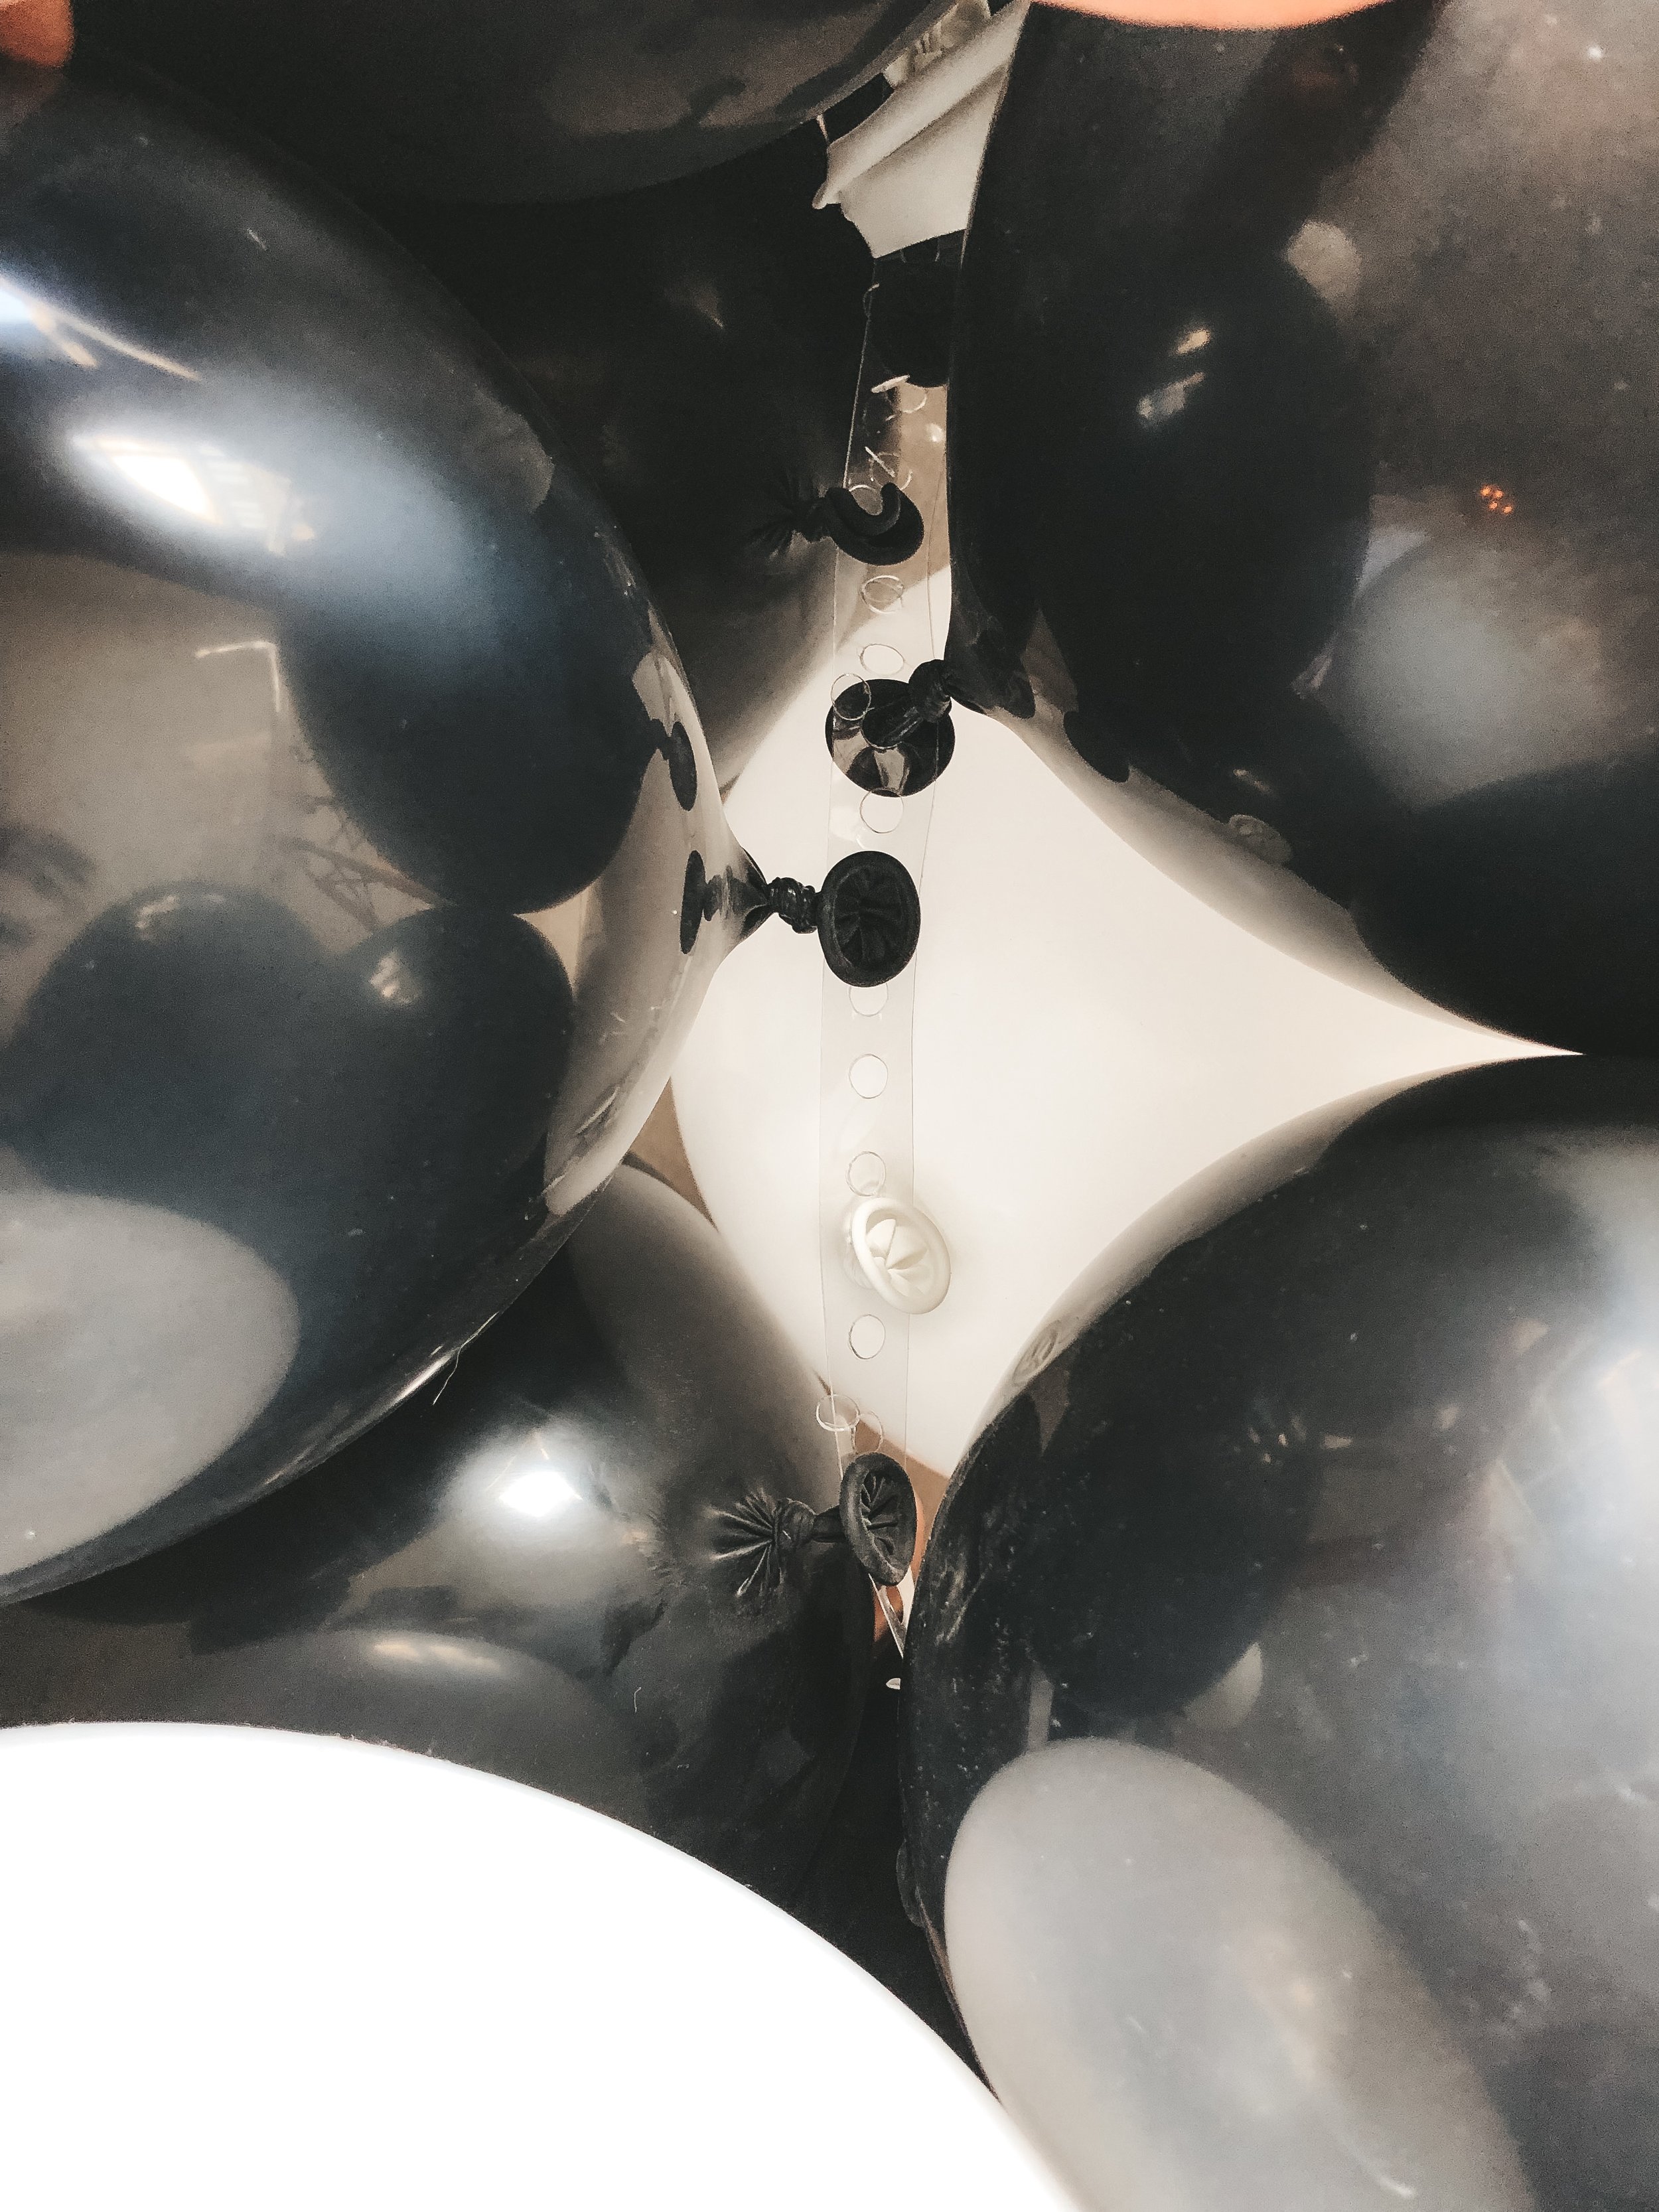
Balloon Arch Strip. This is essentially a plastic ribbon with holes in it. Make sure you order it a couple of weeks in advance because it doesn’t have Amazon prime shipping.
Zots. These are the best sticky dots!
Balloons. I used about 70.
Helium tank. This is the one I used and I still have some helium left!
HOW TO CREATE THE ARCH:
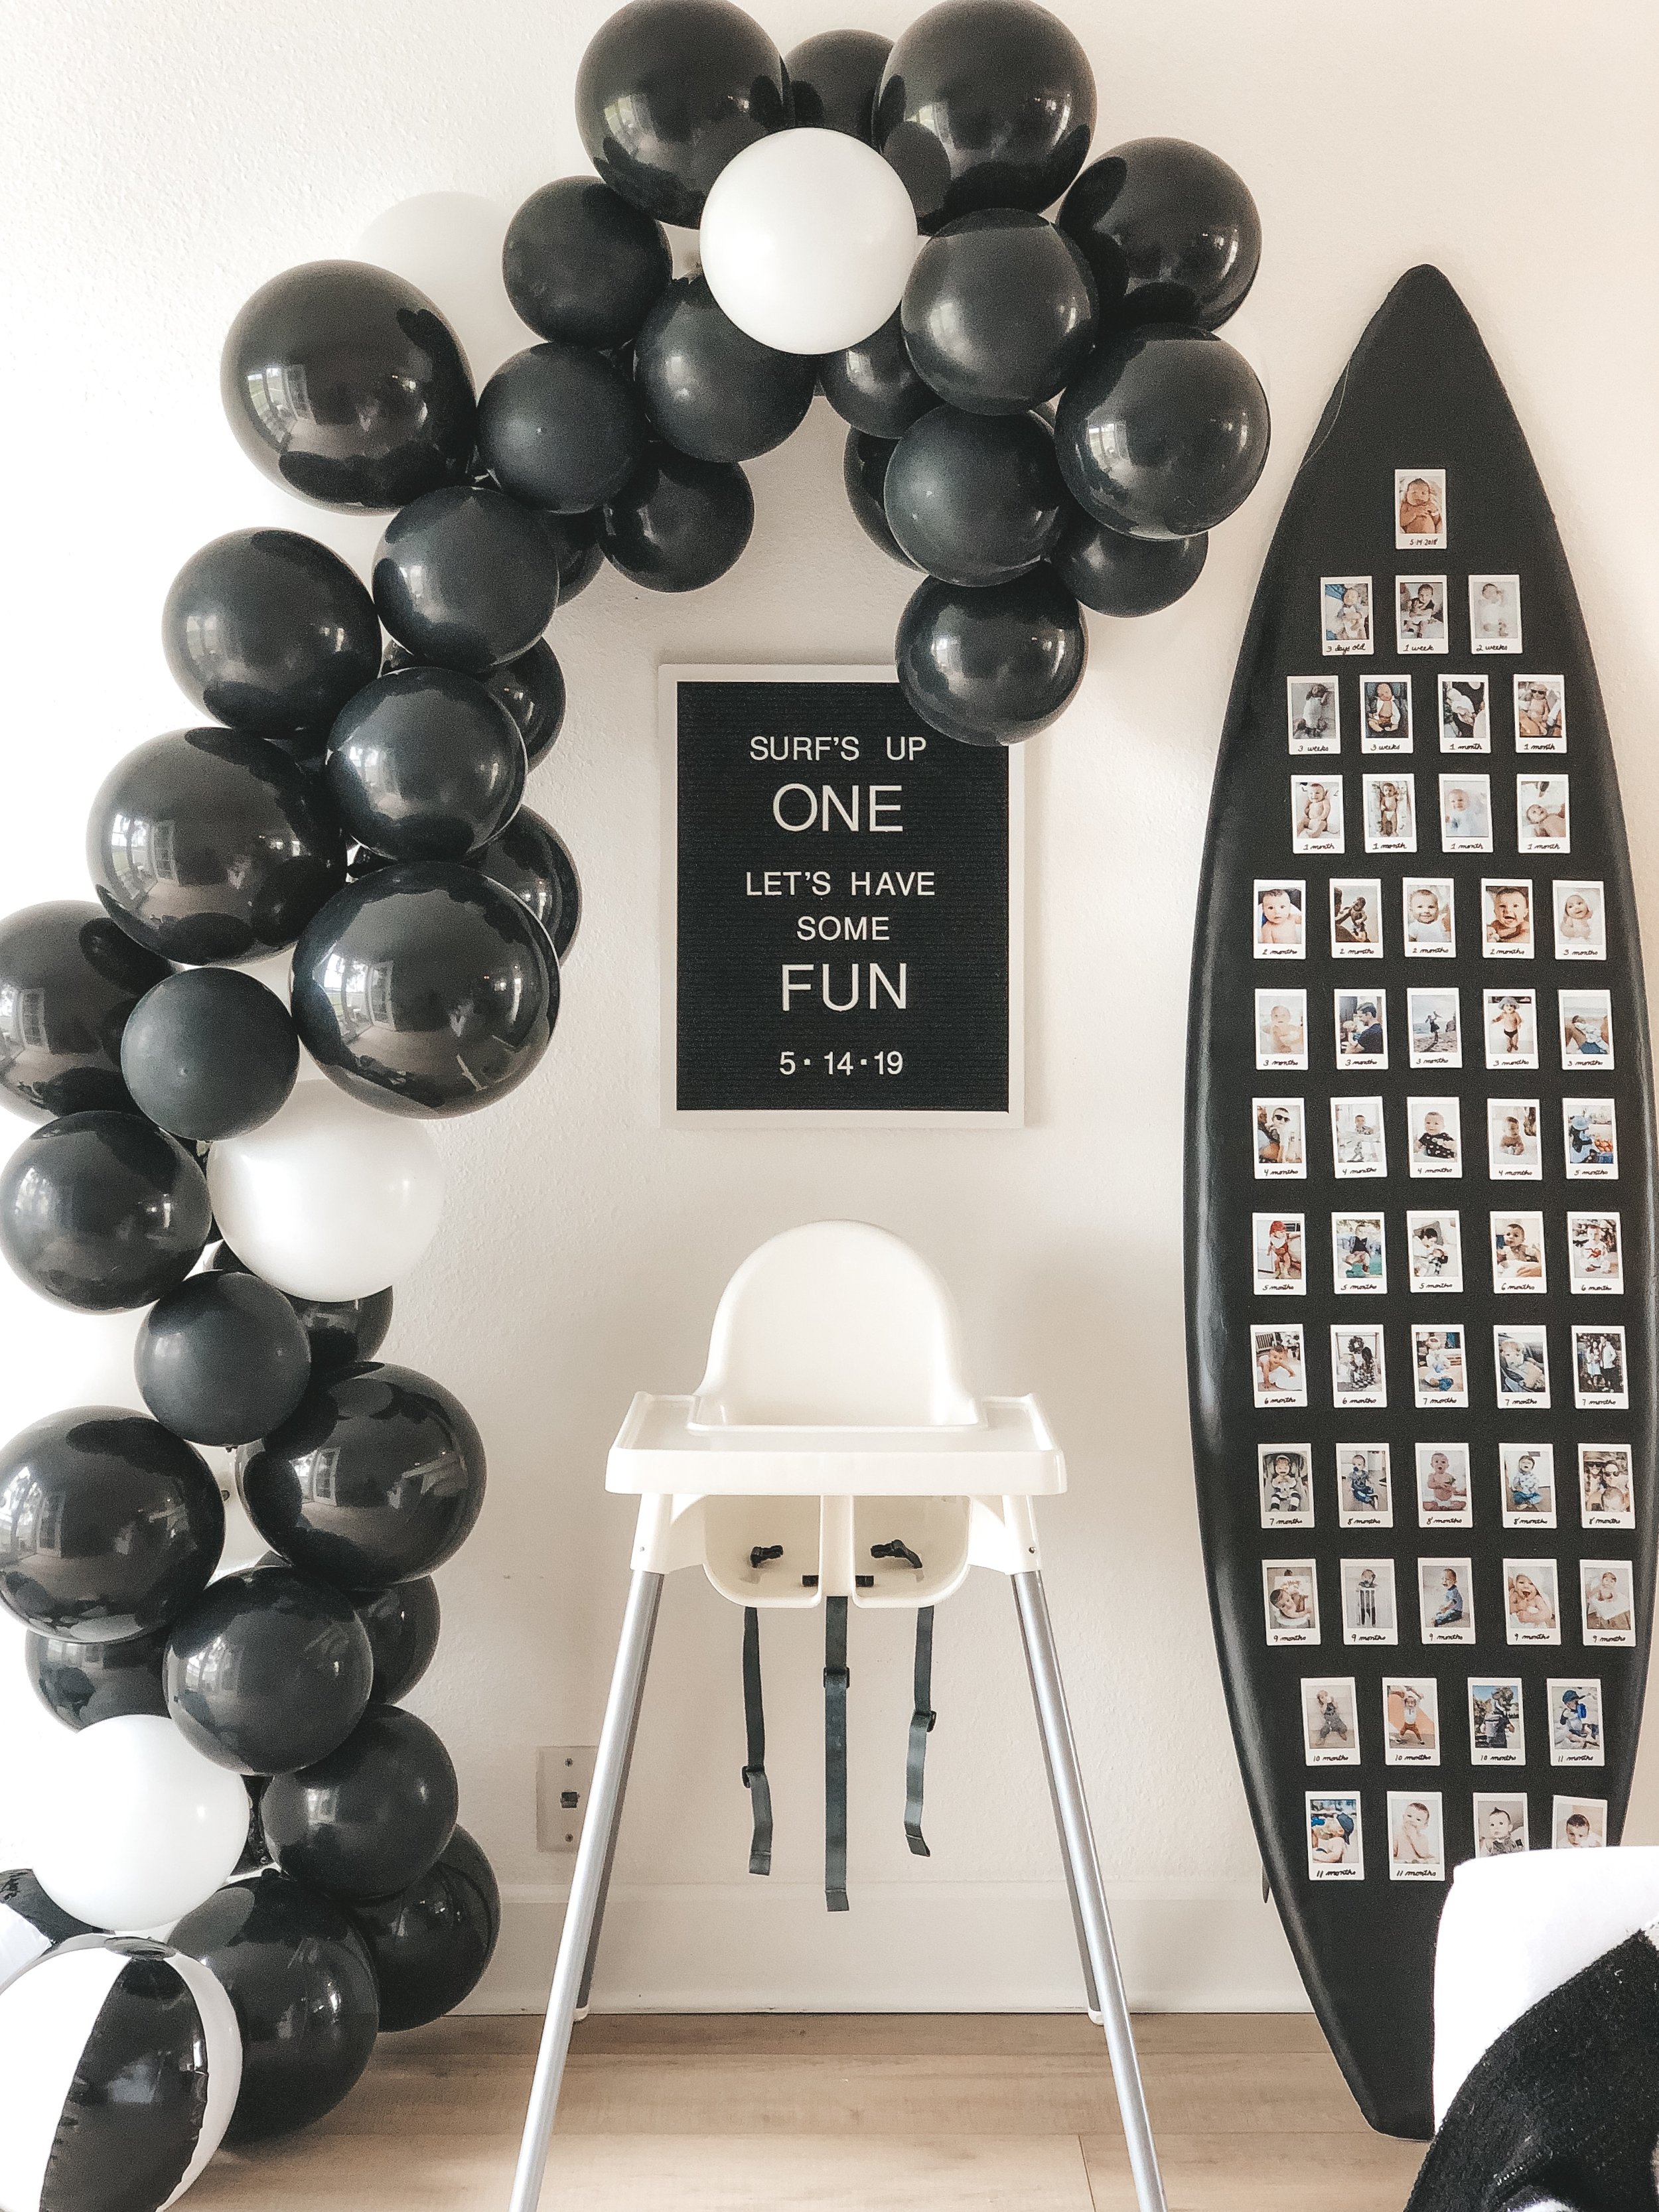
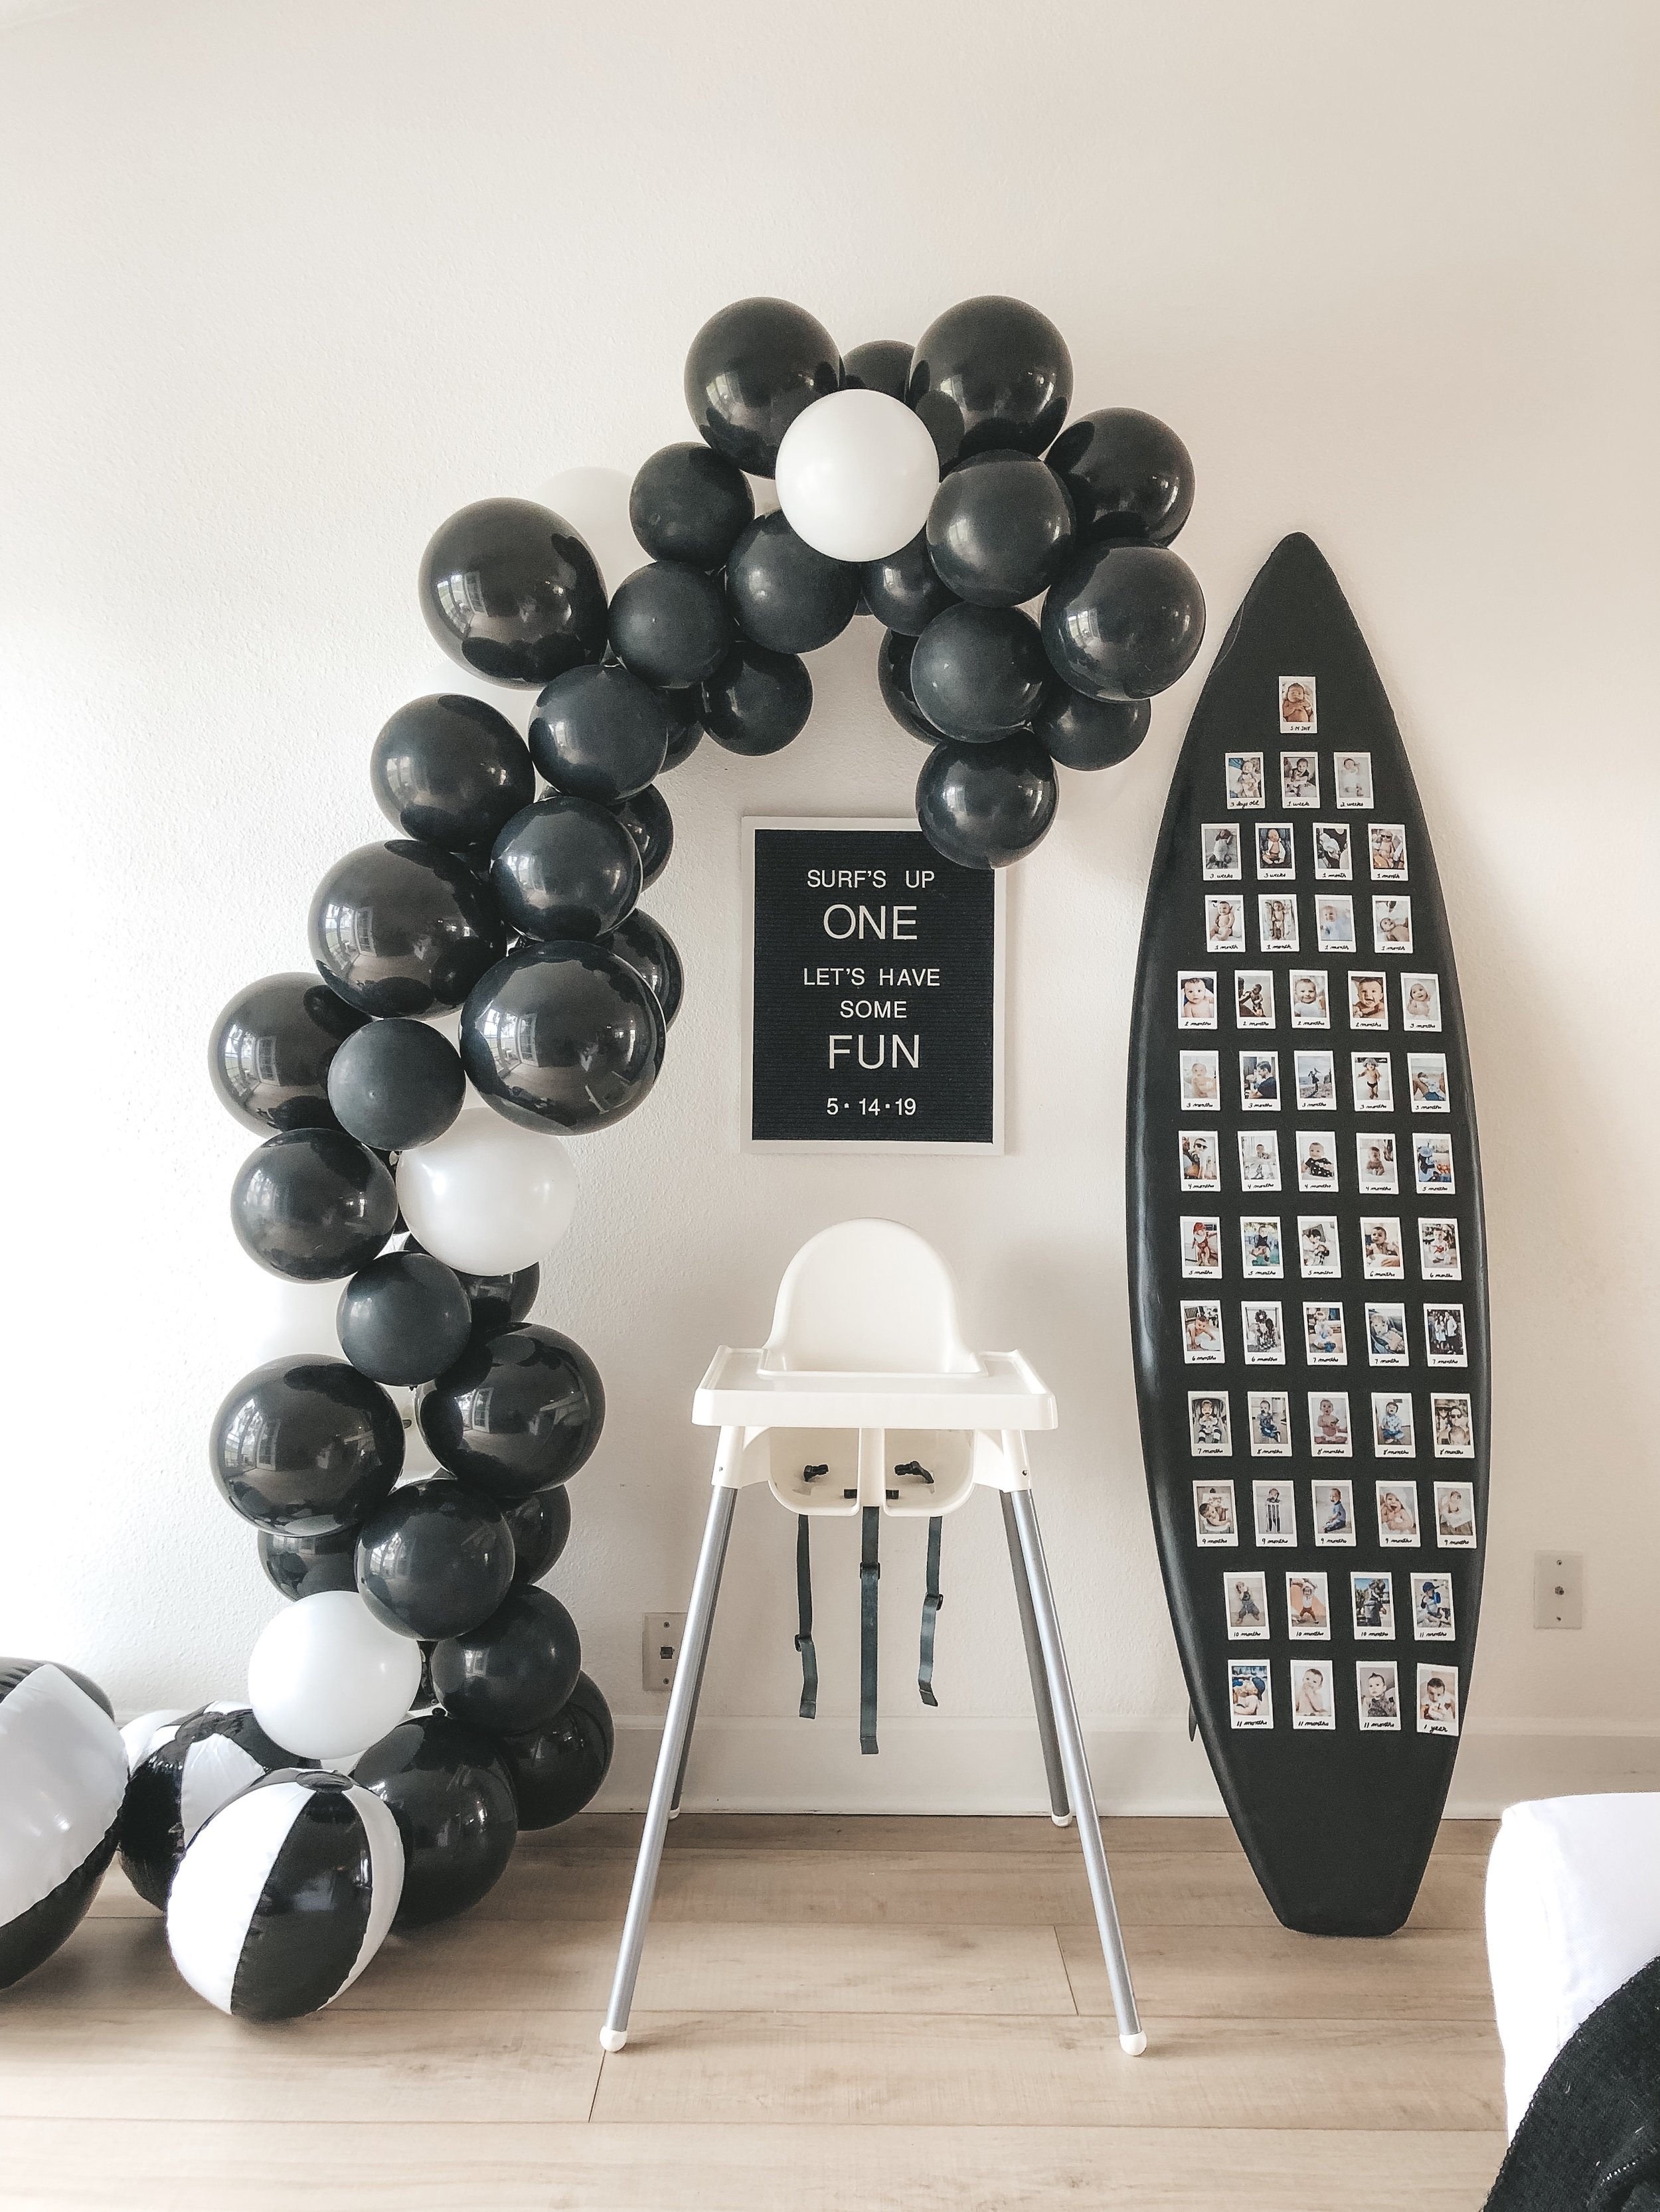
I only wanted this balloon arch to be arched at the beginning because I had the surfboard on the other side of Jett’s high chair. So at the beginning of the balloon arch strip, I placed the balloons a lot closer together. This made them curve a little bit. Once I was satisfied with the length of the cure, I started spacing them out further so that the tail would just go straight down to the floor. If you want a whole arch, you’ll have to put the balloons closer together for the entire thing!
To save time, I used a helium tank and blew up some of the balloons with that. I also blew up 25 black balloons (without helium) the night before and stored them in garbage bags. The balloons that I blew up the night before I did with my mouth because the pump I got was broken. The helium from a helium tank does not last long! So if you don’t need your arch to float and you can attach it to something on the wall, you could totally blow the balloons up the night before!
For this particular arch, I wanted it to be mostly black with some white balloons here and there. So what I did was put three to four black balloons on the balloon strip and then one white one. All of the balloons I blew up were different sizes. I didn’t blow up too may to the full 12” size because it was easier to put the small balloons on the strip and they fill the arch in nicely.
Once you are done filling in the balloon strip, if there are any spots that feel empty, you can use small balloons (or balloons that are just filled up 1/2 way) to fill in those spots. Just take a Zot to attach the balloon in the empty spot!
To attach this arch to the wall, I just used fishing line and tied it to the screws that were already on the wall from the portrait we normally have hanging on the wall. I also used a small piece of fishing line to attach the end of the arch to the surfboard so it wasn’t covering up the sign. As you can see that fell down half way through the party because Jett thought it was really fun to tackle the balloons- ha!
TIPS:
Give yourself plenty of time to make the arch, but if you’re using helium don’t make it more than an hour before the party starts! The helium doesn’t last long if you’re using a helium tank at home.
If you are using helium for all of the balloons, I would suggest that you have someone fill up the balloons while you attach them to the balloon strip. That way you can blow everything up right before the party and the arch will last!
If you use helium for all of the balloons, make sure you have something to weight it down on both ends!
If you have a rowdy toddler, I wouldn’t suggest having the arch cascade onto the ground. Jett tried to tackle the entire arch 10 minutes after the party started- ha!
A lot of y’all said that smaller balloons work best. I would agree but I also think having every 4th or 5th balloon filled up to it’s full size gave the arch more dimension!
That’s all I can think of, let me know if you have any questions! It really turned out to be easier than I had expected which was amazing. Good luck and tag me on your Instagram stories if you try this!
Xo,
Haley