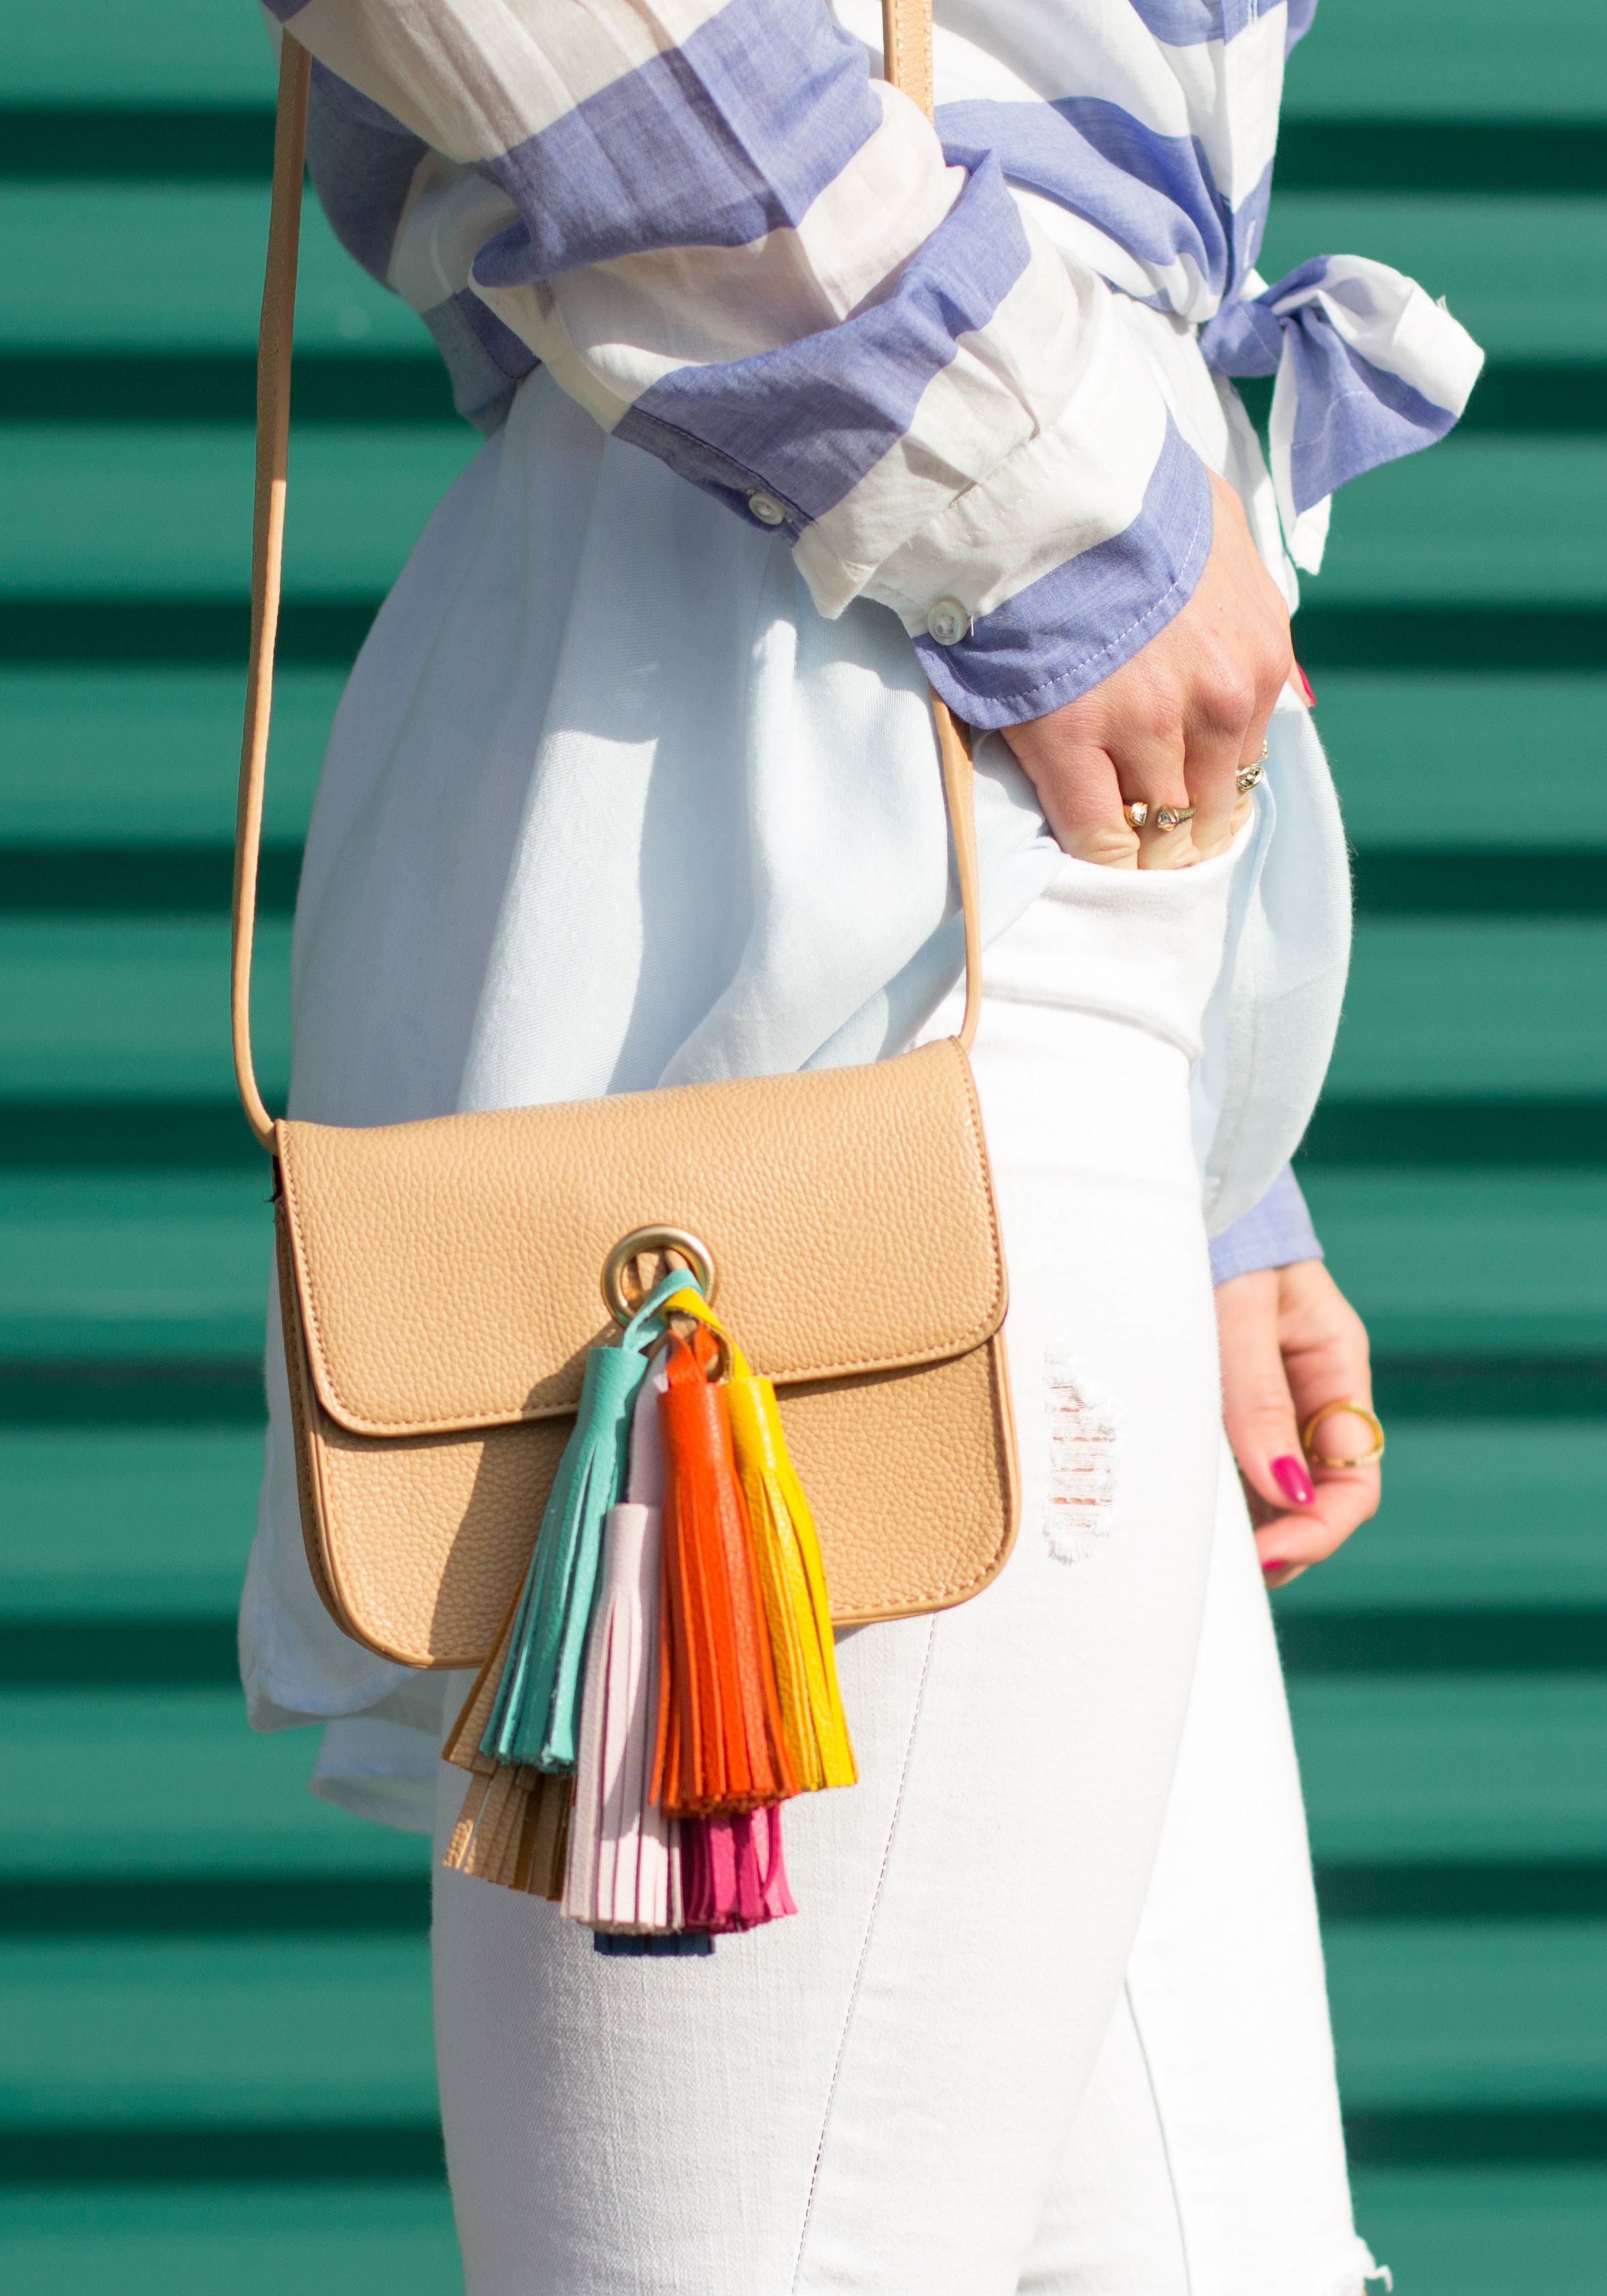
SIMILAR STRIPE BUTTON FRONT SHIRT // SIMILAR HIGH-LOW TANK // SIMILAR DISTRESSED WHITE SKINNY JEANS // FOREVER 21 TASSEL FAUX LEATHER CROSSBODY BAG //
When I first laid eyes on Rebecca Minkoff's Sofia Handbags, it was love at first sight! Of course I thought to myself " I HAVE to have this bag!" but the more practical side of my brain was saying, "It's not in your budget, Haley!" That's when I decided to DIY a similar version so I could have my cake and eat it too! This DIY is super simple and you can do it for less than $50! #fashionwin!
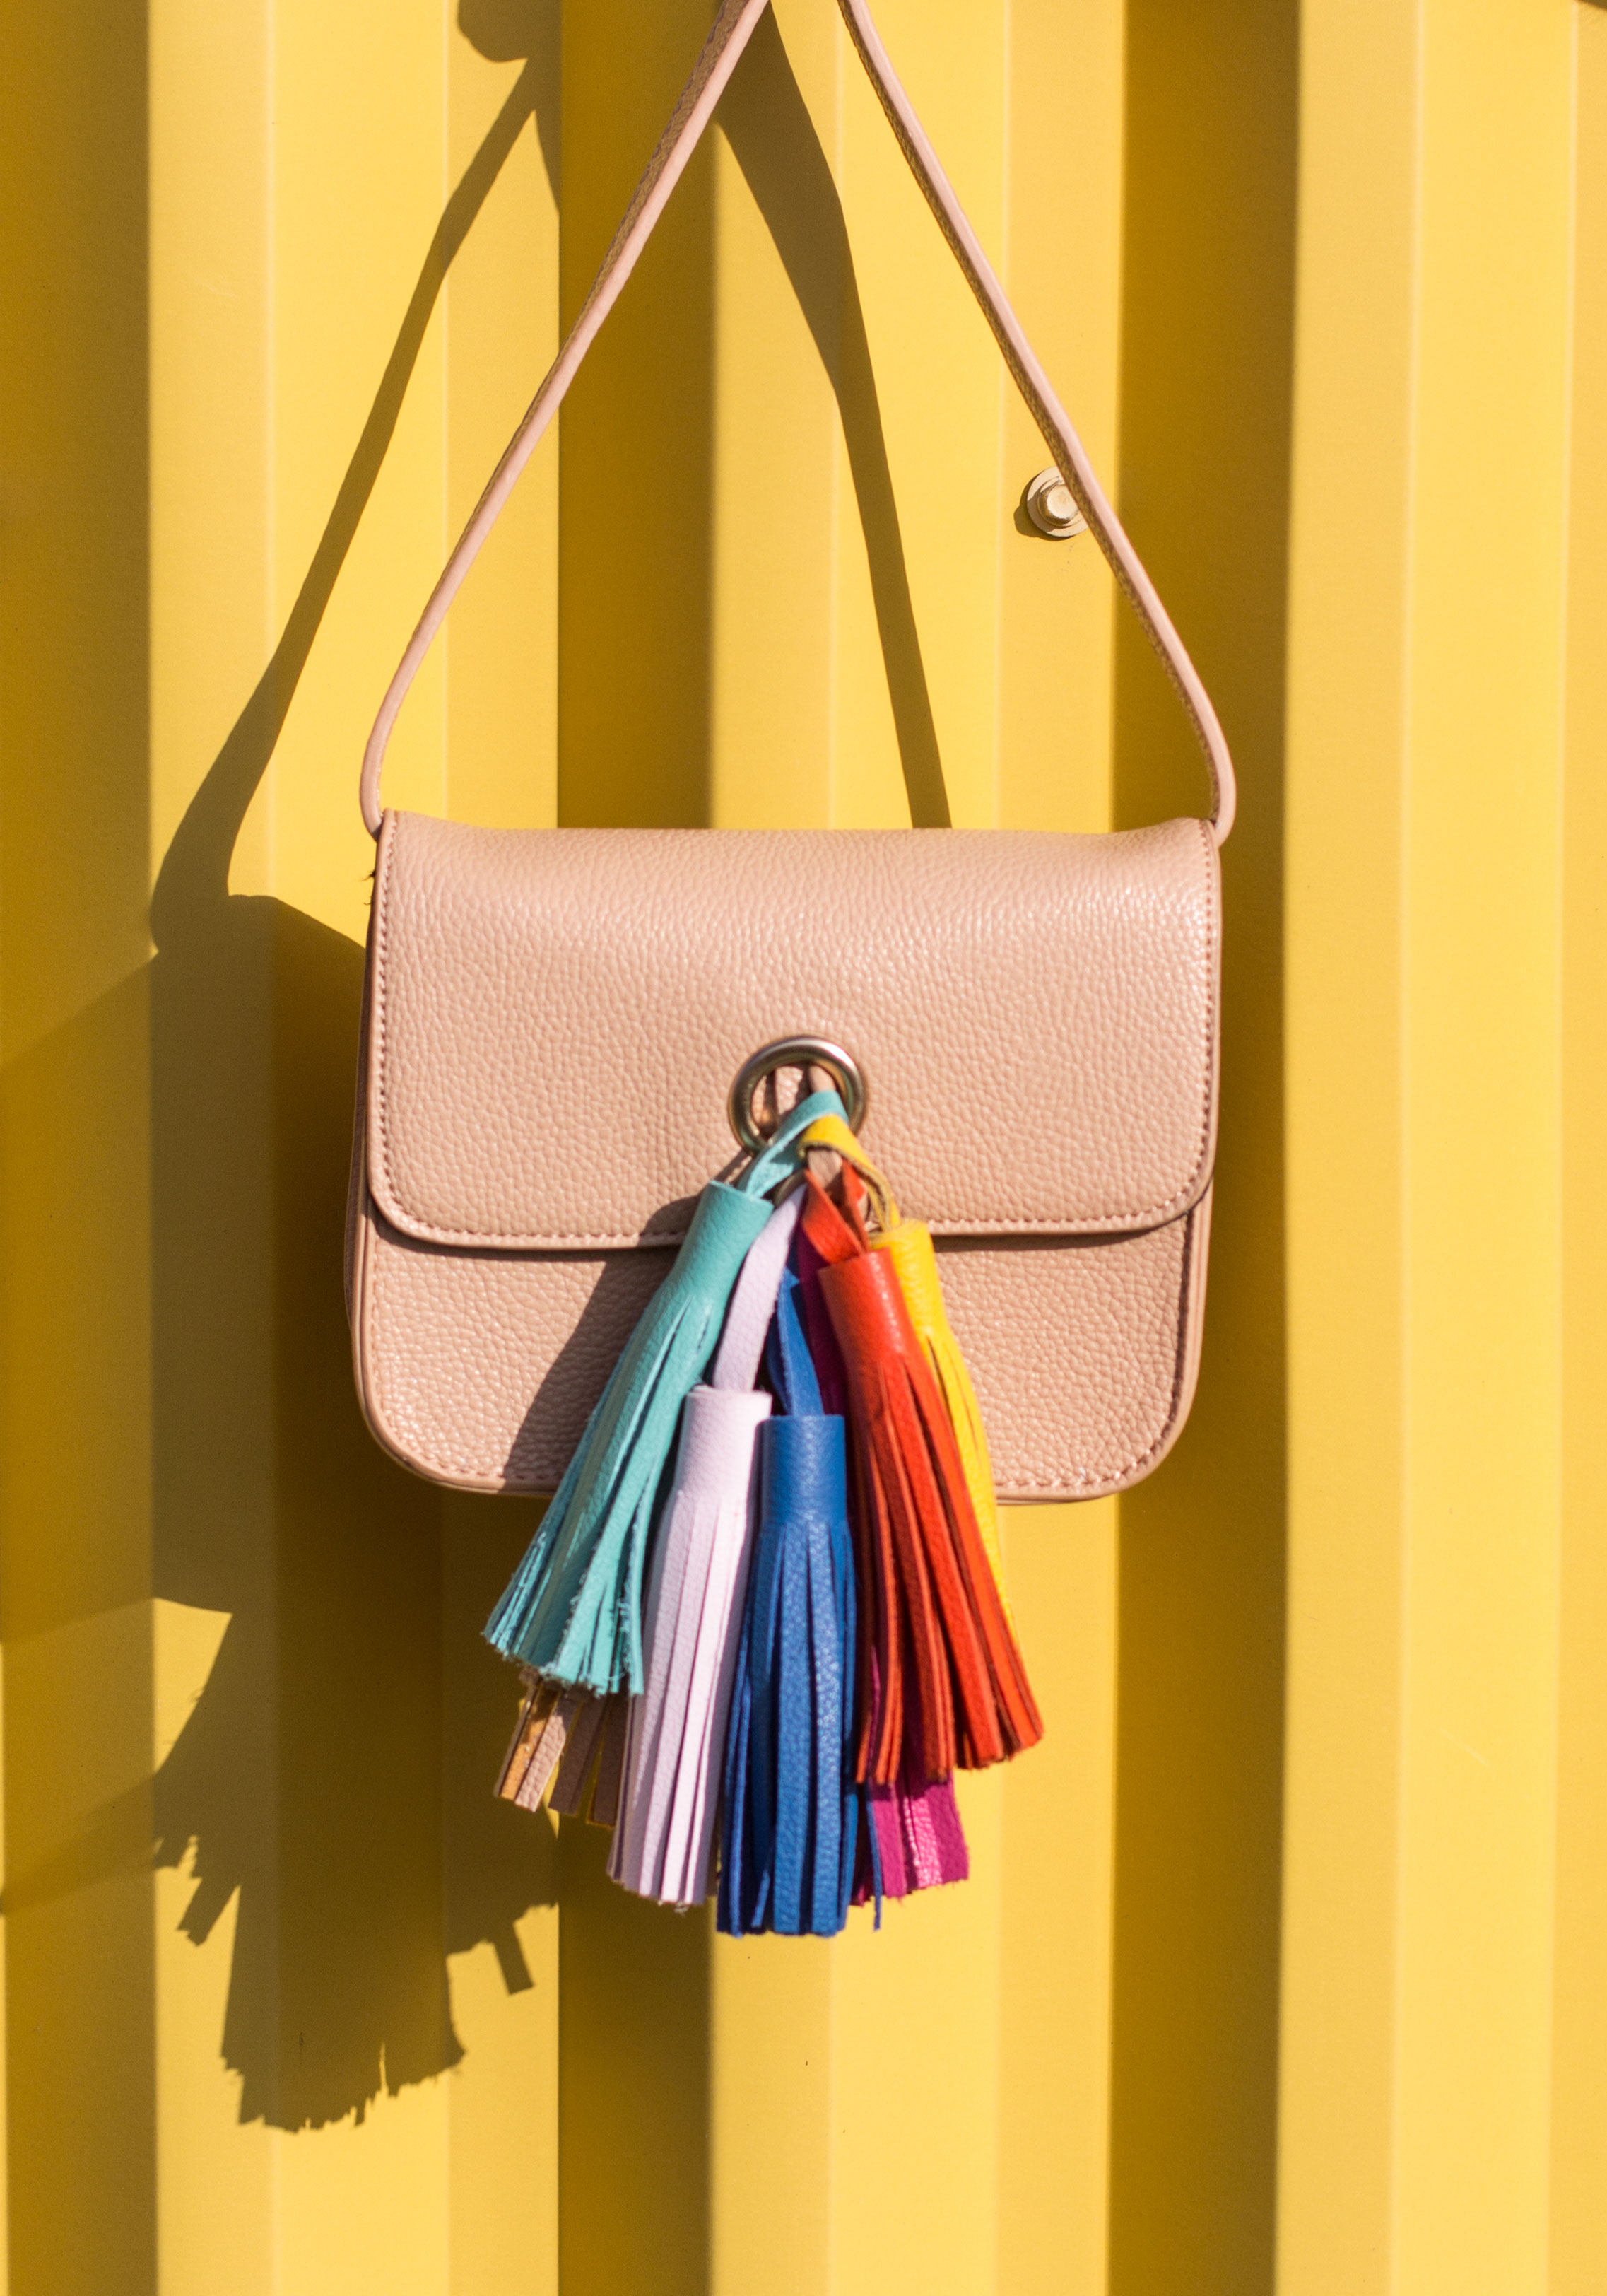
The best part? This Forever 21 handbag can be worn 3 ways when you're done! Since you don't have to glue the colored tassels to the bag, you can still use it with or without the extra tassels. The strap also detaches so you can use it as a clutch. Get the scoop on how to create your own below!

HERE'S WHAT YOU NEED:
1. Leather Samples (I ordered Lemon Yellow, Royal Blue, Aqua, Orange, Hot Pink, & Baby Pink).
2. Forever 21 Tassel Faux Leather Crossbody Bag. You could use another handbag as long as it has something to attach the tassels to!
3. Sharp Scissors. I recommend these if you don't already have some!
4. Tear Mender Fabric & Leather Adhesive.
5. Cutting Mat. This isn't a must-have but I highly recommend it for use with the rotary cutter! I also use mine whenever I'm using a hot glue gun so that I don't get the glue on our table.
6. Rotary Cutter. This item is optional as well. I already had one and used it to cut the longer sides.
7. Transparent Ruler. You could always use a regular ruler, but this will save you some major time and effort! It is also SO helpful when cutting especially if you don't want to draw all of the lines.

DIRECTIONS:
1. Using a pen or pencil, draw a line 1" from the side on the back of the leather.
2. Place the clear ruler 1/4" from the side and use the rotary cutter to cut a thin strip of leather for the loop of the tassel. IMPORTANT: For the Orange, Yellow, and Aqua tassels, the loop is shorter. Use the clear ruler and rotary cutter to trim the thin strips to 4" long.
3. Now use the ruler to draw lines 1/8" apart for the fringe.

4. Align the leather loop with the side of the tassel and use a staple to keep it in place.
5. Draw a thin line of glue towards the top of the tassel, but do not go all the way to the edge.
6. Starting with the side with the loop, tightly roll the tassel. The glue will be pushed along as you roll all of the way to the end.
7. Keep a paper towel handy in case you need to wipe glue off of the tassel once it's completely rolled!

8. Once you have all of the tassels made, untie the tassels on the handbag. Add the aqua, yellow, and orange tassels to the right side and the light pink, blue, and hot pink tassels to the left side.
9. Re-tie the tassels on the handbag (exactly how they were before you untied them)!
10. Now you're ready to style a fabulous outfit with your beautiful new bag!


