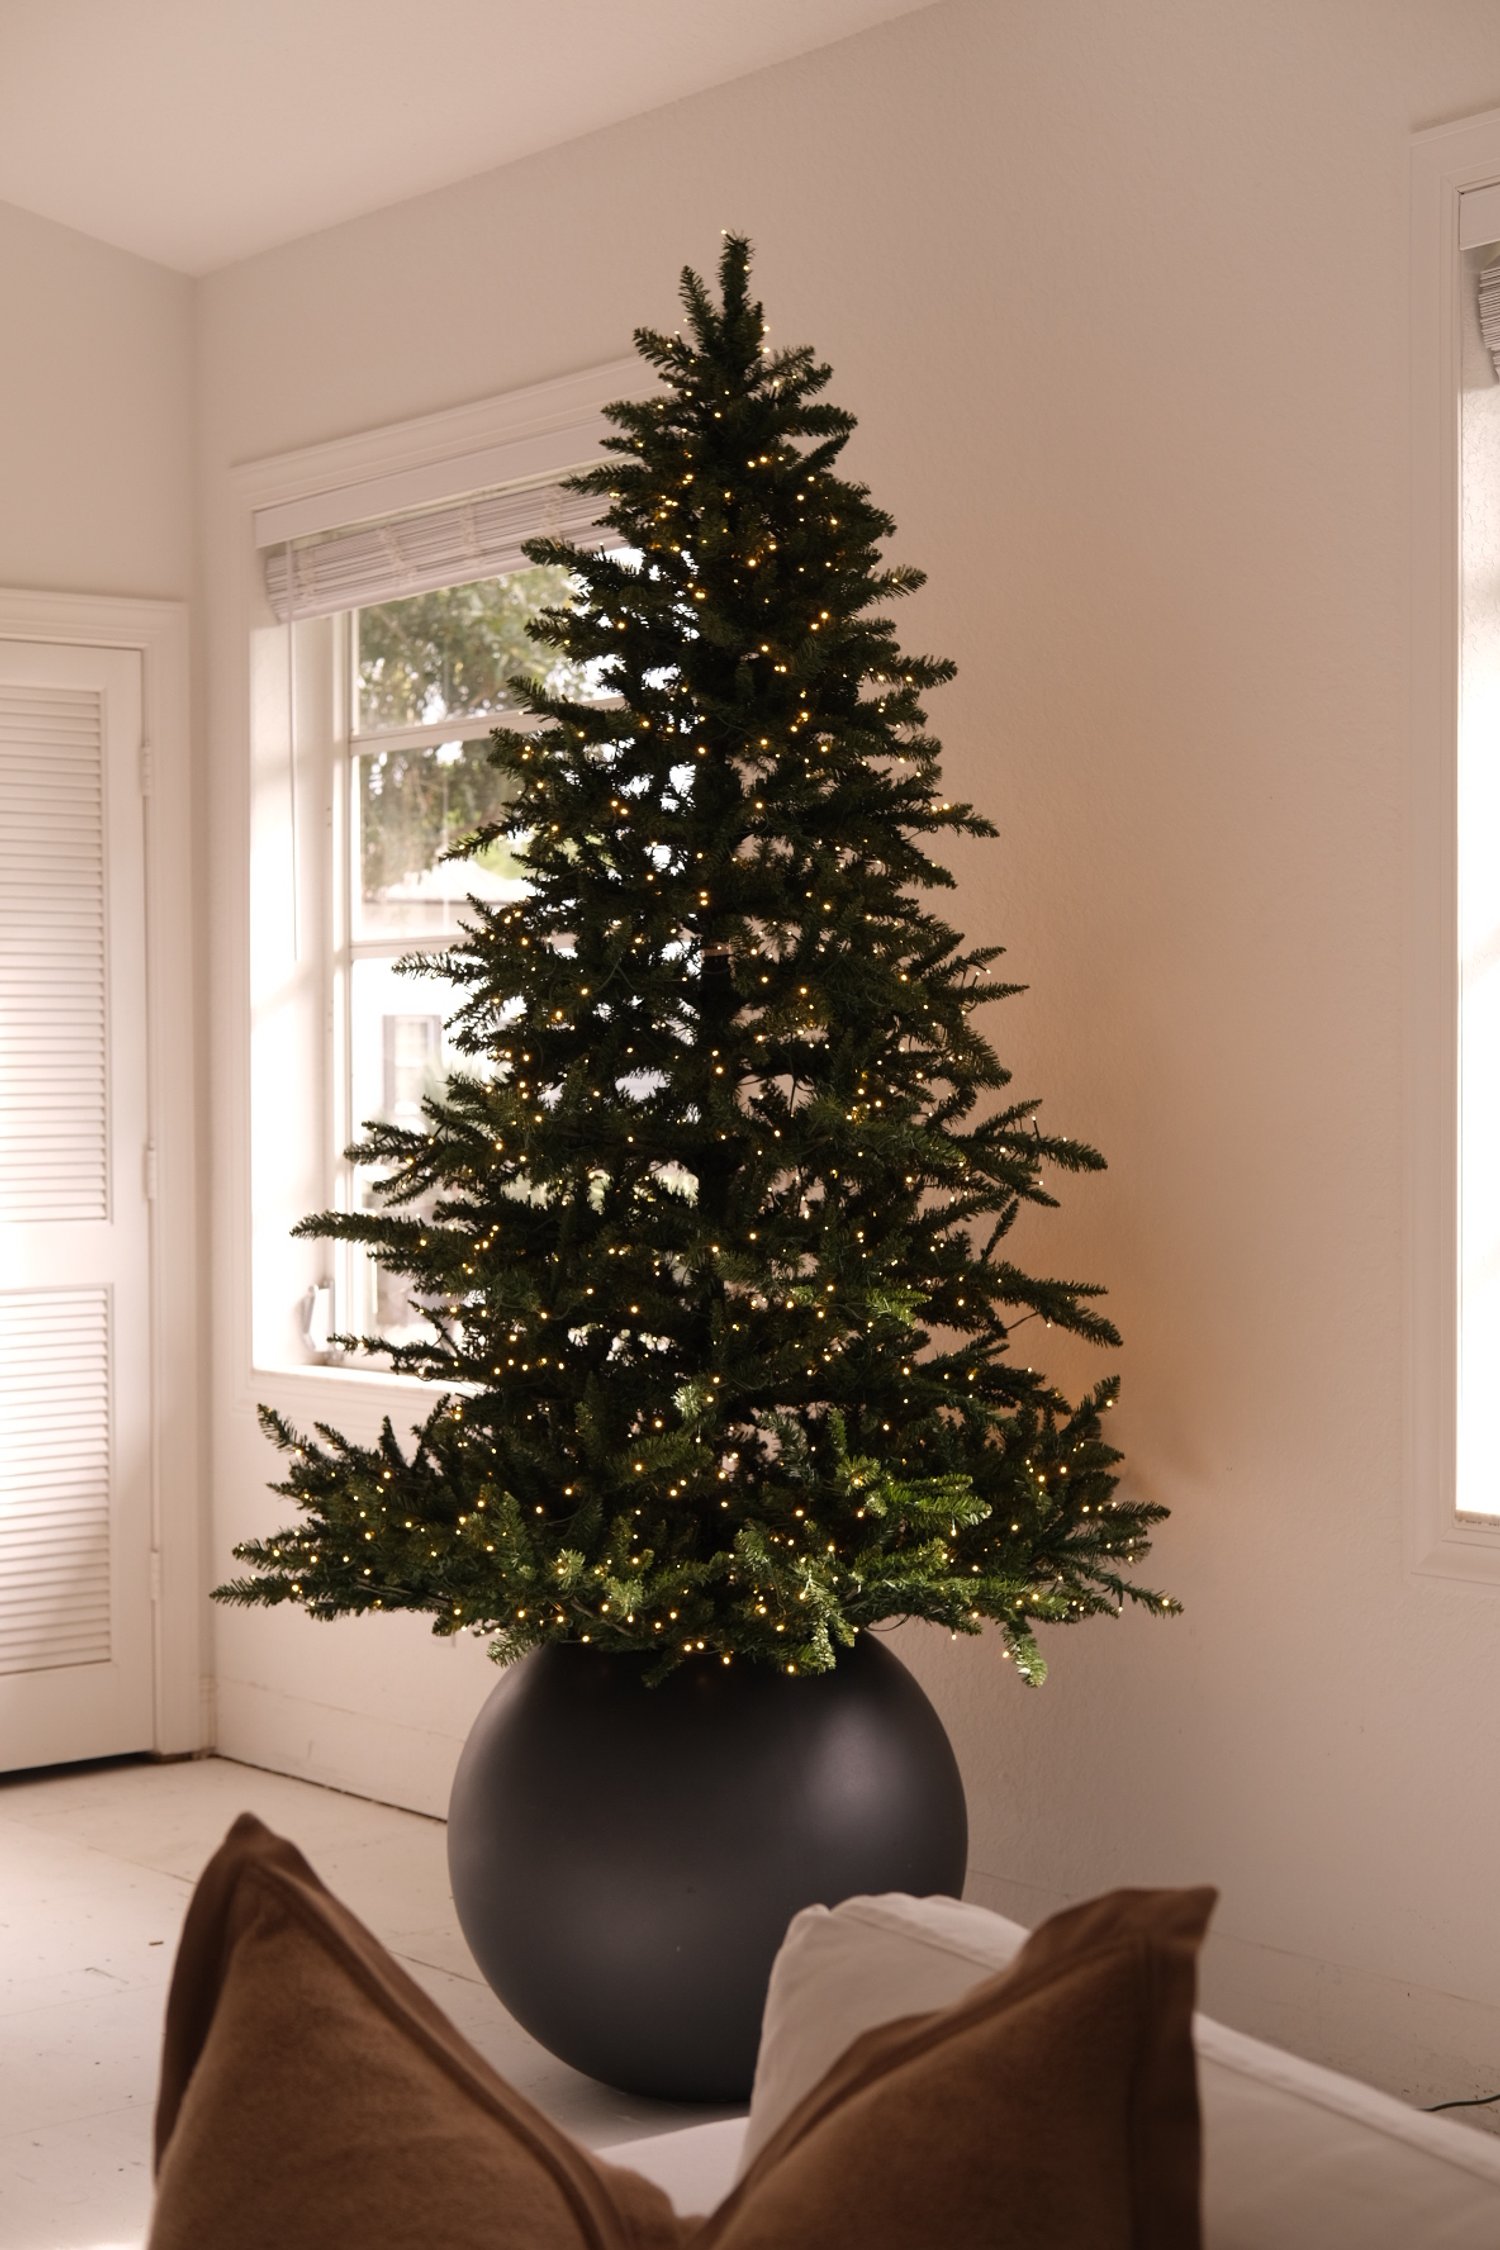
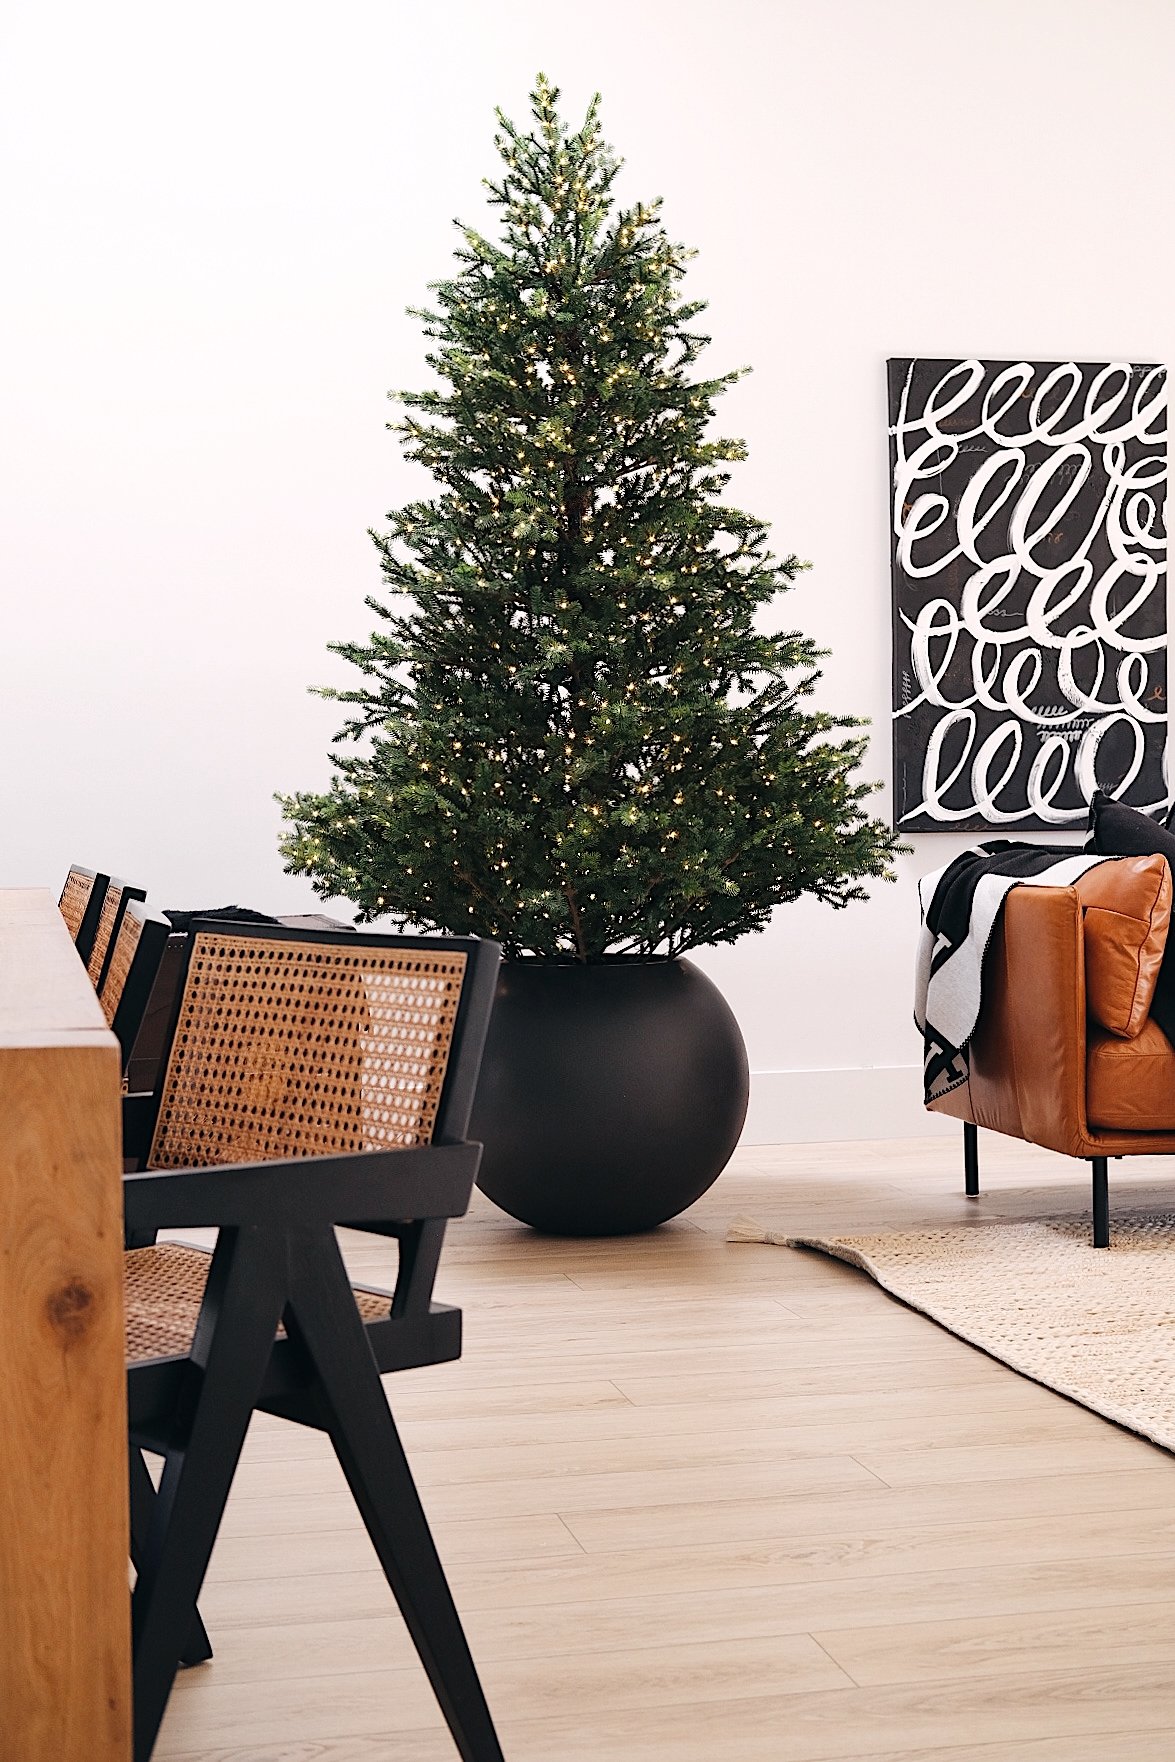
Thanksgiving is next week- can you believe it?! That means a lot of you might be decorating your trees here in the next week, so I wanted to offer up some tips on how to make your tree look full and beautiful on a budget. I’m also spilling the beans on this gorgeous $79 flocked tree that we got since I’ve had so many questions about it!


Ok let’s talk about the tree first. I finally broke down and got a new tree because I found this one for only $79 and was able to buy online and pick up in store (major time saver)! First of all, buying it online and picking it up in the store was SO EASY! Wal-mart has their BOPUS operation streamlined so all you do is walk into the store and put in your order number and there is also someone there to assist you! I was in and out in 5 minutes! Another question I got a lot on Instagram was about the quality of the tree and if it sheds a lot. The quality for the price is absolutely incredible! The flocking is really pretty and it’s super easy to put together. The flocking does shed when you’re putting it together and trimming the tree, but after I vacuumed that up the only time it’s shed more is because Dwayne keeps running into it- ha! Other than that it hasn’t shed and is pretty clean. For now until Jett can crawl which will likely happen before Christmas! Overall, I would highly recommend this tree I’m so glad we finally got a new one since I hated our old one so much!


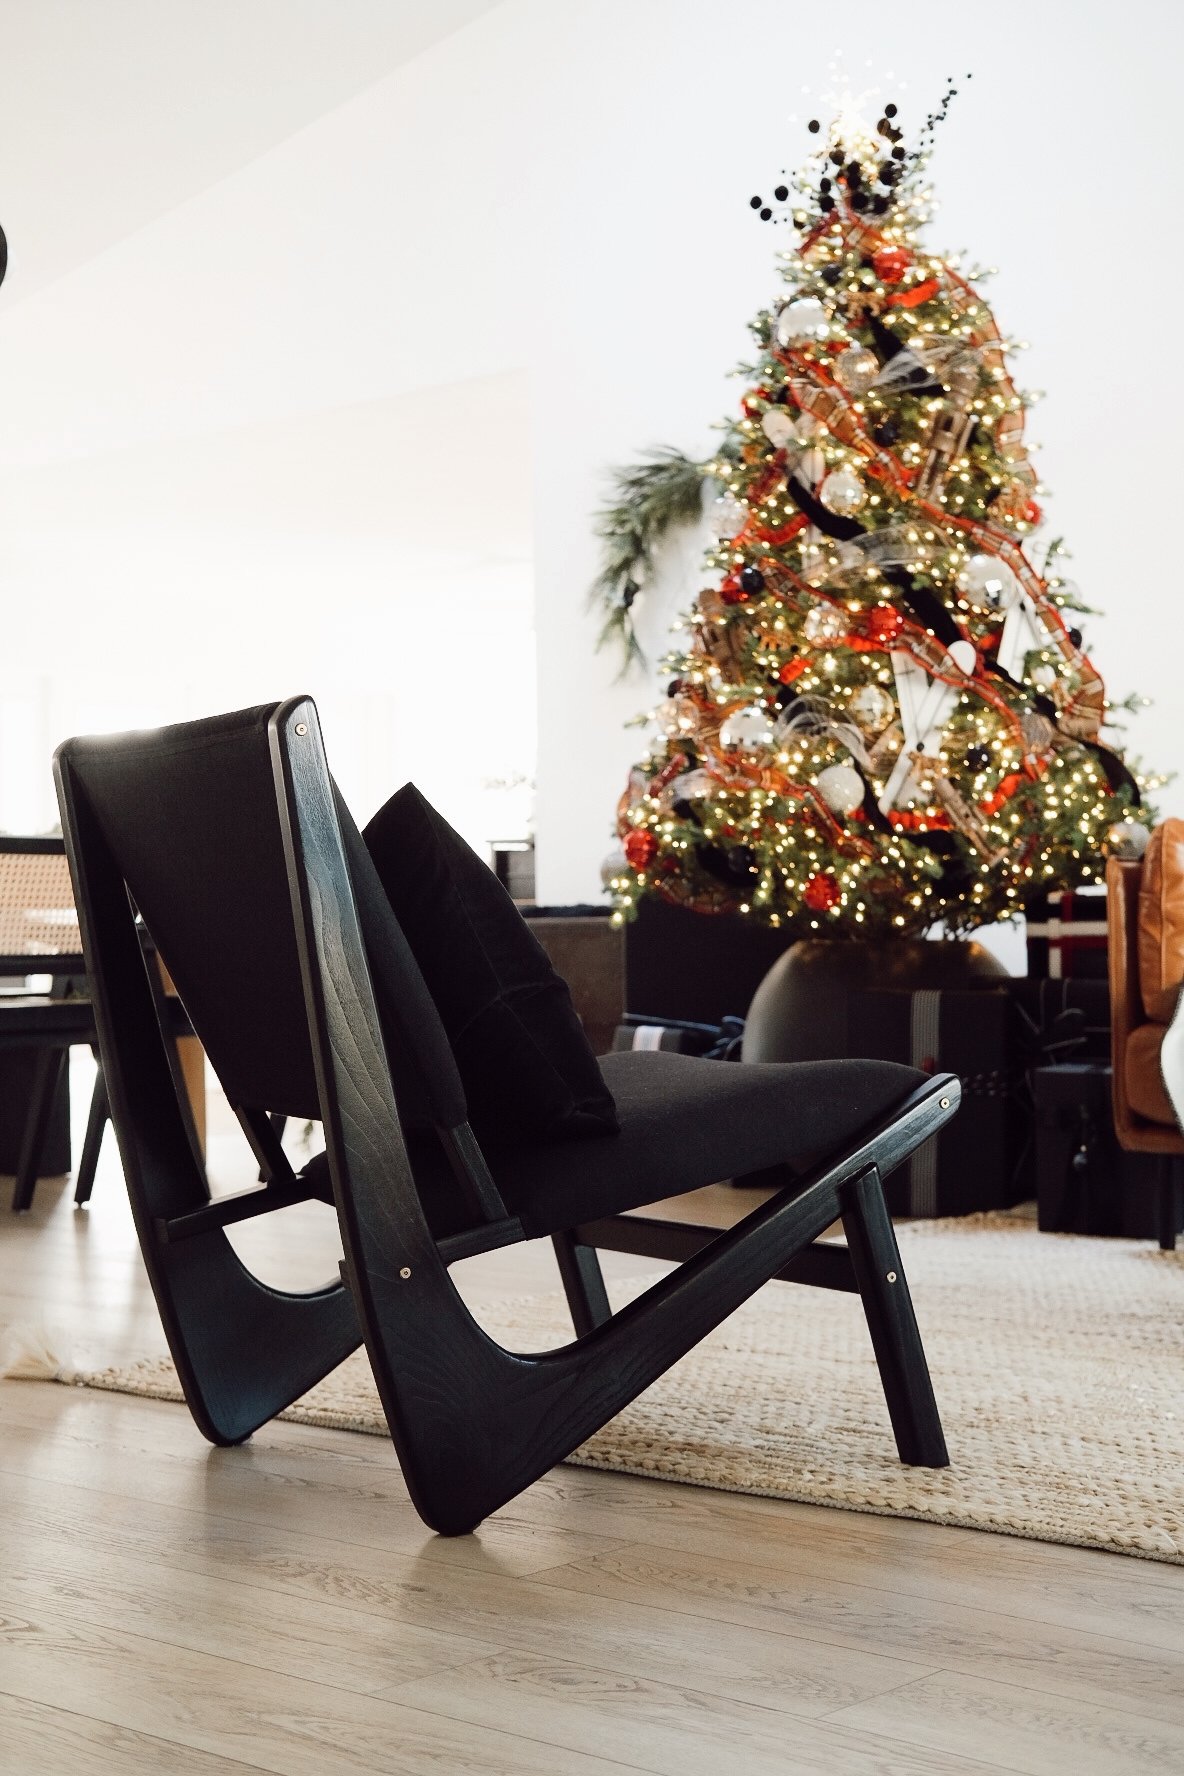
This year I wanted to deck our tree out like never before. Usually I don’t want to spend a lot of money on trimmings but after seeing @candicemichelledesigns tree and how she added lots of ribbon, I was totally inspired! Ribbon isn’t crazy expensive especially if you have a smaller tree (ours is 6.5’ tall) but it can completely transform the look of your tree from year to year. I love that I can completely change it next year and use most of the same ornaments too. Here are some tips I found helpful when attaching the ribbon:
1. Use the tree branches to secure the ribbon. Starting at the top, I used a small branch and folded it backwards on top of the ribbon so it wouldn’t slide out.
2. Gently drape the ribbon then step back and make adjustments. You’ll need to adjust the ribbon a few times before cutting so you don’t waste ribbon!
3. Wrap ribbon in different directions. I started with the netting at the top and wrapped it at an angle. Next, I put the snowball garland on in the opposite direction and just wrapped it around the tree in a spiral. After that, I wrapped the houndstooth ribbon in the same direction but above the snowball garland. Lastly, I attached the emerald green velvet ribbon in the same direction as the netting leaving a space in between the two.
As for the ornaments, I honestly don’t have that many! After adding all of the ribbon and the “picks” (I used faux greenery), I added ornaments. I like to add my ornaments in a zig zag pattern so there aren’t ever two like ornaments next to each other. For instance, I started with the red and white stripe ball ornaments. I added one near the top, then the next to the right but about 12 inches below the first one. The next to the left of that one and 12” below. It ends up distributing the ornaments evenly but it doesn’t have to look perfect!


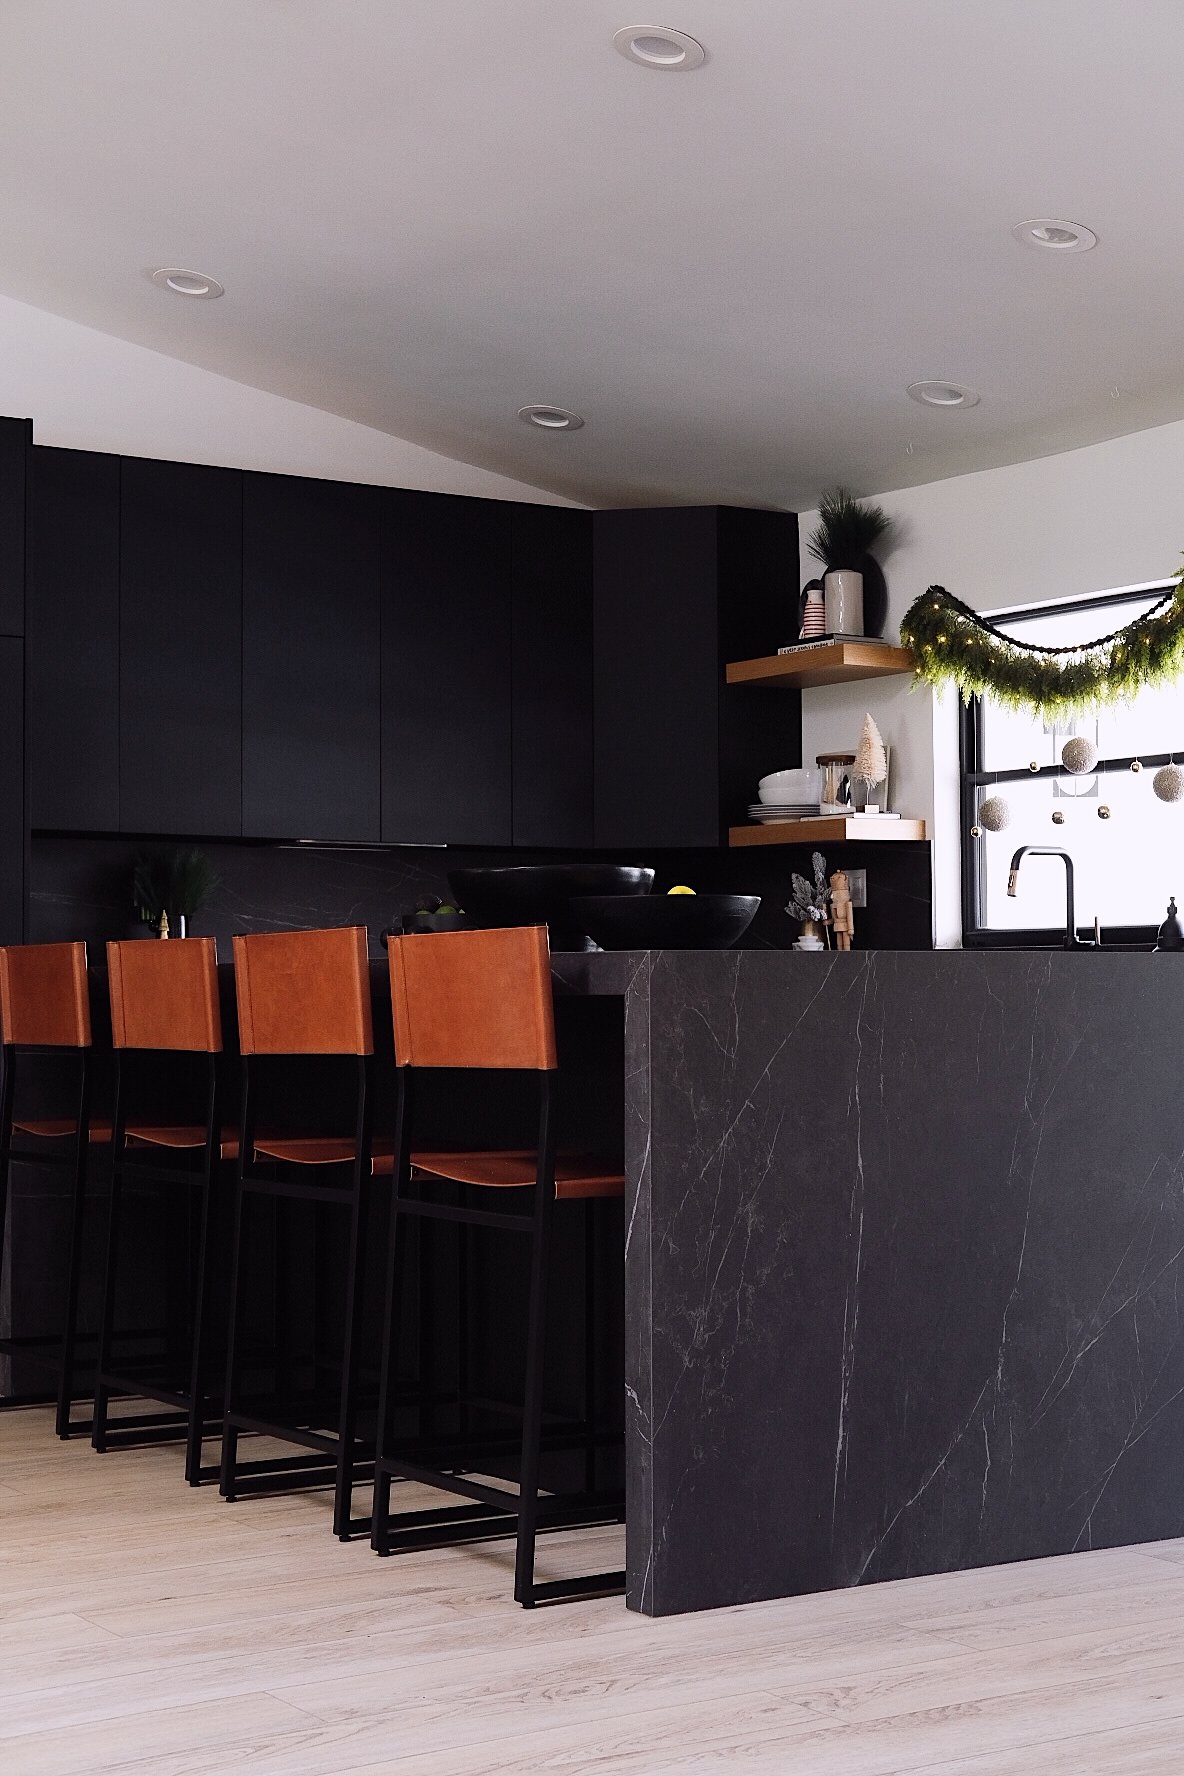
I also wanted to share some photos of our mantle and bar! I love how both turned out. I typically don’t decorate the bar, but this year I just felt so festive and had some extra decor to use. I’m obsessed with how the mantle turned out! Most of the houses and house stocking holders are from Target. They had the best selection this year. Make sure you buy online and pick up in store so the items you want are still there when you arrive! Make sure you click through the shop widgets to find the items in this post (or similar if the item is sold out) or shop the boutique below! Merry Christmas, y’all!
Xo,
Haley
SHOP THIS POST: