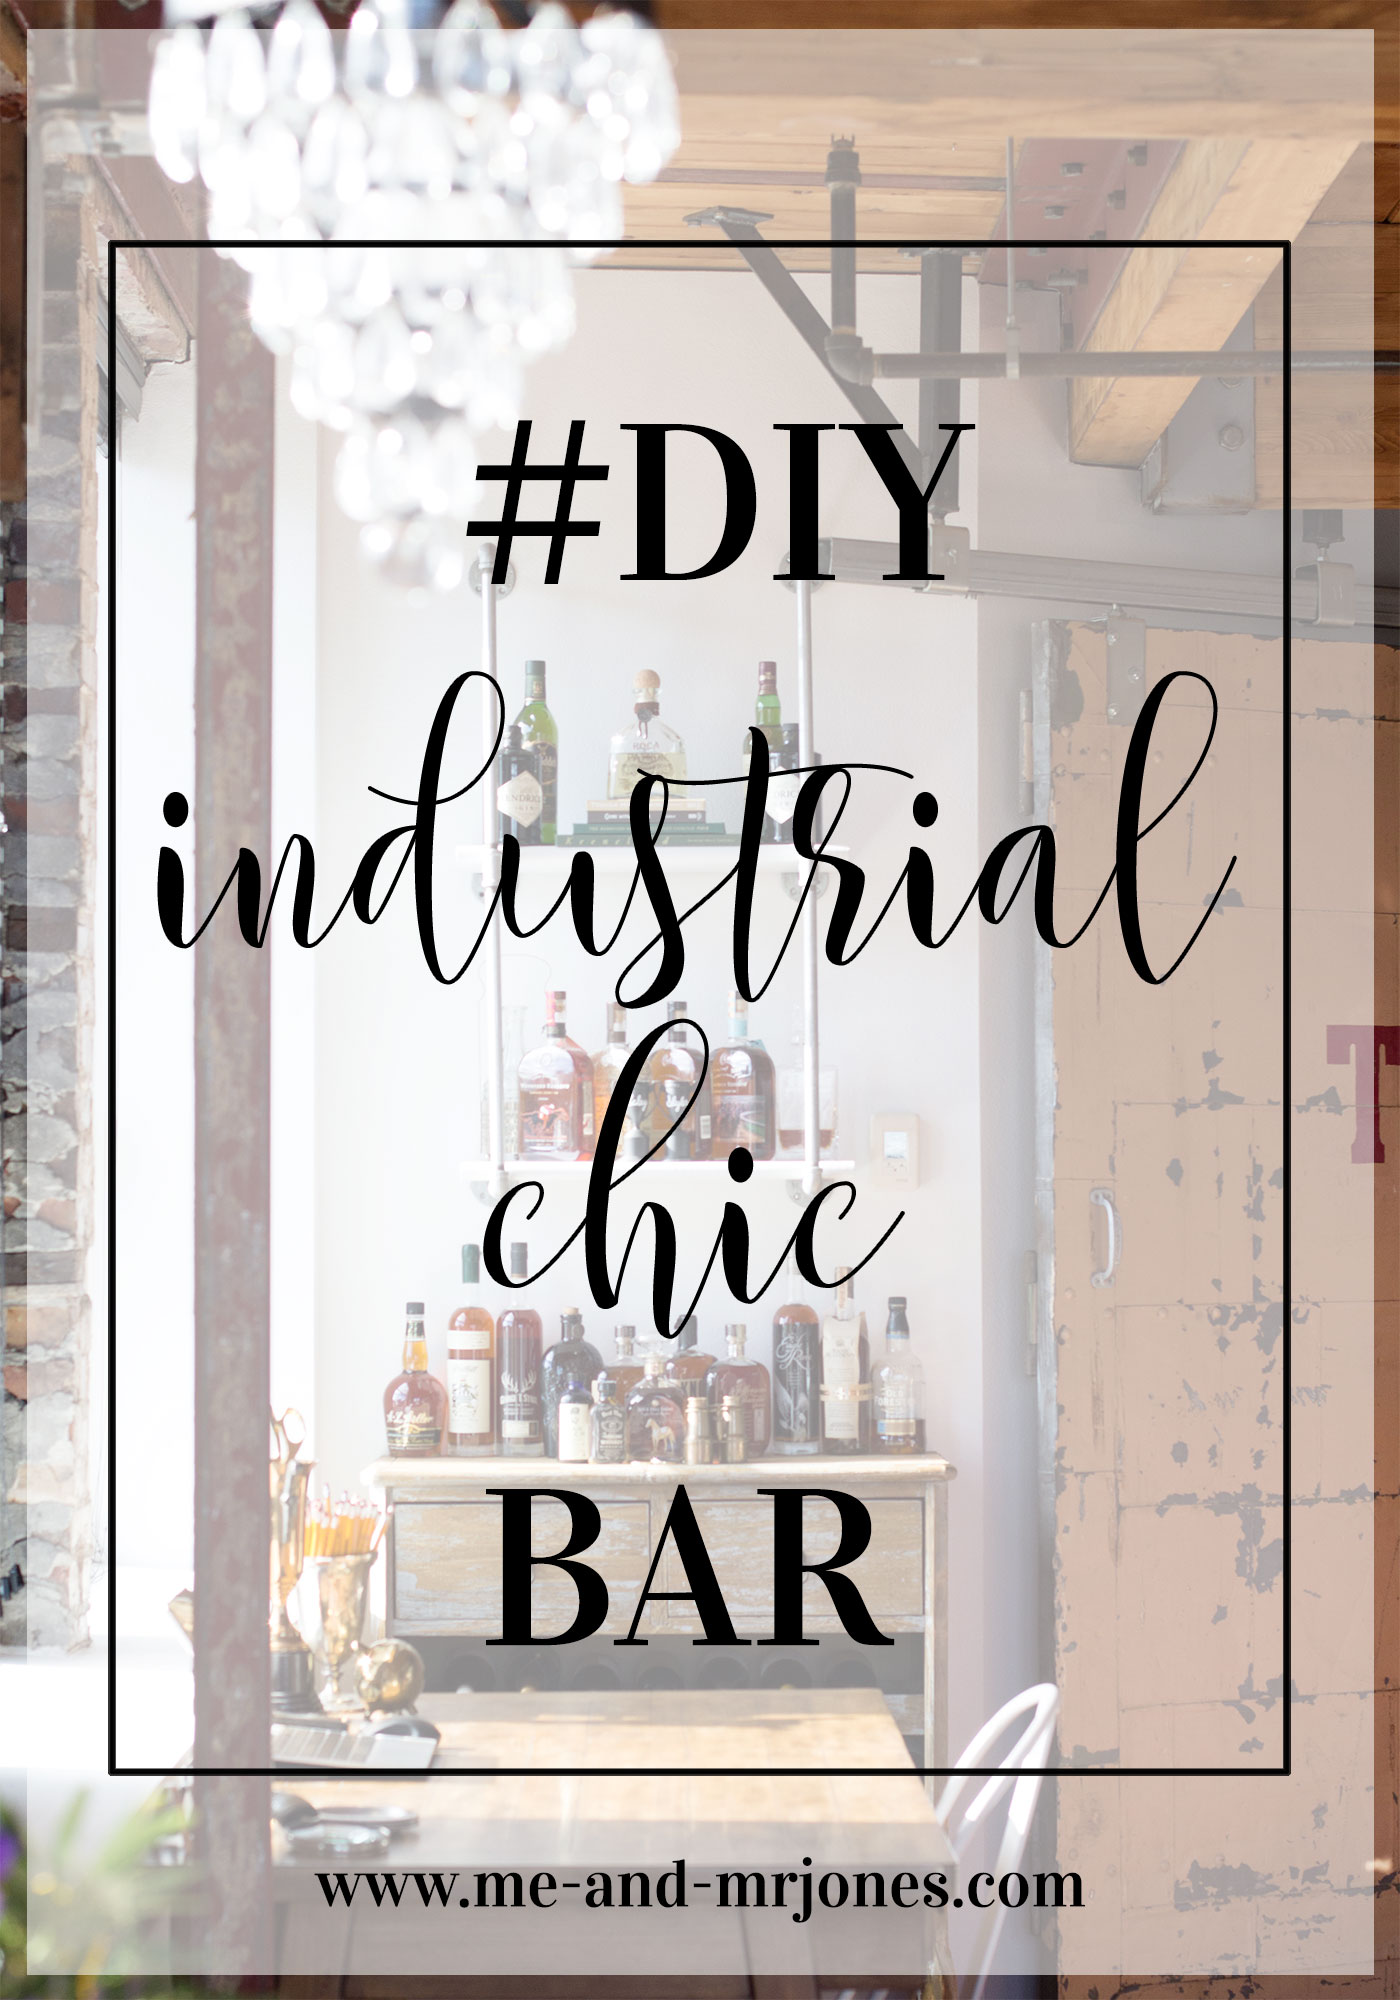
Mr. Jones and I have been on the move for a few years now and this is the 4th place I've installed this bar (crazy)! I recently painted the shelves white, so I decided to post a DIY to tell you guys how I made it so you can too! The best part about these shelves is that they can fit any space and can easily be modified. In our last 3 places, the shelves were twice as wide and sadly, Mr. Jones had twice as much bourbon before we made our big move to the Pacific Northwest. Needless to say, he accepts donations in the form of fine bourbon for being such a great guy #wink!

WHAT YOU'LL NEED:
1. (4) 18" x 1/2" galvanized pipes.
2. (6) 12" x 1/2" galvanized pipes.
3. (6) 1/2" galvanized floor flanges.
4. (4) 1/2" 90 degree elbow pipe fitting.
5. (2) 1/2" galvanized tee.
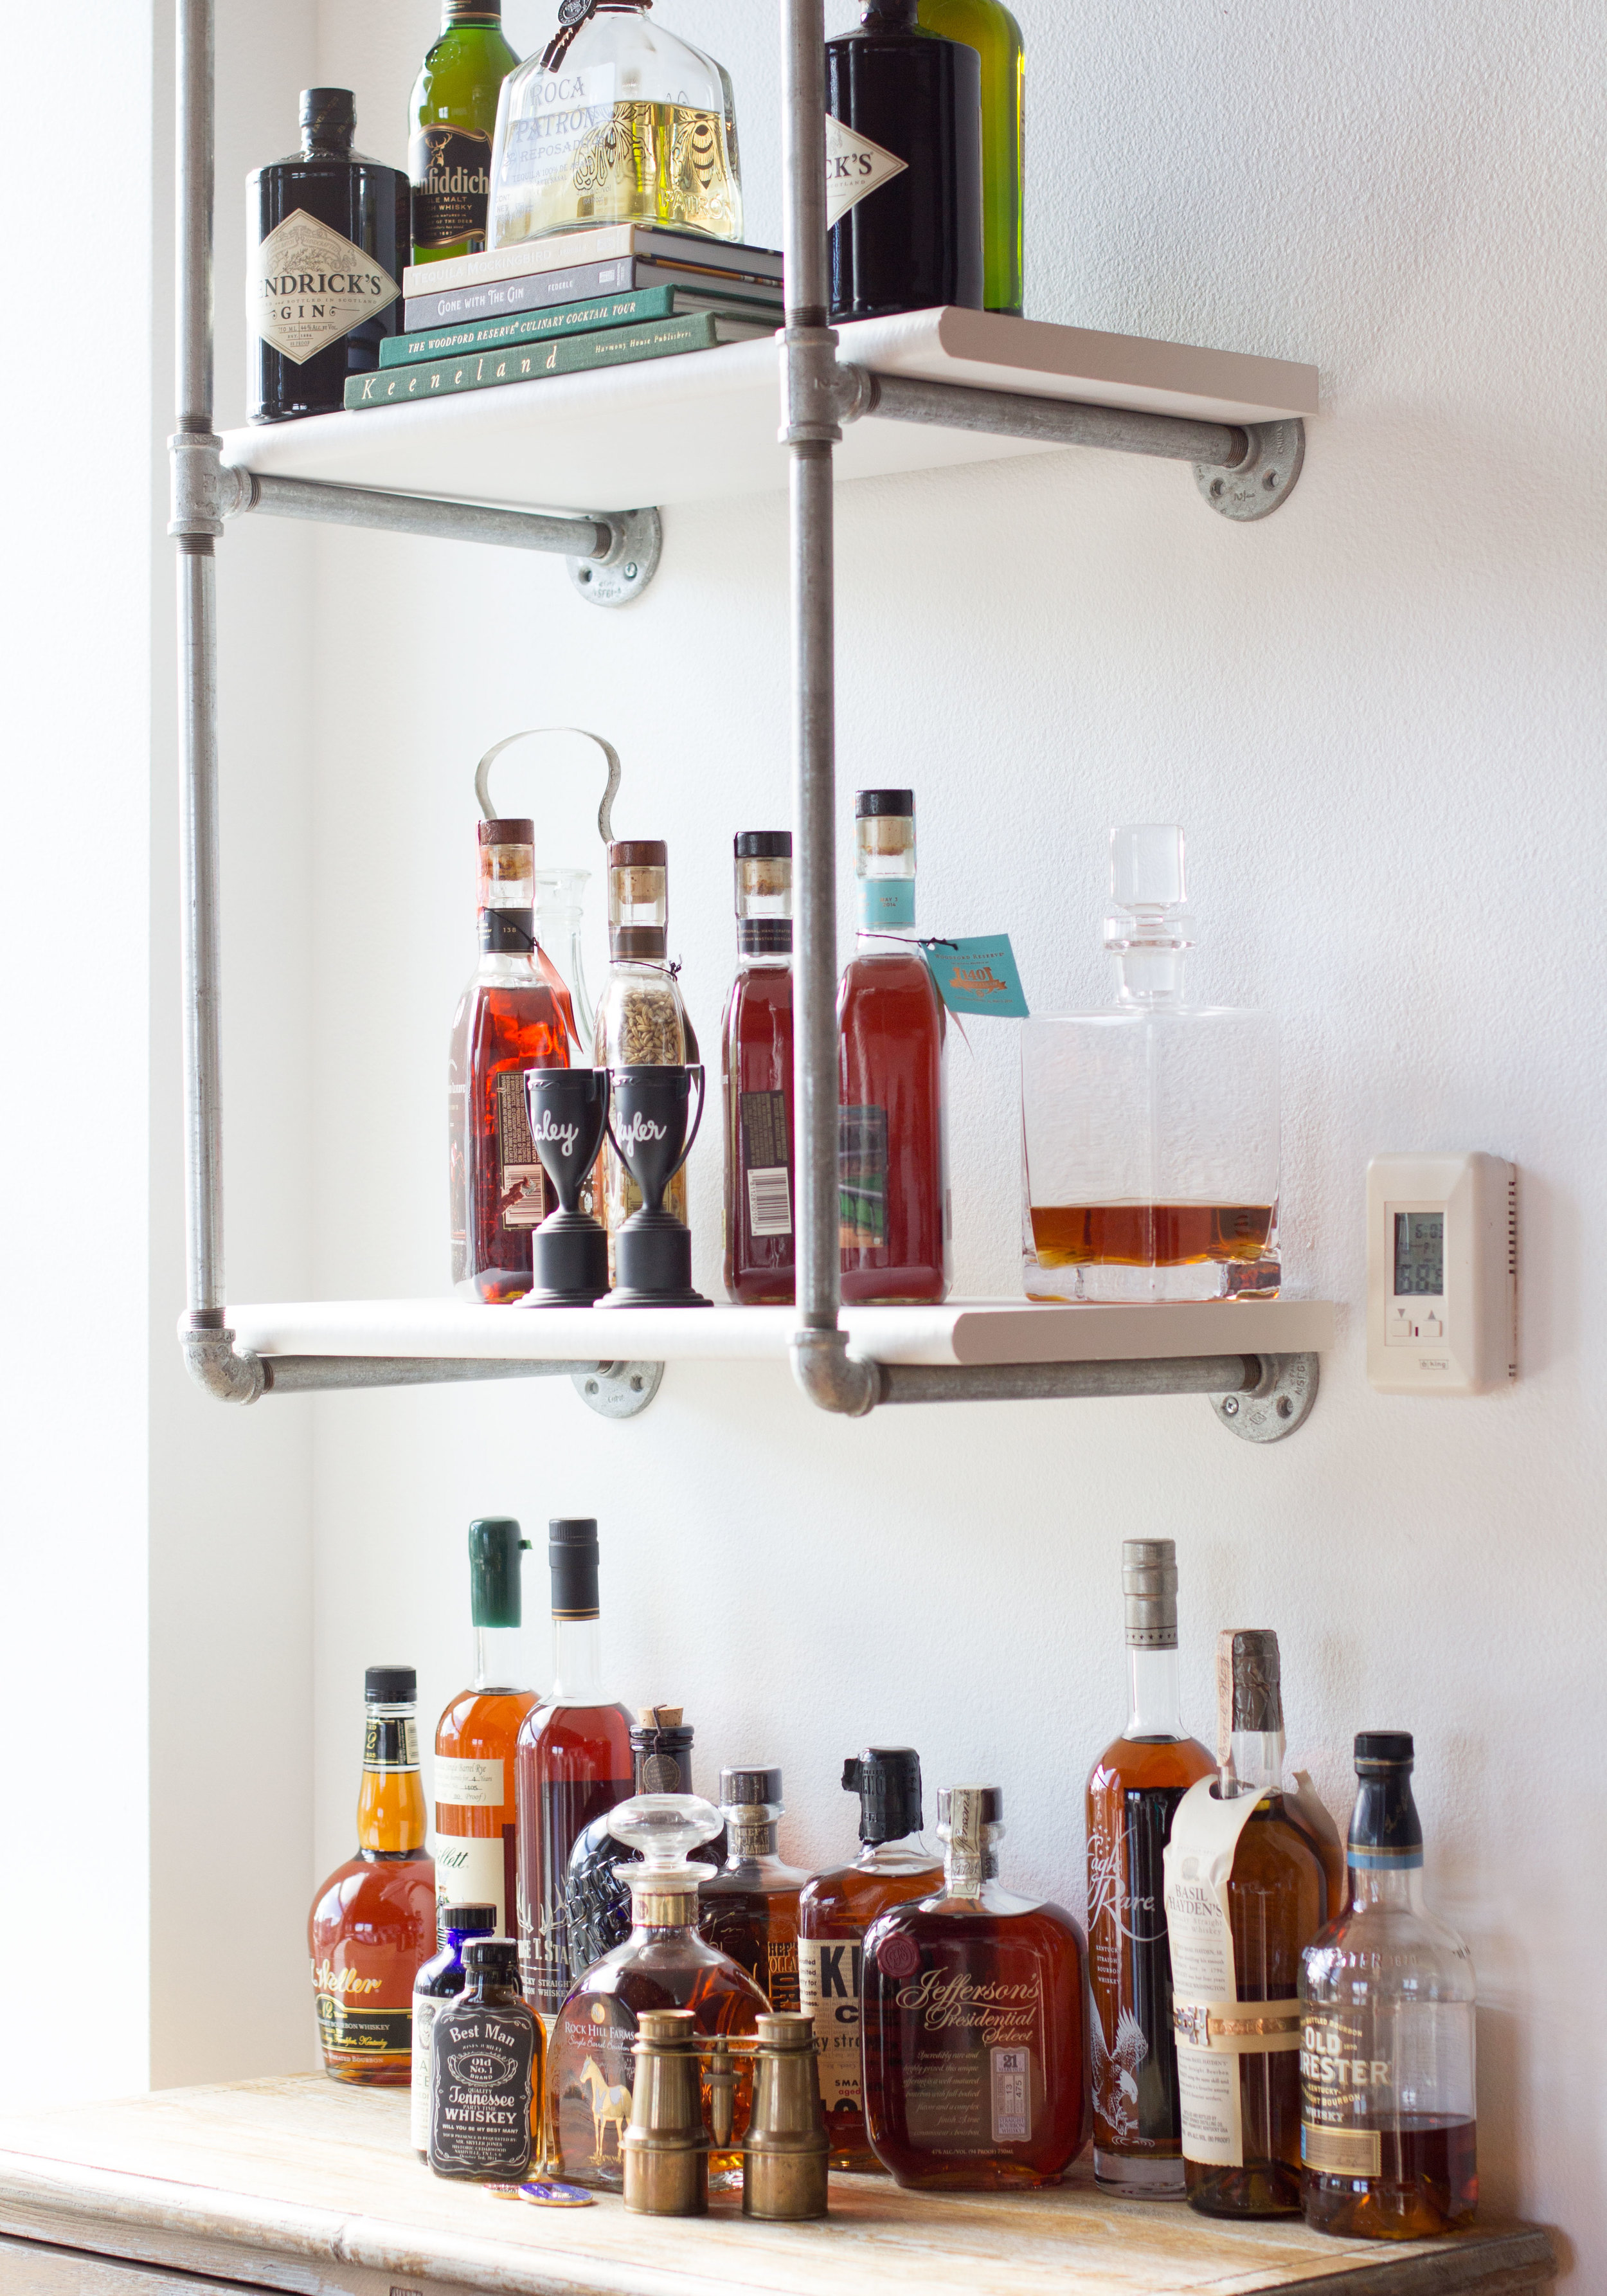
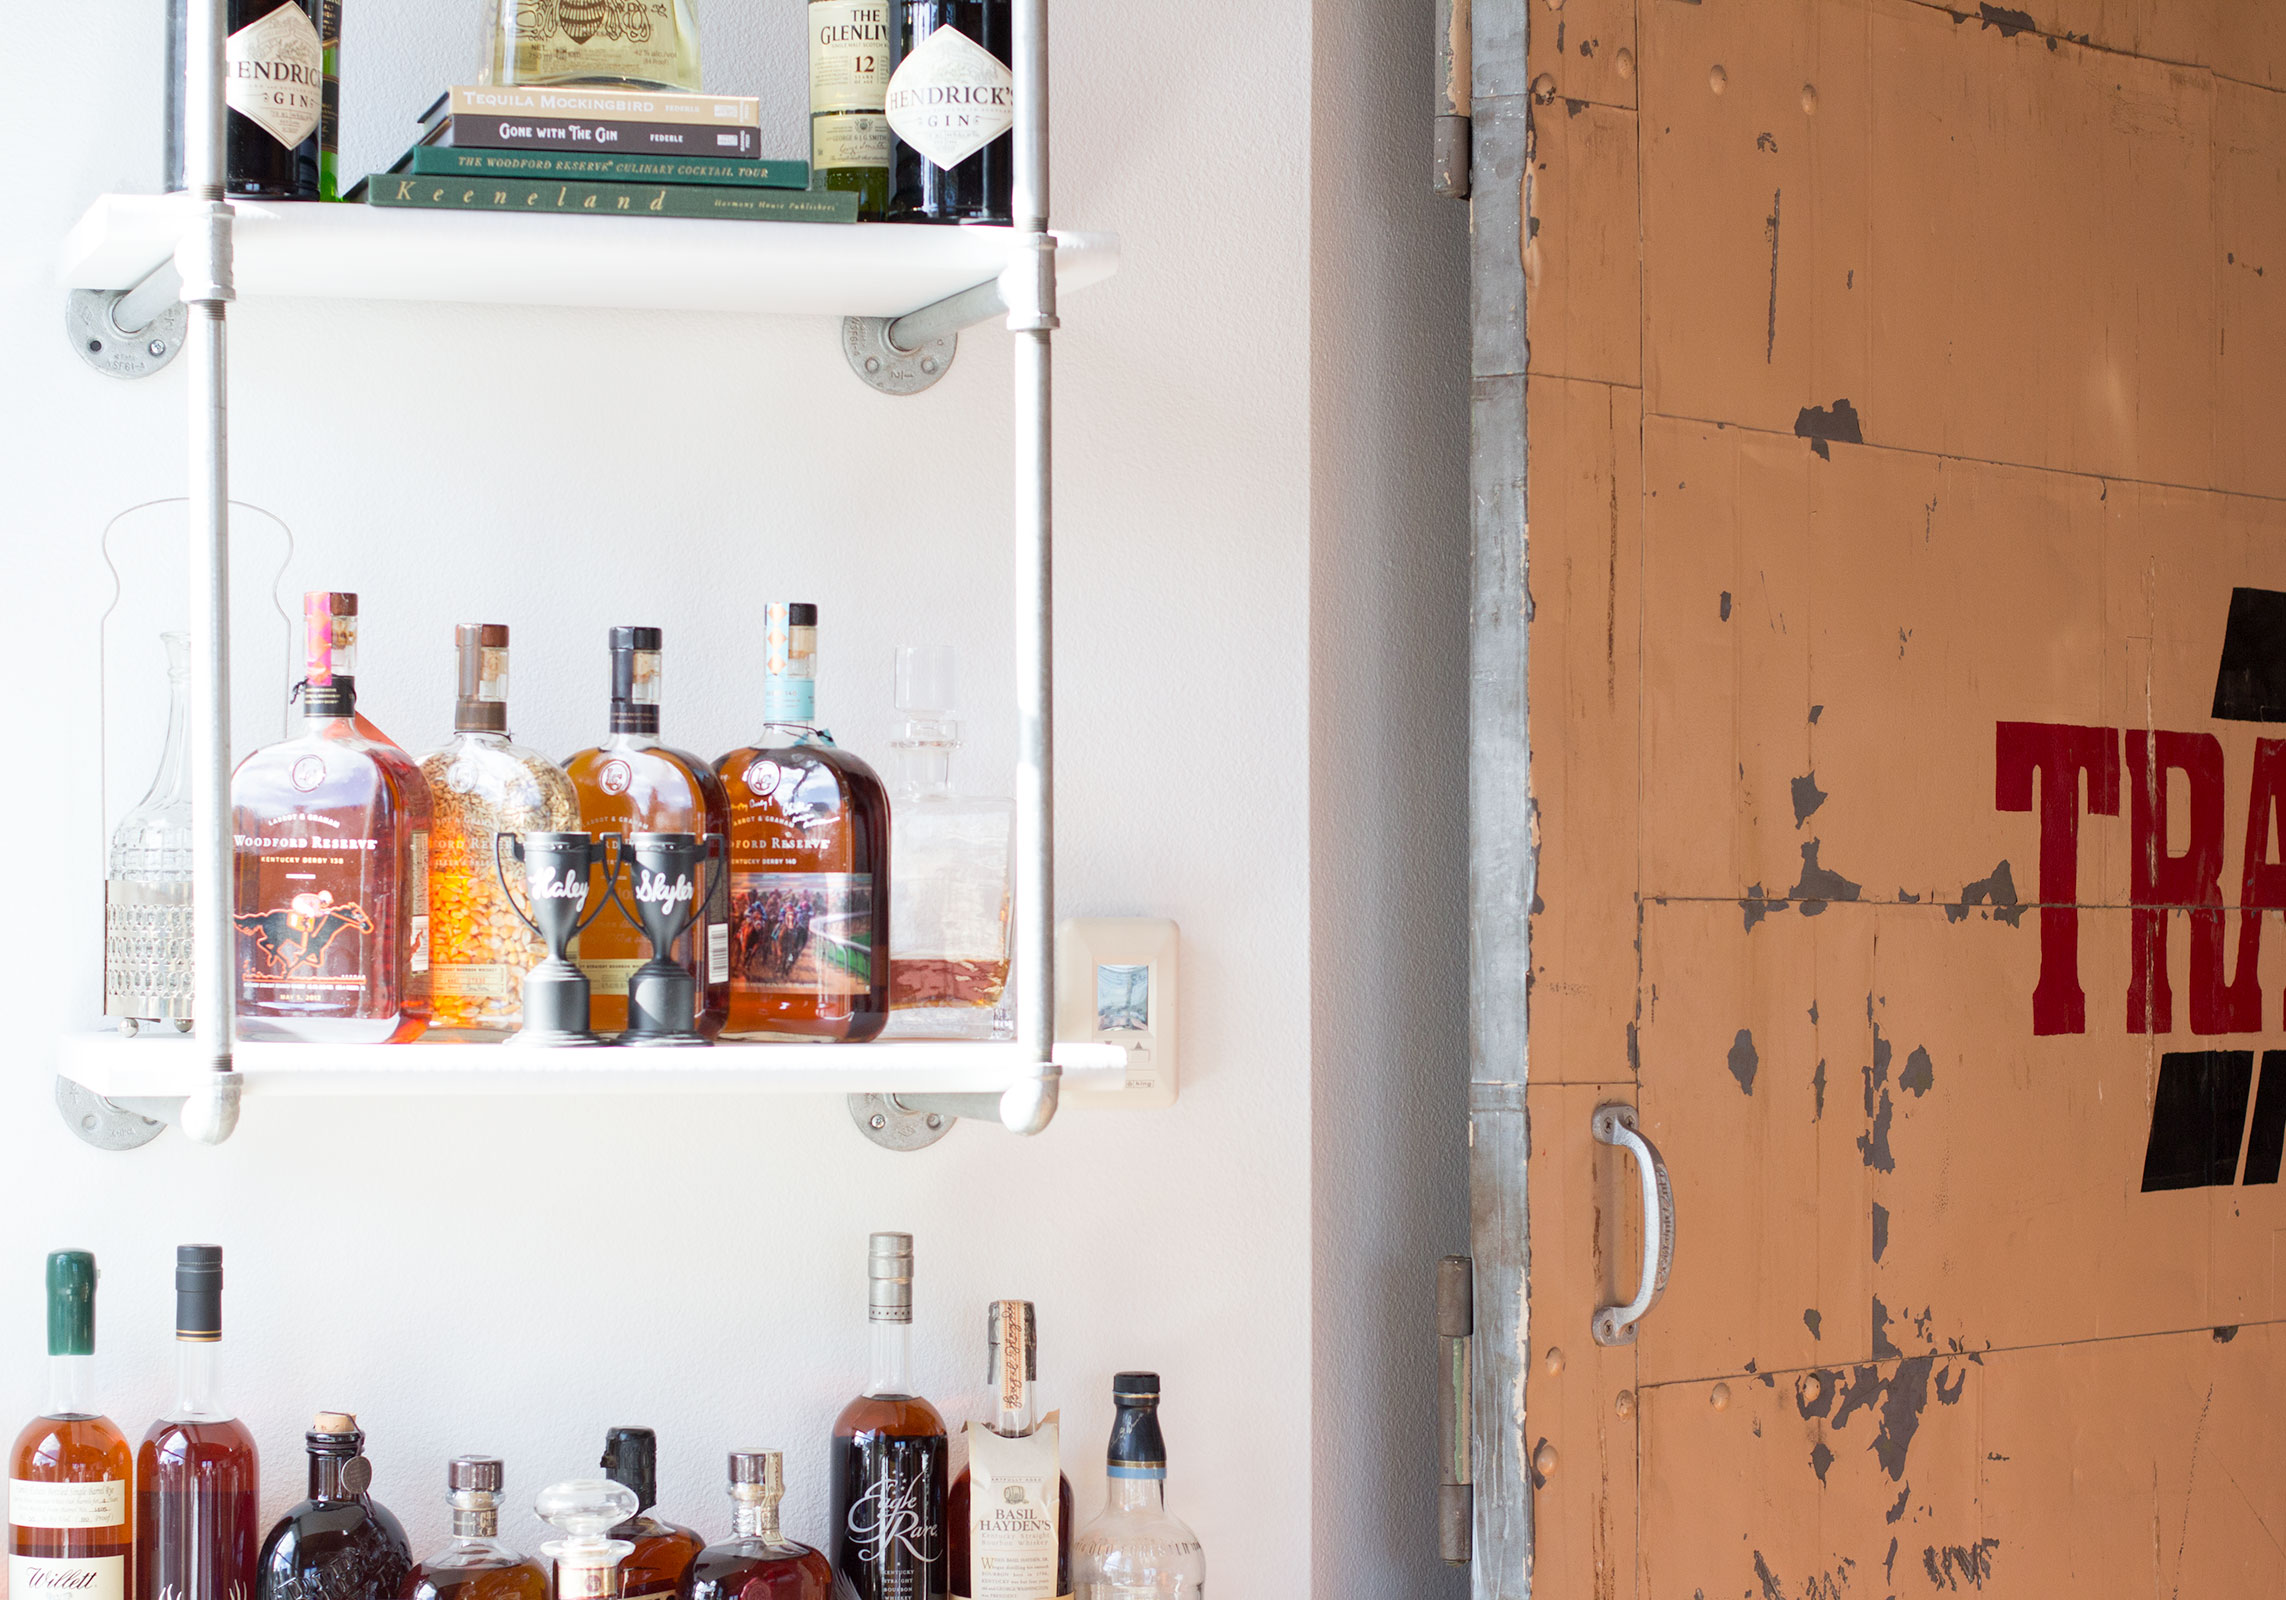
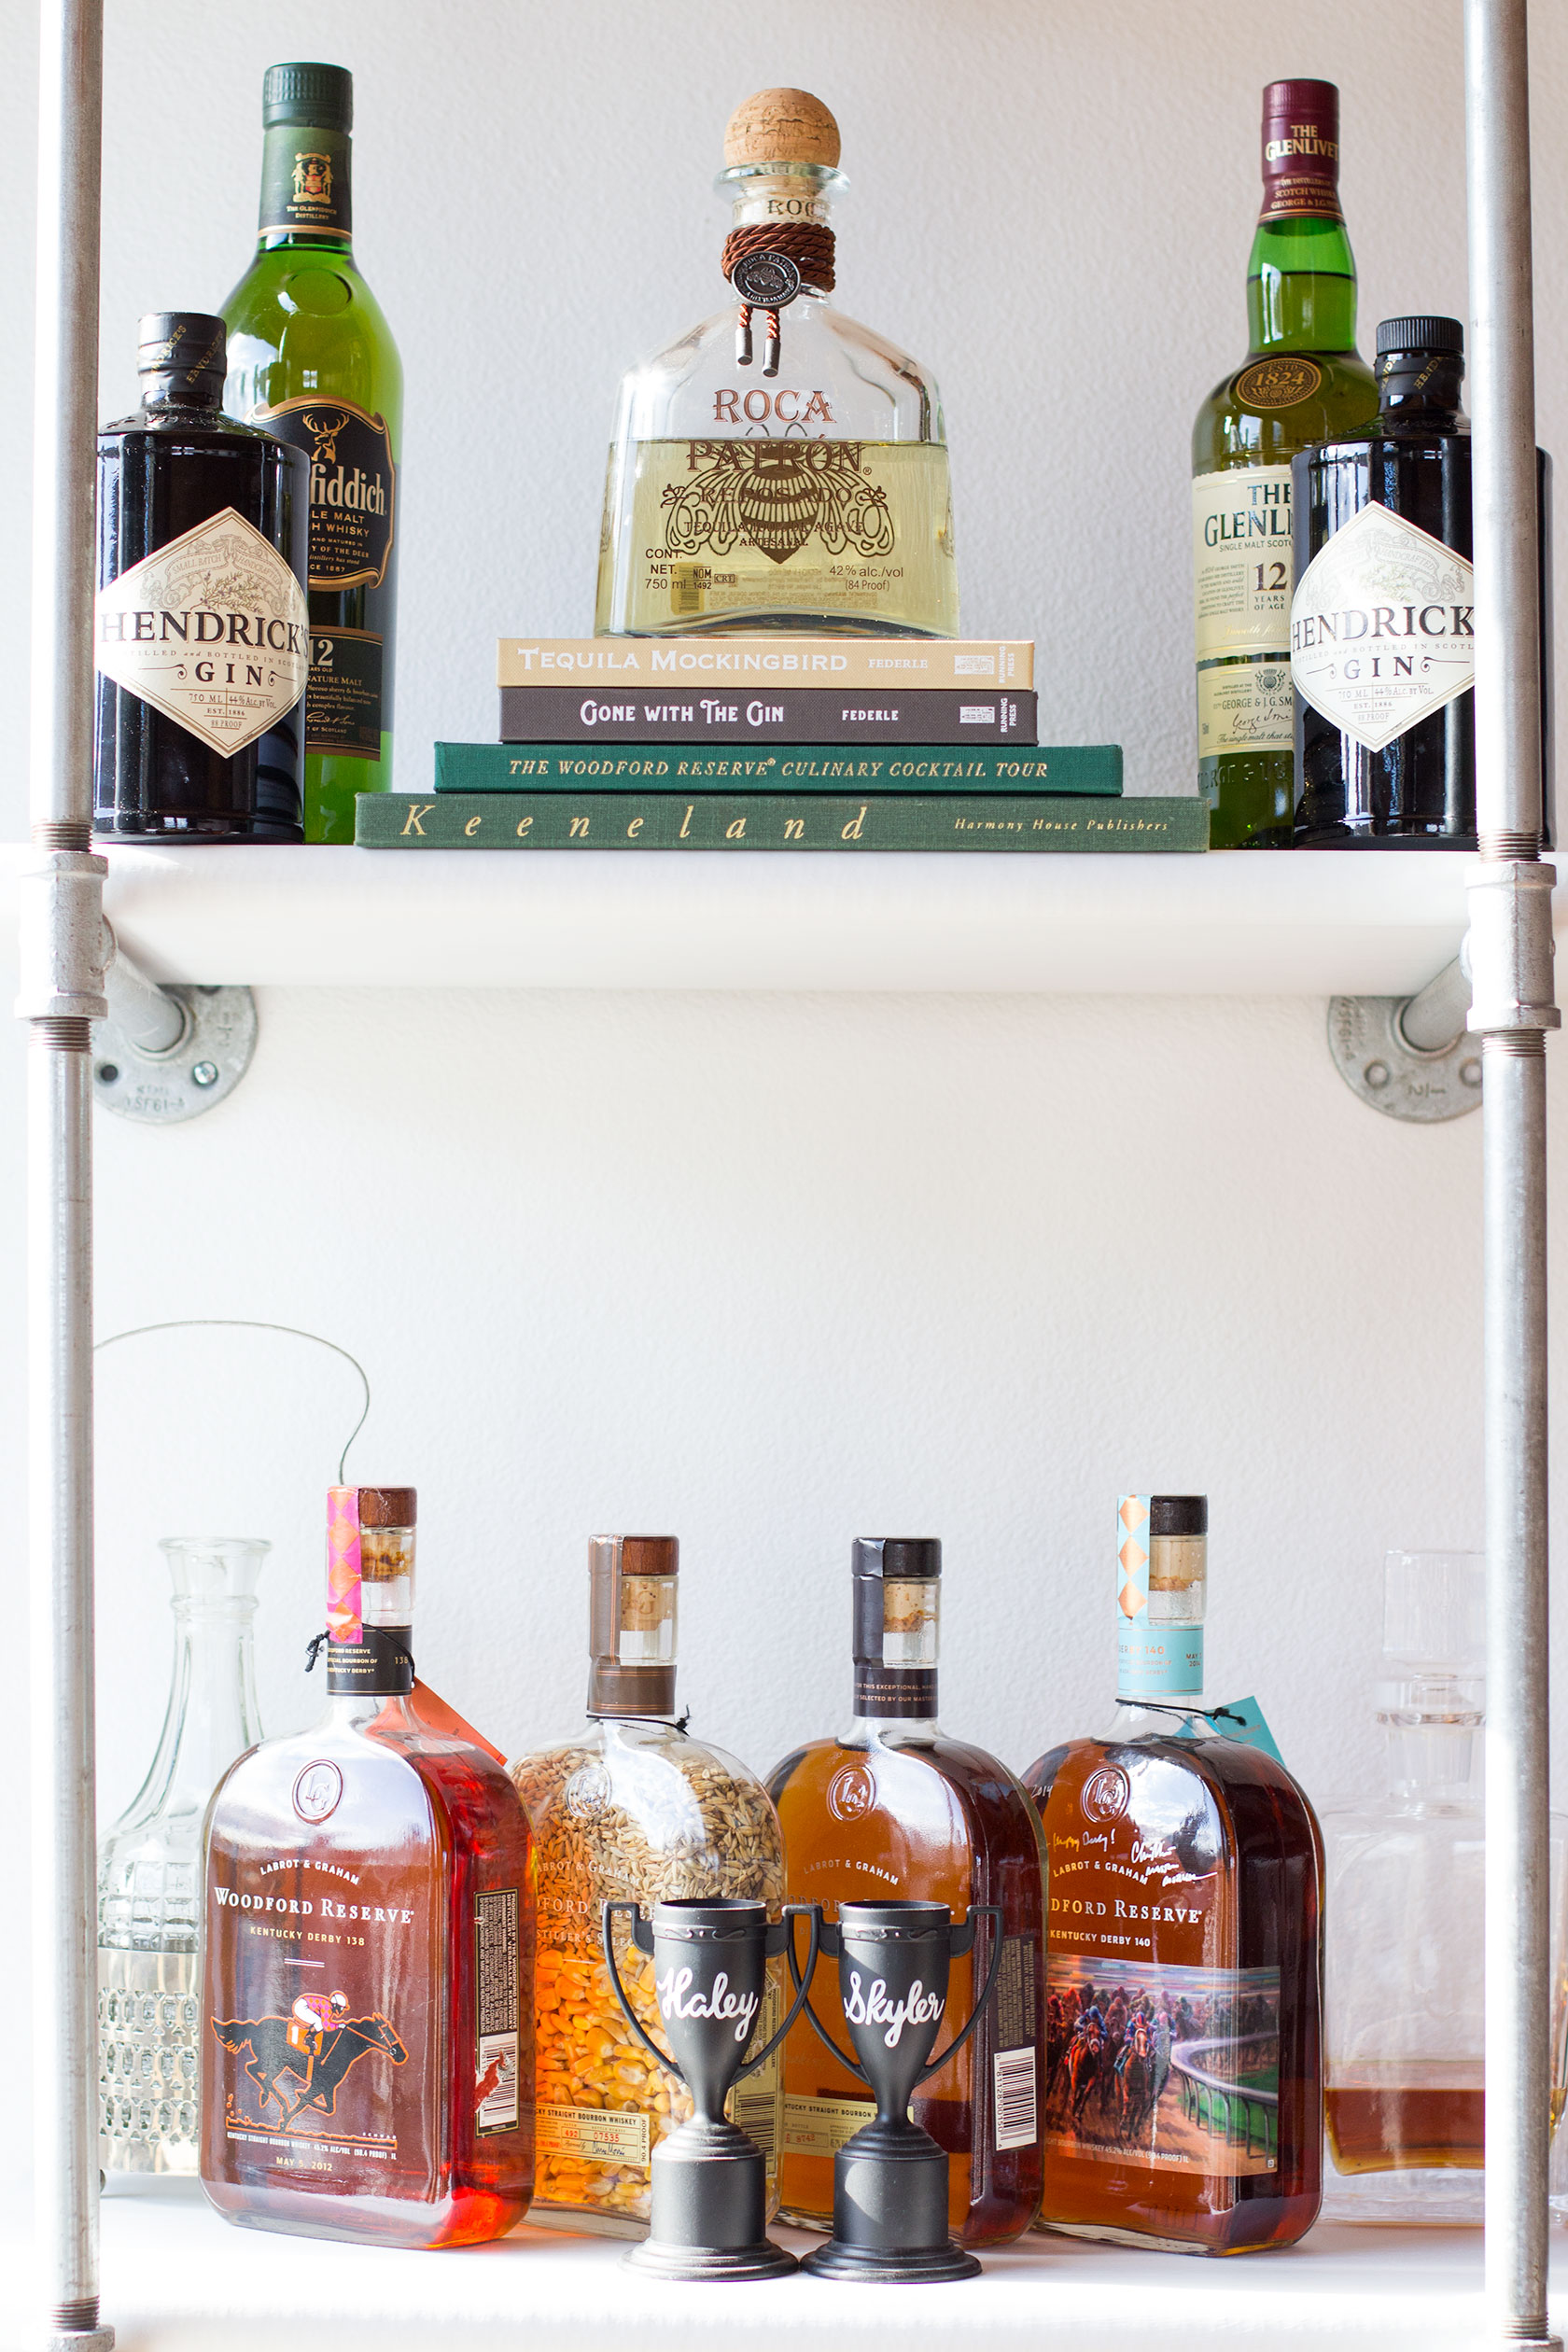
6. (2) shelves. I purchased one unfinished oak stair tread (1"x11.5"x48") and had it cut into (2) 24" wide shelves at the hardware store. You can also use (2) 48" pieces if you have the space!
7. Zinc drywall screws (these are my personal favorite, but you could use plastic drywall screws too)!
8. Power Drill. This is the one on my wish list in case you were wondering....AND it would be great for dad if he has an old drill that doesn't have lithium-ion batteries (they're much lighter so the drill isn't so heavy and you can use it too- #wink)!


DIRECTIONS:
1. Paint or stain shelves. I used this amazing Chalk Paint in Linen White by Rust-oleum. It's comparable to Annie Sloan chalk paint except you don't have to use wax to finish it! If you aren't familiar with chalk paint, here's the low-down. THIS STUFF IS AMAZING! Seriously, I've painted our table, chairs (they're metal and still look amazing), a dresser, etc. The paint has a matte finish and ends up looking more antique since it isn't shiny. The best part is that you really don't have to do that much prep work (like hours of sanding- no thank you)! The Rust-oleum matte clear coat is also amazing and dries super fast. The Rust-oleum paint is also 1/2 the price of Annie Sloan paint, so I highly recommend it!
2. Clean all of the galvanized pipe fittings with soap and water, rubbing alcohol, or mineral spirits. They're usually pretty dirty and cleaning them before you get started is important so that you don't accidentally get the grease on the walls or anywhere else.
3. Assemble shelves. You don't have to tighten each piece as tight as it will go, just make sure they're all even.
4. Before mounting, use a pencil and mark an X on the top flange on each piece. This is so you can mark where the flange(s) will be mounted on the wall, set the piece down if you need to grab your drill, etc. and then when you put the piece back up, it won't be upside down. This might sound confusing, but you'll realize what I'm saying when you actually go to mount your awesome bar!
5. Depending on the width of your shelves, you'll space the two pipe pieces differently. For our current set up, I wanted the shelves to stick out 2" on either side, so the pipes are spaced approximately 20" apart.
6. When measuring and marking where to hang the galvanized pipe pieces, it's important to use a level! This part is A LOT easier to do with two people and if you're home alone, I would wait until someone can help you so that you don't scratch up your walls! I did this at our first place....whoops! In our current home, I actually put adhesive furniture pads on all of the flanges to avoid scratching the wall while marking where they would be drilled in and it was very helpful!
If you have any questions, leave them in the comments below and I'll be sure to reply! Thank you so much for stopping by Me & Mr. Jones today, I hope your day is fantastic!