
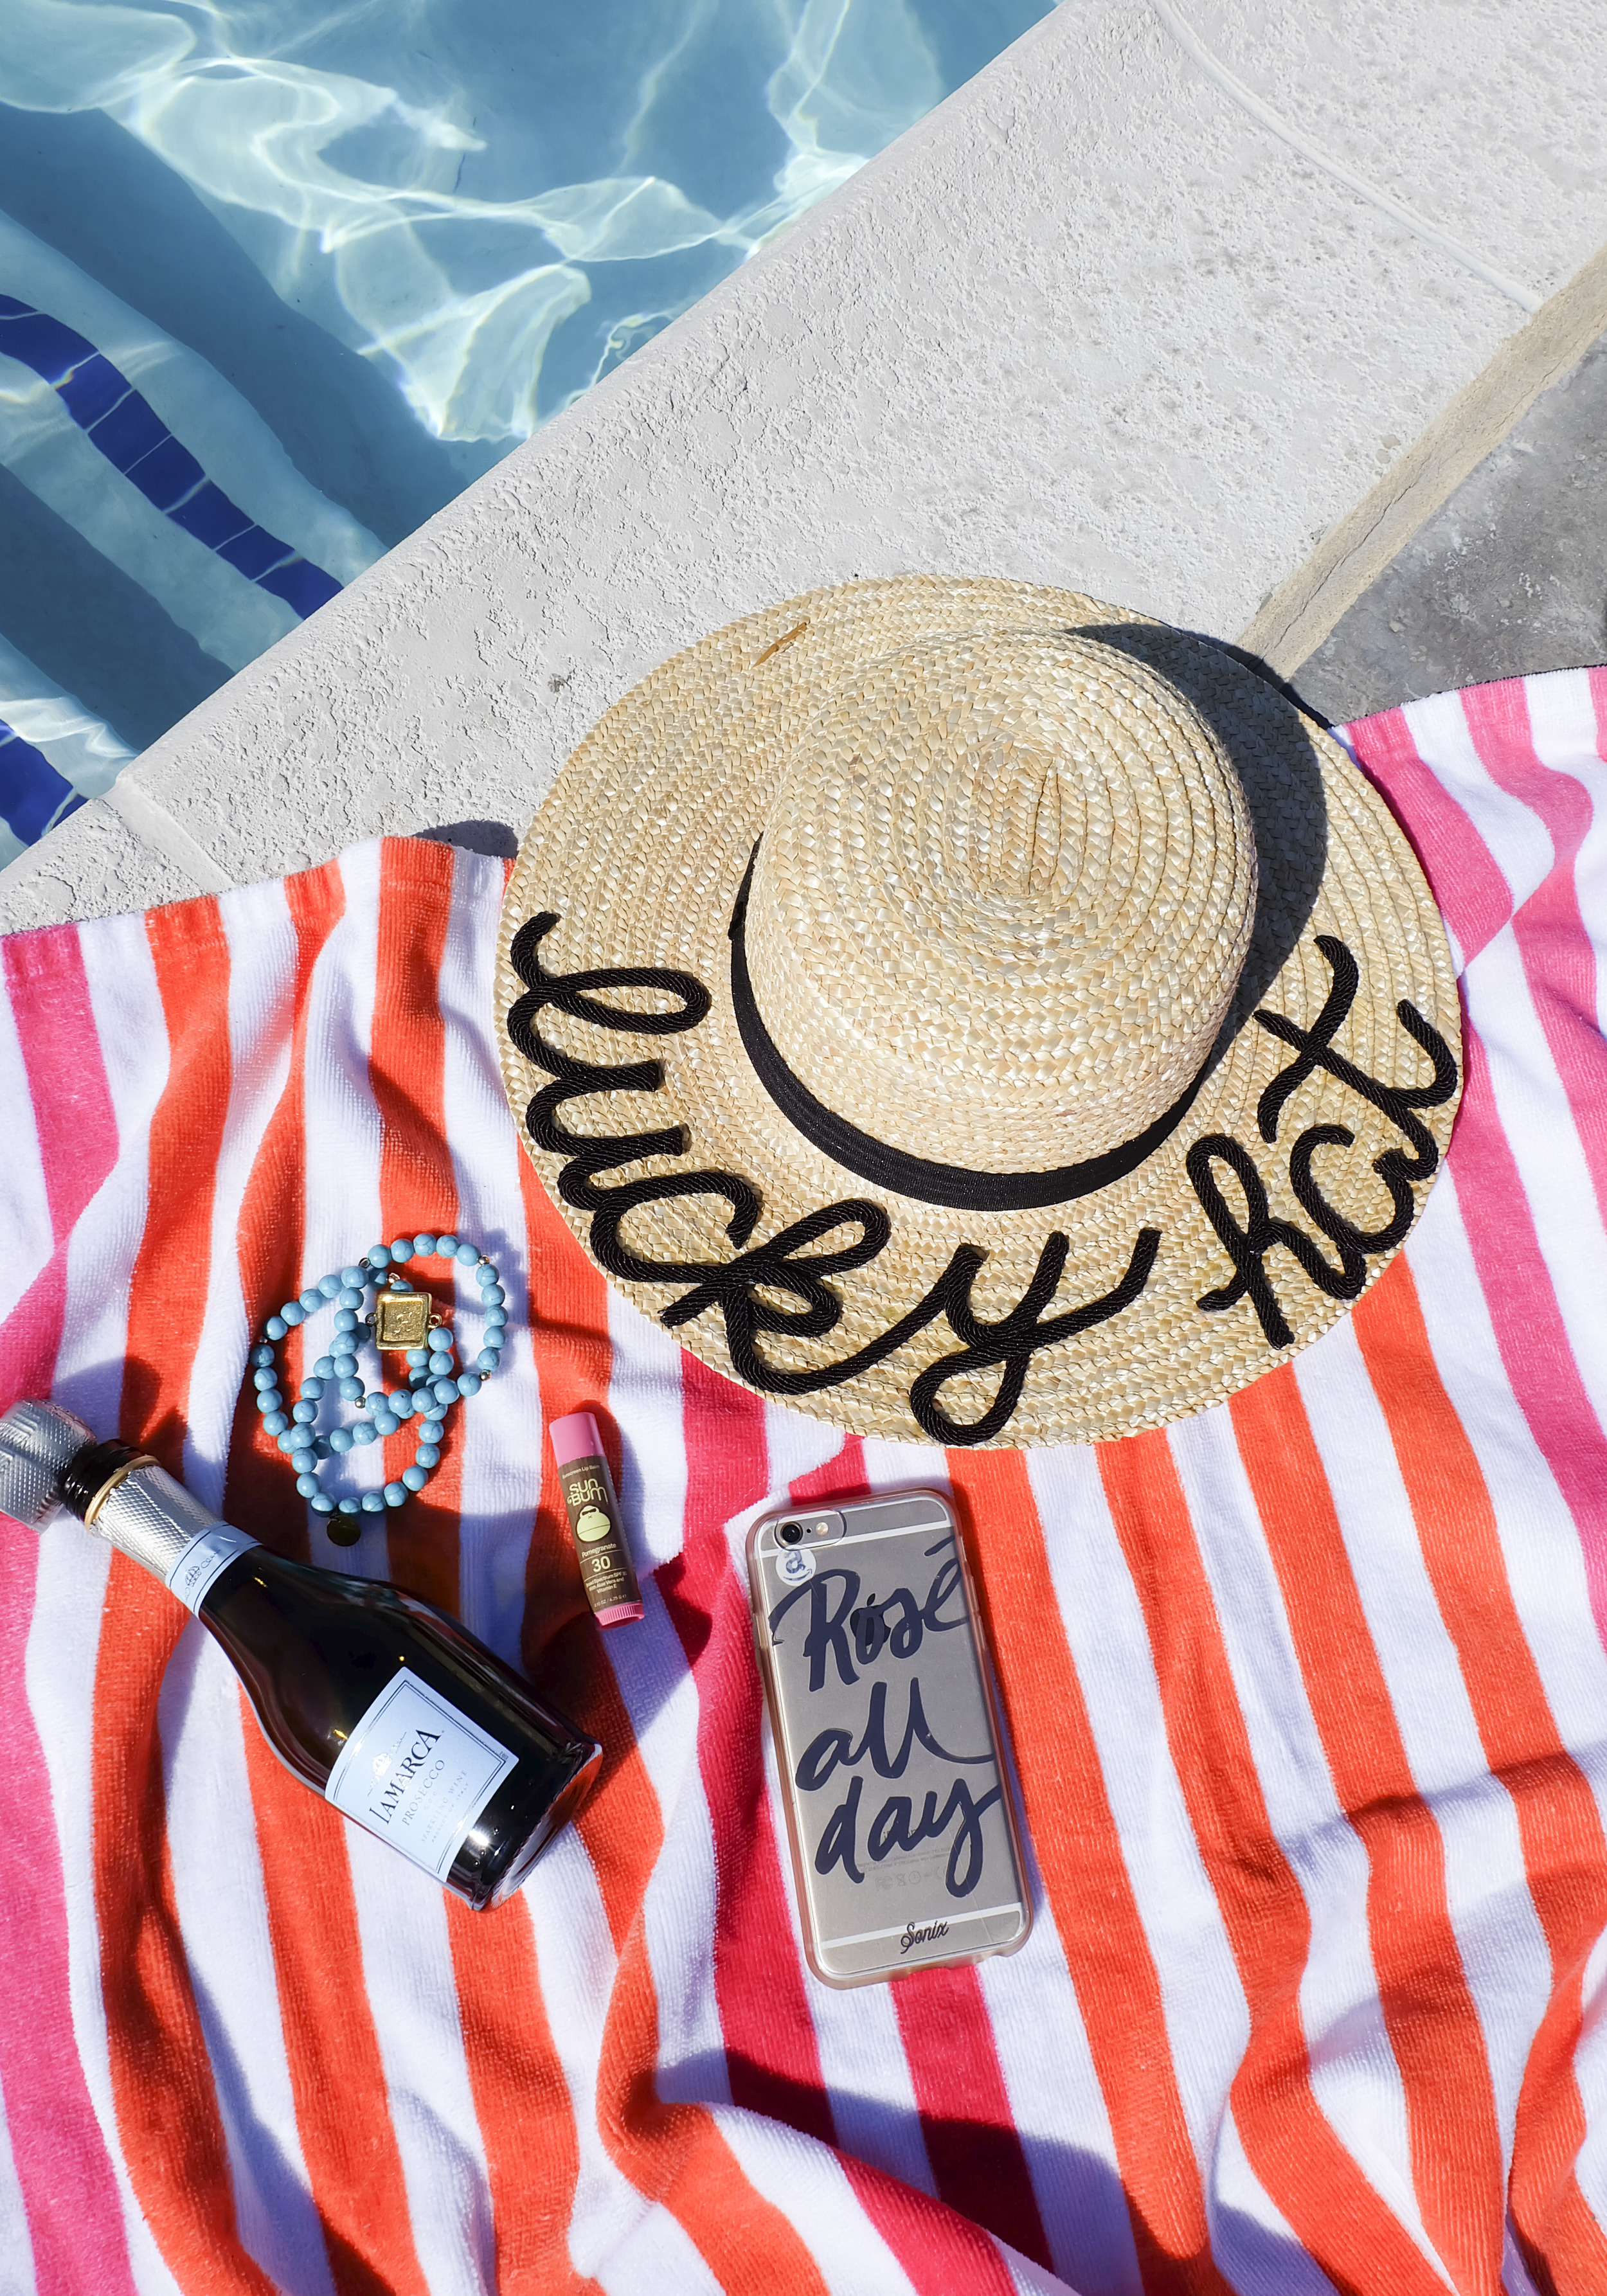
Do you remember my Eugenia Kim inspired floppy hat DIY from February (and last summer)?! Well, today I'm sharing the latest (and greatest) boater hat version and I'm SO EXCITED! As you may have noticed, I'm hooked on boater hats this summer and what better way to adorn one than with a cute slogan? Climb on board and I'll show you step-by-step how I created this cute summer hat!
Hello,


WHAT YOU'LL NEED:
1. Straw Boater Hat. Make sure you find one with a wide enough brim. Mine is approximately 2.5" and came from Zappos!
2. 1/4" wide Poly/Cotton 'gimp' braided trim.
3. Small glue gun.
4. Glue sticks.
5. Embroidery scissors (or very sharp scissors will do)!


DIRECTIONS:
1. First, you will need to burn the end of the gimp braided trim with a match or lighter. Since the trim is 50% polyester, the lighter will just melt the ends. You will need to squeeze the strands together while they are still melted so that they stick together. I used a lighter and had to wave the flame over the end of the trim a few times to get all of the strands nicely melted together.
***If it sets on fire, don't freak out! Just blow it out and wait for it to cool (about a second), and squeeze the ends together so that all of the strands are "glued" together. I did this while standing next to our sink just in case.
2. Next, sketch the phrase onto the hat with your disappearing ink marker. I traced the brim of the hat onto a piece of paper and wrote it out with pencil first. This helped me line up where I should start and finish!
3. Go over the letters a few times with the marker so that it's dark enough for you to see it.
4. Using the hot glue gun, trace 1" of the first letter. Quickly add the braided trim. Repeat.
5. There were some sets of letters that would've had too much braided trim overlapped like the u and c in lucky (or have separate pieces like the cross on a t). I stopped 1" before the end of the letter "u", trimmed the end of the braided trim and repeated step 1. Then glue the 1" piece down to where the next letter (in this case the "c") will overlap the end.
6. Continue steps 4 and 5 until the words are complete!

IF YOU'RE NOT THE DIY TYPE, CHECK OUT THESE CONVERSATION HATS:

If you try any of the DIY's you find on this site, I would love to see them! Just use #MAMJdiy if you upload an image on Instagram and tag me (@meandmrjones)! I can't wait to see what you come up with, thank you so much for stopping by today!
